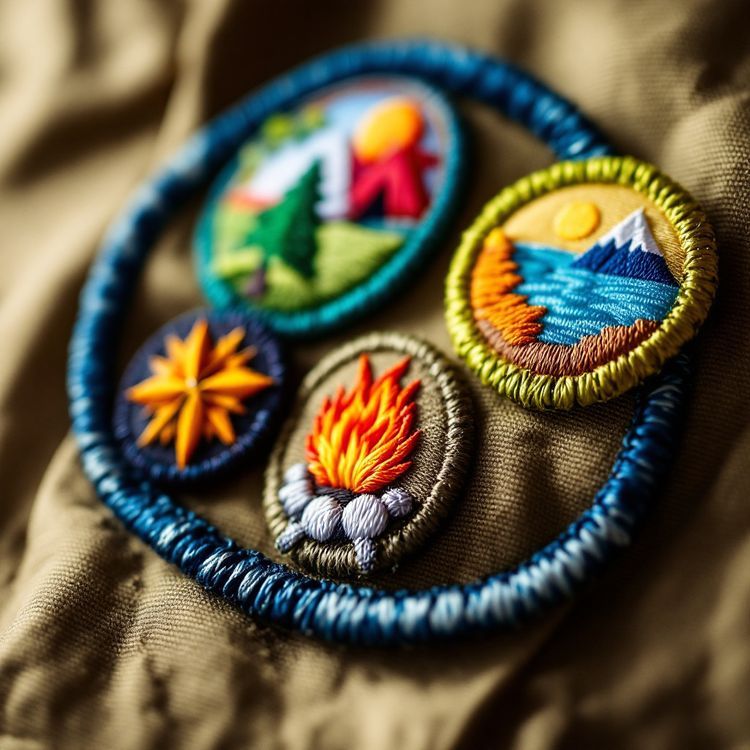
Volunteer patches do three jobs for a nonprofit: they identify volunteers on site, they recognize service hours and years of service, and they give supporters something to wear that carries your mission. Most groups start with one embroidered emblem patch about 3 to 3.5 in (76 to 89 mm) across, then add service tiers that change one detail per level. Plan the set once, and reorders stay simple for years.
This guide covers the patches nonprofits order most often, how to structure a recognition program, construction and backing choices, and how to plan an order around a board approval and an event date.
The patches nonprofits and volunteer groups order
- Volunteer identification patches for vests, shirts and jackets, so the public and staff can find a volunteer at an event or site.
- Service hour patches for 50, 100, 250 or 500 hours, or similar tiers that suit your program.
- Years of service patches for long serving volunteers and board members.
- Program and team patches for search and rescue teams, trail crews, auxiliaries, docents or mentoring programs.
- Supporter and member patches for donors, members and friends of the organization.
- Event patches for a cleanup day, a build, a walk or an annual campaign.
The volunteer identification patch is usually the first order, because it solves a practical problem on event day. Recognition patches follow once the program has a structure.
Supporter patches are a different case. They are worn by people outside the organization, often on a bag or a cap, so they work best when the design says what you do in a single image rather than relying on the name alone. If you plan to sell them at events or include them with a membership, order them in the same run as a volunteer patch where the timing allows, so both are quoted together.
Structuring a service hour recognition program
A recognition patch only works if volunteers understand what it means. A simple structure keeps the program running without a lot of admin:
- Choose the milestones and write them down: hours, years or projects completed.
- Keep one base design across every tier, usually your emblem.
- Change one element per level, such as the number, the border colour or a small tab beneath the emblem.
- Keep every tier the same size and shape so the patches line up on a vest or sash.
- Decide who tracks hours and how a volunteer receives a patch, at a meeting, a banquet or in the mail.
Using the border colour for the tier is a practical choice: a merrowed border can switch colour from level to level while the center stays the same. A rocker or tab underneath with the hour count is another option, and it lets you reuse the main emblem for every tier.
Construction and design choices
Nonprofit logos range from a simple icon to a detailed seal, and the construction should follow the artwork.
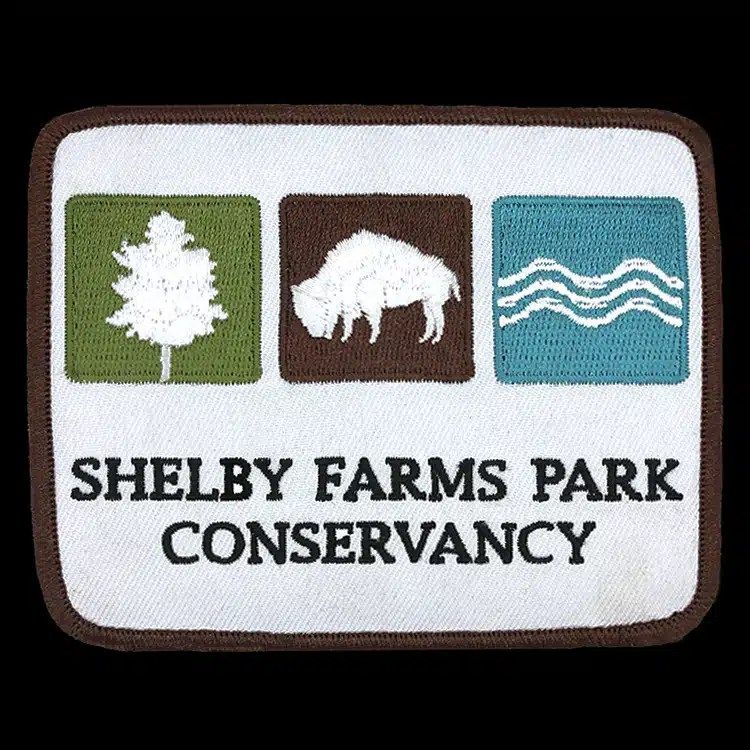
- An embroidered patch suits a bold icon with short text and gives a raised, quality feel that volunteers value.
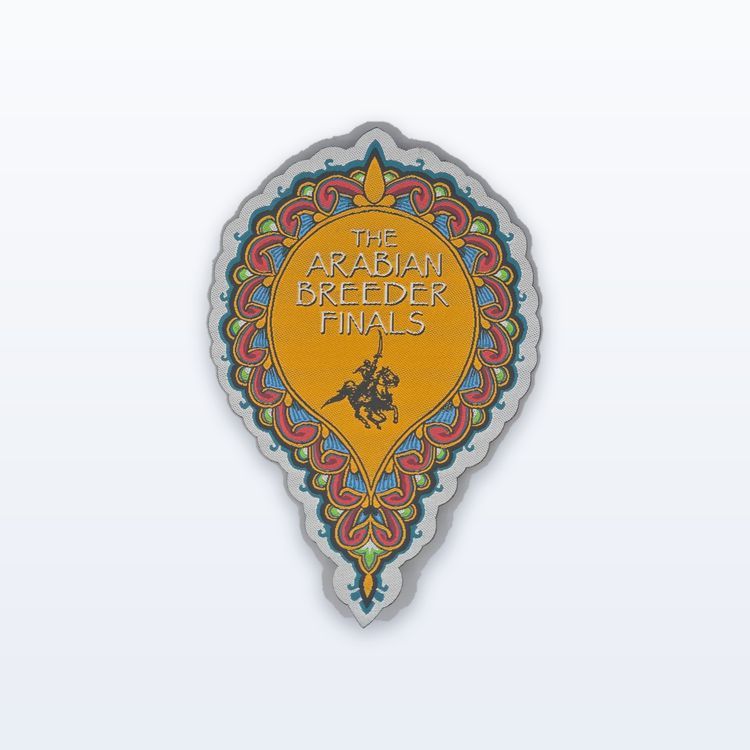
- A woven patch suits a logo with a long organization name, small lettering or fine linework.
- A sublimated patch suits campaign art built around a photograph or a gradient.
Keep the organization name readable. As a general guide, embroidered lettering needs about 1/4 in (6 mm) of cap height. If your full name is long, use a short form on the patch and save the full name for the shirt or the certificate. Our guide to designing a patch walks through shapes and colour counts.
Using a national program's logo
Some volunteer programs run under a national umbrella with its own logo and identity rules. If your patch will use a parent organization's mark, check that organization's brand or logo use guidelines first, and keep a copy of any approval with your order notes. We can only make what you have the right to use.
Backings and sizes for volunteer gear
| Patch | Typical size | Suggested backing |
|---|---|---|
| Volunteer ID on a vest or jacket | About 3.5 to 4 in (89 to 102 mm) | Sew-on |
| Chest emblem on a polo or shirt | About 3 in (76 mm) | Sew-on or iron-on |
| Service hour or years tier | About 2.5 to 3 in (64 to 76 mm) | Iron-on or sew-on |
| Team patch for packs and field gear | About 3 in (76 mm) | Hook-and-loop |
| Supporter patch sold or given away | About 3 in (76 mm) | Iron-on |
Sew-on is the most durable choice for vests and jackets that get washed often. Iron-on helps when volunteers attach patches at home and are not comfortable sewing. Hook-and-loop suits teams that move a patch between packs or uniforms. Our backing types guide explains each one, and our guide to sewing on a patch is worth sharing with volunteers who receive sew-on tiers.
Pins, lanyards and other recognition pieces
Patches are not the only option for a recognition program. Many groups mix pieces:
- Lapel pins for years of service or board members, worn on a jacket or a lanyard.
- Lanyards for event volunteers who need to carry a badge or credential.
- Challenge coins or medals for a volunteer of the year or a major milestone.
- Key chains for supporters and donors.
Each product is quoted separately from the factory price, and you can send them on one request. Our guide to soft and hard enamel pins helps if a service pin is on the list.
Planning around a budget and an event date
Nonprofit orders often need a committee or board sign-off, which can add weeks before the order is placed. Build that into the schedule. Typical figures, all confirmed on your quote:
- Quote back within 2 to 3 business days. That firm number is what you take to the board.
- Proof usually 1 to 3 business days after artwork.
- Production about 3 to 4 weeks after the proof is approved in writing.
- Shipping by UPS from Holly Hill, Florida.
Custom minimums start from 100 pieces and vary by product, confirmed on your quote. If your program is small, consider ordering a tier you will use over two or three years rather than a single season. Reorders skip setup and the digitizing stays on file, which keeps the second order simpler than the first.
Nothing runs until the proof is approved in writing, so name one person who signs off. A proof that goes round a whole committee can stall an event order.
Next steps
Try your emblem in the free Patch Studio to see it on a jacket or cap. Then request a quote with your artwork, sizes, quantities per tier, backing and the date you need them. AI, EPS or PDF is cleanest; a PNG or a photo of an existing patch is enough to start.