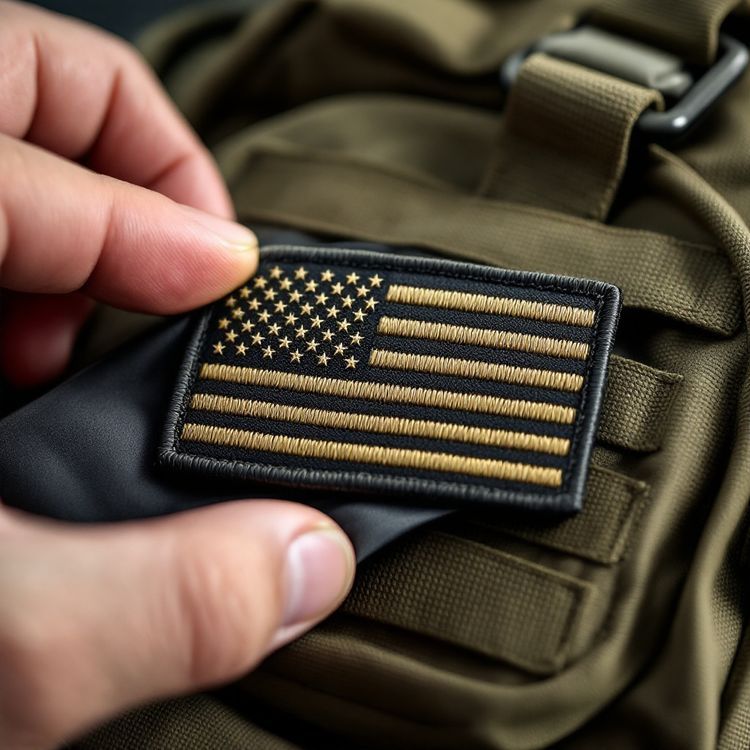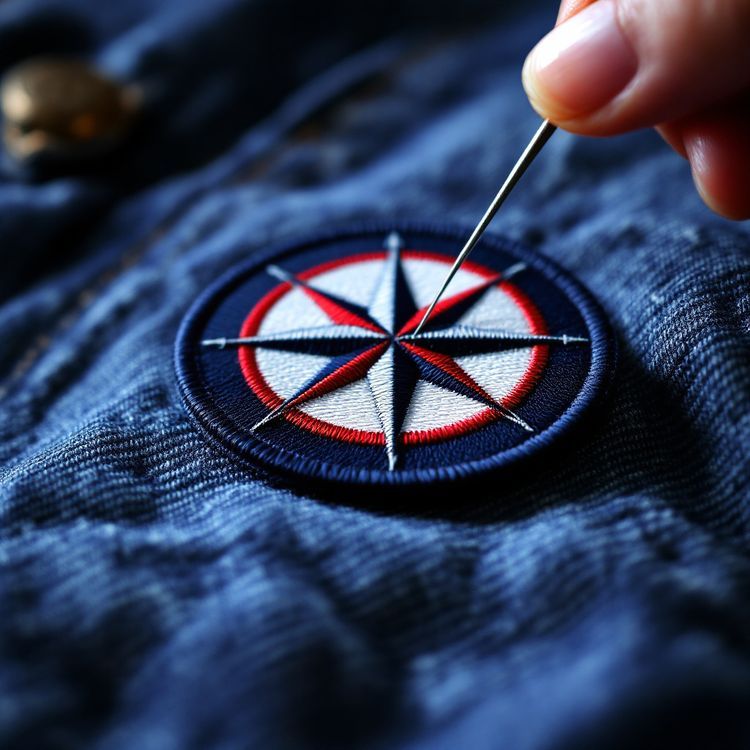
To sew on a patch, pin or press it in place, thread a needle with thread that matches the border, and stitch all the way around just inside the edge, about every 1/8 in, through both the patch and the garment. Knot the thread on the inside and you are done. Sewing is the most permanent way to attach a patch, and it works on almost any fabric.
Below is the full method by hand and by machine, how to deal with awkward places like sleeves and caps, and the mistakes that make a patch pucker or lift.
What you need to sew on a patch
- A needle: a sharp hand sewing needle for most fabrics, a heavier needle for denim and canvas, a leather needle for leather.
- Thread: polyester or cotton polyester thread is strong and handles washing. Match it to the patch border so the stitches disappear, or use clear nylon thread.
- Pins, safety pins or clips: to hold the patch still while you sew.
- Scissors, a thimble and a ruler: the thimble helps push the needle through a thick border, and the ruler helps with placement.
If the patch has an iron-on backing, you also have the easiest way to hold it in place: press it first, then sew. More on that below.
Position the patch first
Put the garment on, or lay it flat, and decide exactly where the patch goes. A left chest patch usually sits a few inches below the shoulder seam, centred over the chest. A shoulder patch is usually centred on the outside of the sleeve, just below the shoulder seam. Our patch placement guide for jackets covers the common spots in detail.
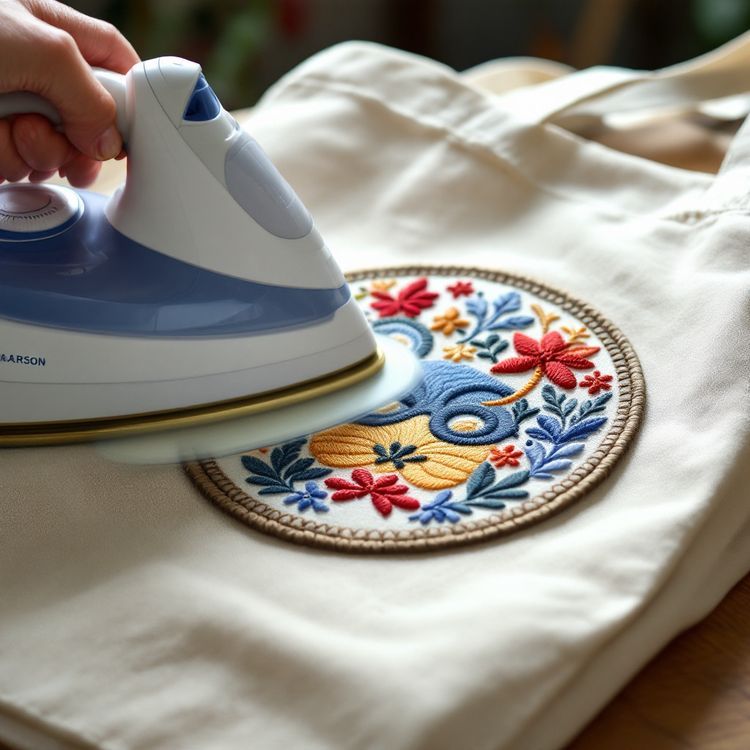
Hold the patch in place with pins around the edge, pointing inwards, or with safety pins or small clips on thick fabric. On an iron-on patch, press it in place with an iron and a press cloth instead. The adhesive keeps it flat and square while you stitch. Our guide on how to attach iron-on patches has the settings.
How to sew on a patch by hand
- Cut and thread. Cut about 18 to 24 in of thread. Thread the needle and tie a knot at the end. Doubling the thread gives extra strength on heavy garments.
- Start from the inside. Push the needle up from the inside of the garment, coming out just inside the edge of the patch, so the knot is hidden.
- Stitch around the edge. Go back down through the patch and garment a short way along. Keep each stitch about 1/8 in long and close to the border.
- Keep the tension even. Pull each stitch snug but not tight. Pulling too hard puckers the fabric around the patch.
- Take care at corners and points. Add an extra stitch at each corner so it cannot lift.
- Finish on the inside. When you are back at the start, push the needle through to the inside, make two or three small stitches over each other, then knot and trim.
Which stitch to use
| Stitch | How it looks | Best for |
|---|---|---|
| Running stitch | Small dashes just inside the border | Quick and neat on most patches |
| Whip stitch | Small diagonal stitches over the edge | Merrowed borders, where the stitches hide in the rolled edge |
| Backstitch | A solid line of stitches with no gaps | Heavy wear, bags and large patches |
For most people a running stitch just inside the border is enough. On a merrowed border, a whip stitch over the edge blends into the thread and is very hard to see. A heat cut edge has no rolled border, so stitch just inside the outline instead.
How to sew on a patch with a sewing machine
A sewing machine is faster and gives a very even line, but only where you can lay the fabric flat under the foot.
- Fit a denim or heavy duty needle. Embroidered patches are thick, and a standard needle can bend or break.
- Use a straight stitch just inside the border, or a narrow zigzag that catches the edge of the patch and the garment.
- Set a slightly longer stitch length than usual for thick patches.
- Sew slowly, and turn the handwheel by hand over the thickest parts and at corners.
- At each corner, stop with the needle down, lift the foot, turn the garment and carry on.
- Overlap the last few stitches over the first, then backstitch to lock the thread.
Sleeves, caps, bags and leather
Sleeves
Sleeves are narrow, so most machines cannot reach a shoulder patch without opening a seam. Sewing by hand is usually easier. Slide a rolled towel or a piece of card inside the sleeve so you only stitch through the outer layer.
Caps and hats
Sew cap patches by hand with a curved or strong needle, working from inside the crown. Keep clear of the sweatband so it still sits comfortably. Our custom hat patches guide covers sizes and shapes for caps.
Jacket backs and lined jackets
On a lined jacket you can stitch through the outer shell only by reaching in through the lining seam, or sew through both layers if the lining is thin and you do not mind the stitches showing inside. Large back patches need stitches all the way round with no gaps, since they take more strain.
Leather and heavy canvas
Use a leather needle, heavy polyester thread and a thimble. On thick leather vests, many people take patches to a leather shop or a uniform shop, which can sew them on quickly with the right machine.
Common mistakes to avoid
- Pulling stitches too tight, which puckers the fabric around the patch.
- Leaving gaps between stitches, which lets the edge lift and catch.
- Sewing through the back of a sleeve or a jacket lining by accident.
- Using a thread colour that clashes with the border.
- Skipping pins, so the patch slides out of place as you stitch.
Ordering custom sew-on patches
Sew-on is the plain backing, with no adhesive, and it is the most permanent way to attach a patch. It is the usual choice for uniforms and jackets that are washed often. You can see it alongside iron-on, hook-and-loop and plastic in our backings and borders section, and our guide to patch backing types compares them in detail.
To see your design on a jacket or cap first, try the free Patch Studio. Then request a quote with your size, quantity, colours, backing and in-hands date. Custom patch runs start from 100 pieces, and you will have a quote within 2 to 3 business days.