The difference between soft and hard enamel pins is where the colour sits. On a soft enamel pin the enamel fills the recesses below the raised metal lines, so the surface is textured and you can feel the ridges. On a hard enamel pin the enamel is filled level with the metal and polished flat, so it is smooth, glossy and resists chipping. Soft enamel generally costs less; hard enamel looks more formal.
Below we cover how each is made, how they compare on look, durability and detail, and which one suits service awards, event pins and merchandise.
How each pin is made
Both start the same way. A die is cut from your artwork for every new design, and that die strikes the outline and the raised metal lines into a metal blank. The struck pin is cut to shape, and the recessed areas between the lines become cells that hold the colour.
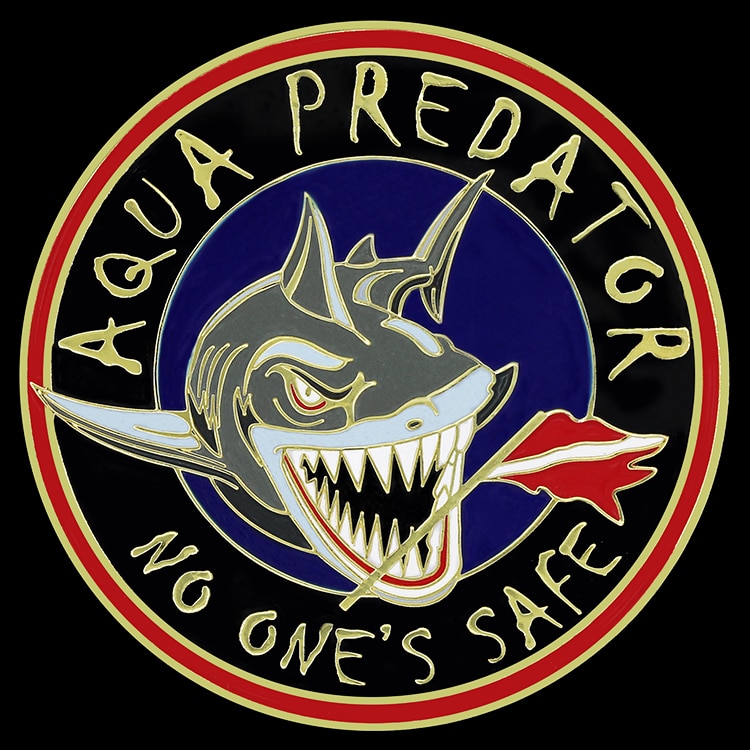
For a soft enamel pin, coloured enamel is filled into those cells and cured, leaving it sitting below the top of the metal lines. The pin is plated, and the raised metal stays visible as a frame around every colour.
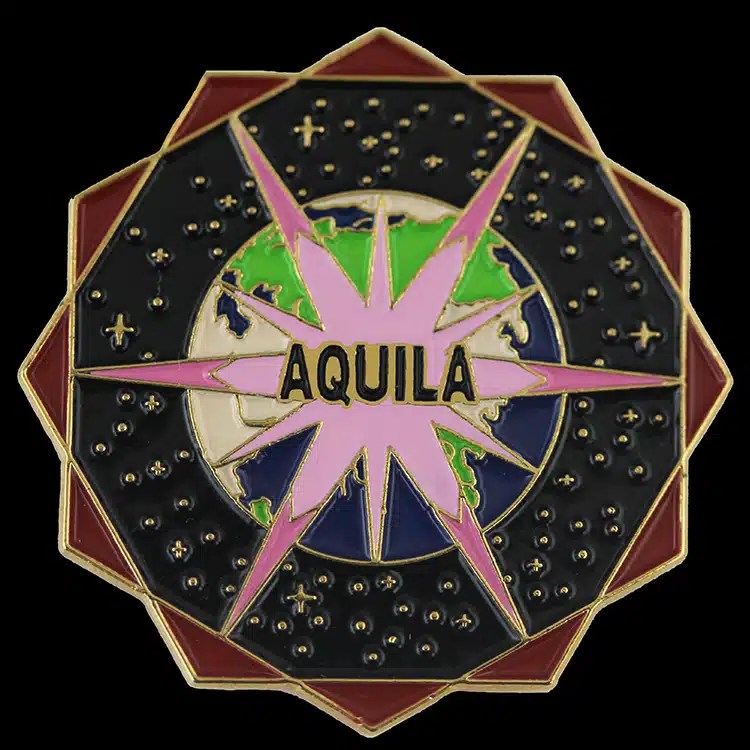
For a hard enamel pin, often called cloisonne, the cells are filled until the enamel comes up level with the metal. The pin is fired and then polished until enamel and metal sit on one flat plane. That polishing step gives hard enamel its glass like surface, and it is a large part of why the process takes more work.
You can see every construction we run on our custom lapel pins page.
Look and feel side by side
Soft enamel has depth. Light catches the raised metal lines while the recessed colour sits slightly lower, which gives the pin a dimensional, graphic look. It is the finish most people picture when they think of an event or brand pin.
Hard enamel reads as a single polished surface. Colours look solid and even, the metal lines look inlaid rather than raised, and the whole pin has the finish of a piece of jewellery. That is why it is the usual choice for service, rank and anniversary pins.
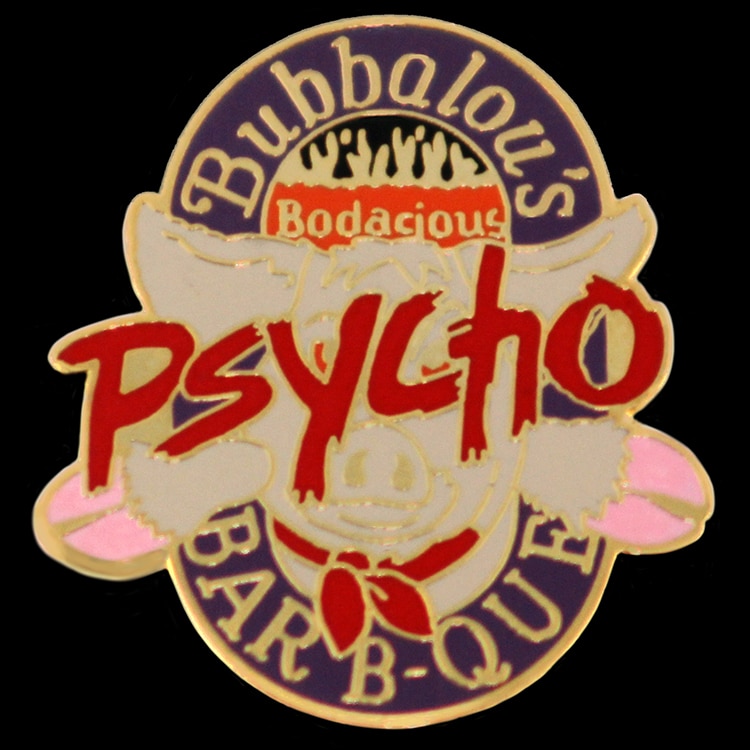
Both finishes show the metal outline, both take plating, and both can carry the same artwork. The real question is whether you want texture or polish.
Durability, detail and colour
Durability
Hard enamel is the tougher surface. Because the enamel is polished flush, there is no exposed edge for keys or a zip to catch, and it resists chipping and scratching over years of wear. Soft enamel is protected by its raised metal lines, which take most of the contact, and it holds up well for everyday use. A pin that will be handled constantly or kept for decades is where hard enamel earns its place.
Detail
Both constructions rely on metal lines to separate colours, so very fine lines and tiny text are limited by what the die can strike cleanly. As general guidance, lettering and lines need enough width to stand up as metal, and small details placed close together tend to fill in. Simplify outlines, drop hairline strokes and keep lettering bold for either finish. If your artwork genuinely needs fine lettering, a photo etched pin handles it better, as we cover below.
Colour
Each colour sits in its own cell, so the colour count matters on both. Soft enamel colours look rich in the recesses; hard enamel colours look even and glossy. Neither can reproduce gradients or photographs with enamel fill. Those need a printed pin.
Soft vs hard enamel at a glance
| Factor | Soft enamel | Hard enamel |
|---|---|---|
| Surface | Enamel recessed below raised metal lines | Enamel polished flush with the metal |
| Feel | Textured, ridges you can feel | Smooth, glass like |
| Look | Dimensional and graphic | Polished and formal |
| Durability | Good for everyday wear | Resists chipping and scratching |
| Relative cost | Generally lower | Generally higher |
| Epoxy dome | Optional, levels and protects the face | Not needed |
| Best for | Events, merchandise, trading pins, large runs | Service awards, rank, membership, lasting emblems |
Plating, epoxy dome and back attachments
Plating sets the colour of the metal lines. Every construction we run plates in gold, silver or nickel, with copper as an option, and the finish can be antiqued, sandblasted or polished. Antiquing darkens the recesses for a vintage look and suits pins without enamel. A polished finish is the usual partner for hard enamel, and a sandblasted background gives texture against polished raised lines.
A clear epoxy dome over soft enamel is common in the trade. It levels the surface, adds gloss and protects the colour, though it removes the textured feel that many people choose soft enamel for. If you want soft enamel with a smoother face, ask for the dome on the quote.
The back attachment depends on how the pin will be worn:
- Butterfly clutch: the standard metal back, fine for most lapels, caps and bags.
- Rubber clutch: softer to handle and grips well, comfortable for pins that go on and off often.
- Magnetic back: no hole in the garment, useful on suits and delicate fabric.
- Safety pin: a secure back for larger or heavier pins.
Other pin types worth knowing
Soft and hard enamel are not the only options. Our lapel pin types also include:
- Die struck without enamel: plated metal alone, often antiqued or sandblasted. A classic, understated look for corporate and anniversary pins.
- Photo etched: the artwork is chemically etched into brass for fine lettering, filled with soft enamel and domed in clear epoxy. A good fit for detailed seals.
- Silkscreened and offset printed: full colour artwork printed onto a flat metal pin, with offset printing finished under an epoxy dome. Use these for gradients and photographic art.
- Specialty pins: spinners, blinkers, danglers and other built up constructions.
Planning coins for the same program? Our challenge coin design guide covers the die, enamel and plating decisions for a two faced coin.
When to choose soft or hard enamel
Choose hard enamel for
- Years of service and retirement pins.
- Rank, membership and graduation pins.
- Formal emblem pins worn on suits and dress uniforms.
- Any pin meant to be kept and worn for decades.
Choose soft enamel for
- Event, conference and convention pins.
- Merchandise, fundraisers and trading pins.
- Team and club pins handed out each season.
- Bold, graphic artwork that benefits from texture, and runs where the per-piece budget matters most.
If you are torn, ask for both finishes at the same size and quantity on one quote. You see the cost difference without guessing, and the proof makes the choice easier. Event pins often go out with a badge lanyard, and our lanyard attachments and materials guide covers that side of the order.
What drives pin cost and what to send us
We do not publish prices, because every pin job is quoted from the factory price. The main cost drivers are size, construction (hard enamel takes more work than soft), the number of enamel colours, the die cut for a new design, plating and finish, an epoxy dome, the back attachment and the in-hands date. Larger runs generally lower the per-piece cost because the die and setup are spread over more pieces.
For an accurate quote, send:
- Size: overall width and height, or the diameter for a round pin.
- Quantity, ideally two or three of them, for example 100, 200 and 500.
- Construction: soft enamel, hard enamel, or both quoted side by side.
- Enamel colours, with Pantone references if you have them.
- Plating and finish: gold, silver, nickel or copper; polished, antiqued or sandblasted.
- Back attachment: butterfly clutch, rubber clutch, magnetic back or safety pin.
- Artwork: vector AI, EPS or PDF is cleanest; a PNG or a photo of an existing pin is enough to start.
- Your in-hands date.
Send those details through our quote request form. Brad prices the job at the factories that run that construction and sends back one quote within 2 to 3 business days. You approve a proof in writing before anything is made, and production typically runs about 3 to 4 weeks after approval, confirmed on the quote. If your program needs patches as well as pins, you can preview the logo as a patch in our free Patch Studio before you ask.