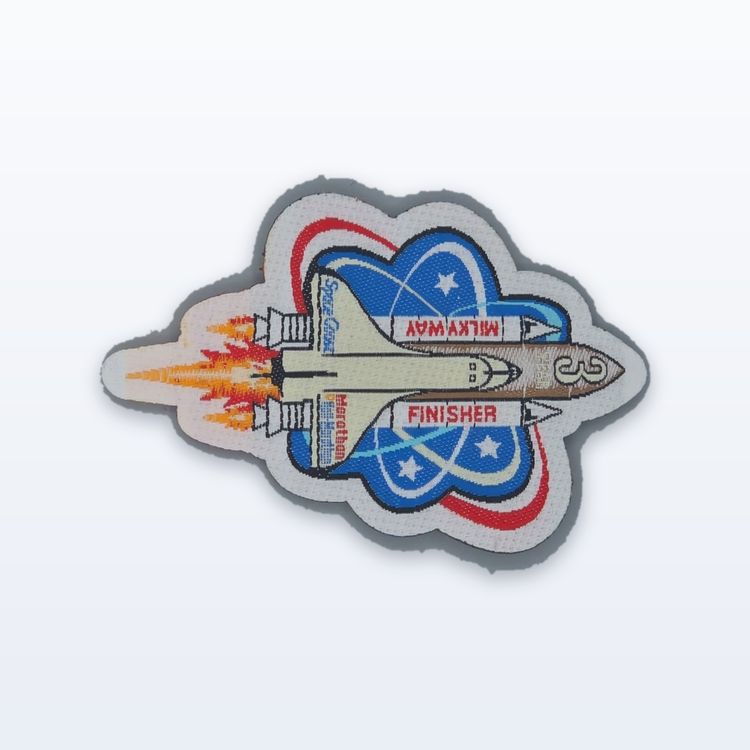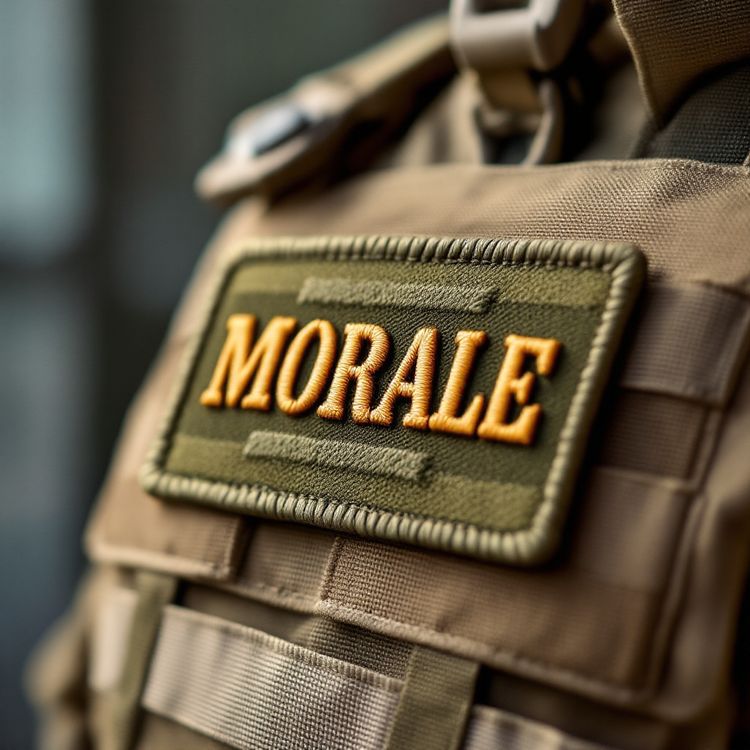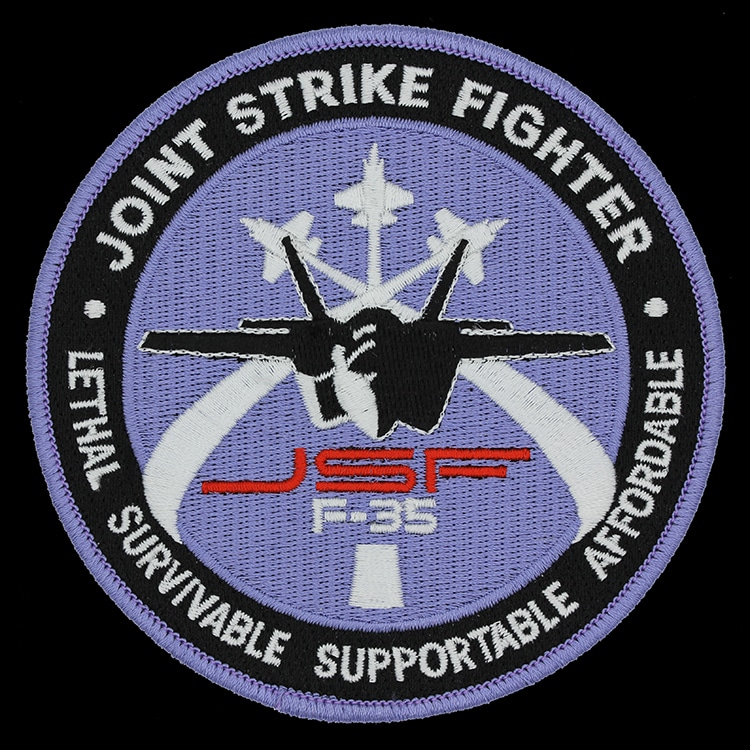
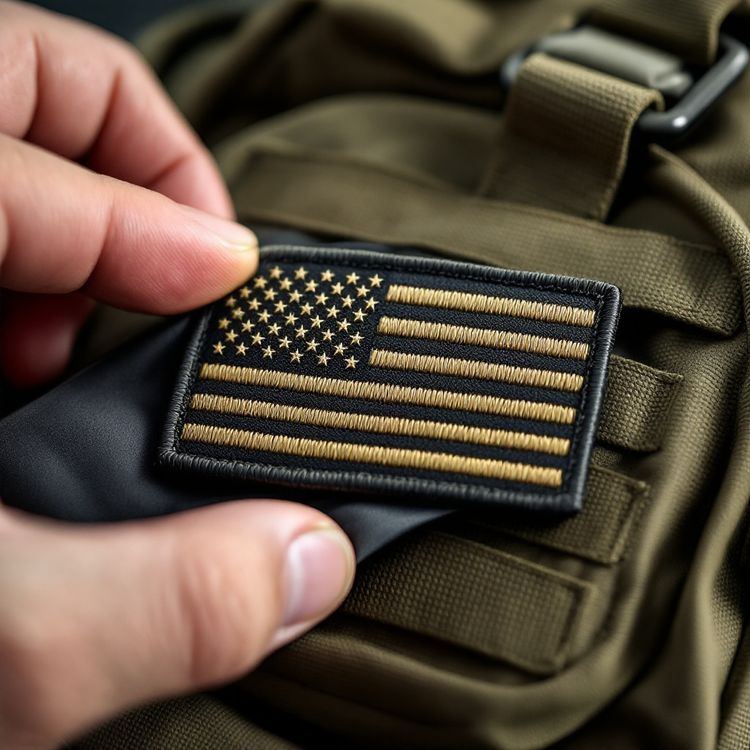
The backing is the material on the back of a patch that decides how it attaches. The four we offer are sew-on, iron-on (also called heat seal), hook-and-loop, and a rigid plastic backing. Sew-on is the most permanent, iron-on is the quickest to apply, hook-and-loop lets the patch come off and go back on, and plastic keeps the patch flat and stiff.
Choosing well comes down to the garment fabric, how often it gets washed, and whether the patch ever needs to move. Here is how each one works and where it fits.
Sew-on backing
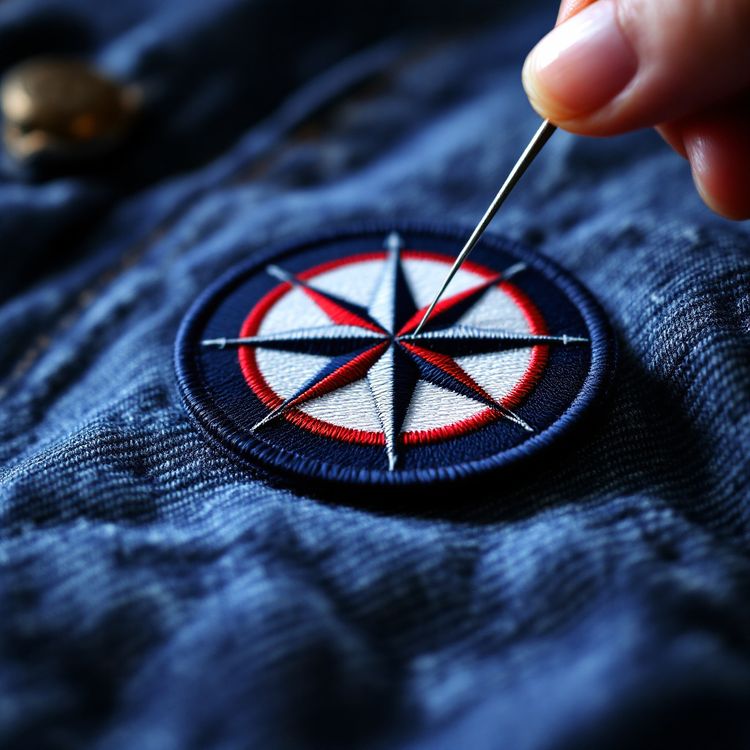
A sew-on patch has no adhesive. It is stitched to the garment around the border, by machine or by hand. It is the most permanent option and the standard for uniforms that are washed often, including work shirts, jackets and anything that goes through an industrial laundry.
A merrowed border gives a natural channel for the stitches, and a heat cut edge can be stitched just inside the outline. A local tailor or uniform shop can sew patches on quickly if you do not want to do it yourself.
Iron-on or heat seal backing
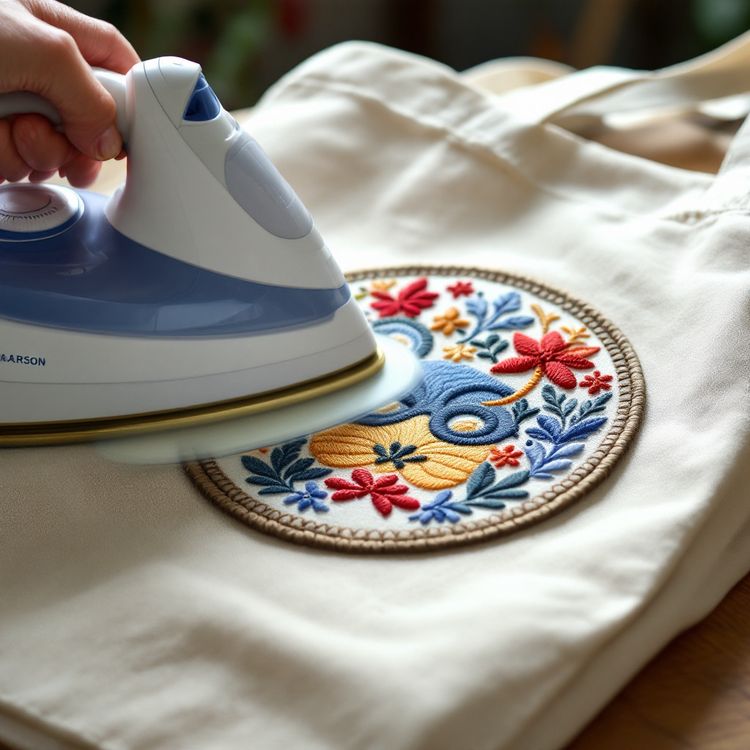
An iron-on patch has a layer of heat activated adhesive on the back. Heat and pressure from a household iron or a heat press melt the adhesive into the fabric. It is quick, needs no sewing, and works well on cotton, denim and canvas.
As general guidance, heat seal adhesive is less reliable on nylon, polyester performance fabrics, leather, waterproof coatings and garments washed hot on a regular basis. On those, the bond can lift at the edges over time, and some fabrics do not tolerate the heat needed to set it.
Our step by step guide on how to attach iron-on patches covers typical iron settings, press cloths and what to do if an edge starts to lift.
Iron on first, then sew
A common approach is to order iron-on, press the patch in place to fix its position, then sew around the edge. The adhesive holds the patch flat and square while you stitch, and the stitching gives you the permanence. It is a good choice when patches go on by hand at home, for example on youth uniforms.
Hook-and-loop backing
A hook-and-loop patch has the hook side sewn to its back. It presses onto a matching loop panel and peels off again. That makes it the standard for tactical gear, plate carriers, range bags, backpacks and jackets where patches change between roles, events or units.
The loop side has to be on the garment or gear first. Many tactical items come with loop panels already fitted. On anything else, the loop panel has to be sewn on, and then the patch attaches to it. If you need loop pieces supplied, say so on the quote. Panel sizes such as 2 x 3 and 3 x 5 in are common, so match the size already on your gear. Our military morale and unit patches guide goes deeper on gear and panel sizes.
Plastic backing and peel-and-stick
A rigid plastic backing stiffens the patch so it sits flat and holds its shape. It suits patches that will be framed, displayed, collected, or sewn onto items where you want no curl at the edges.
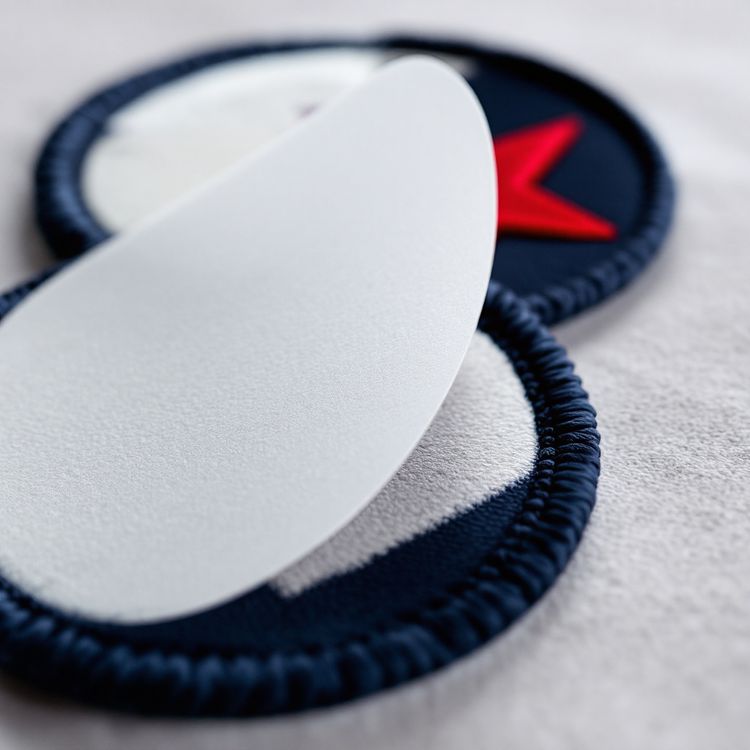
Peel-and-stick, or adhesive backing, is not one of our four standard backings. In the industry it is generally used for one-day events, giveaways and name badges where the patch only needs to stay on for a few hours. If that is what you need, ask on your quote and we will check what the factory can do.
Patch backings compared
| Backing | Permanence | Fabrics | Washing | Best for |
|---|---|---|---|---|
| Sew-on | Permanent | Almost any, including leather and nylon | Handles frequent and industrial washing | Uniforms, workwear, outerwear, vests |
| Iron-on | Semi permanent | Cotton, denim, canvas | Gentle washing; sew for heavy use | Casual wear, totes, youth uniforms |
| Hook-and-loop | Removable | Any fabric with a loop panel fitted | Remove the patch before washing if you can | Tactical gear, bags, swappable IDs |
| Plastic | Depends on how it is attached | Items where a flat, stiff patch is wanted | Not intended for frequent washing | Display, collecting, framing |
| Peel-and-stick (ask on quote) | Temporary | Smooth surfaces and clothing for a day | Not washable | One-day events, giveaways |
Backing is separate from the edge. Whichever you pick, the patch still has a merrowed or heat cut border; see merrowed vs heat cut borders for that choice.
Choosing a backing by garment
- Work shirts and uniforms washed often: sew-on.
- Leather or denim vests and jackets: sew-on, since iron-on does not suit leather.
- Cotton tees, hoodies, denim and canvas totes: iron-on, with a few stitches for extra hold.
- Nylon or polyester shells and performance wear: sew-on.
- Tactical vests, plate carriers, range bags: hook-and-loop.
- Youth and scout uniforms applied at home: iron-on, then a few stitches.
- Patches for display or collecting: plastic backing.
- One-day events: ask about peel-and-stick on the quote.
Common backing mistakes to avoid
Most backing problems show up a few weeks after the patches go on, not on the day. A little planning at the quote stage avoids them.
Iron-on for uniforms that go through a commercial laundry
Repeated hot washing and tumble drying is hard on heat seal adhesive. If your uniforms are cleaned by a laundry service, order sew-on, or plan to stitch iron-on patches after pressing them.
Hook-and-loop with nothing to stick to
A hook-backed patch will not attach to plain fabric. Check that every jacket, bag or vest has a loop panel in the right size, or budget for sewing panels on before the patches arrive.
One backing for a mixed set of garments
Crews often wear the same patch on a cotton shirt, a nylon jacket and a cap. A single backing rarely suits all three. Splitting the quantity between two backings on one order costs little in planning and saves patches peeling off outerwear later.
Forgetting who will attach them
If volunteers or parents will apply patches at home, iron-on saves time. If a uniform shop will sew them, sew-on is all you need, and there is no adhesive layer to stiffen the patch.
Put the backing on your quote
The backing is one of the items we need for an accurate price, along with size, quantity, colours, artwork and your in-hands date. You can see each option on our patch backings section, and preview sew-on, iron-on or hook-and-loop on your own logo in the free Patch Studio.
When you request a quote, tell us where the patches will go and how the garments are cleaned. If we think a different backing will hold up better, we will say so before you approve the proof.