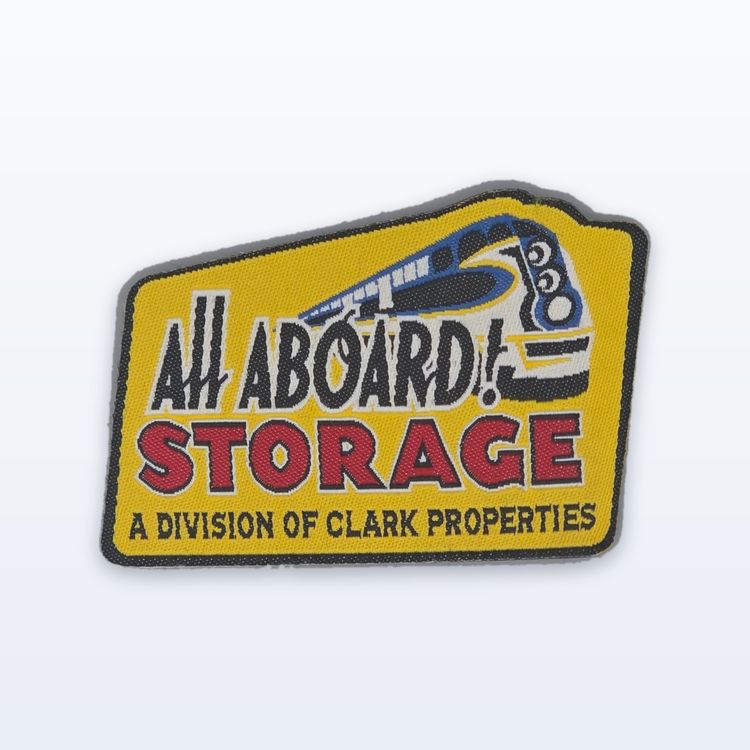
Custom patches give a business a consistent logo on every uniform, no matter which supplier made the shirt, jacket or cap. You choose the logo size and construction once, we make a run of identical patches, and they can be sewn onto any garment you buy now or later. For most teams the practical choice is an embroidered or woven patch around 3 to 3.5 in for the left chest, with a sew-on backing for garments that are washed often.
This guide is written for HR, operations and marketing managers who need staff looking the same across locations, roles and garment orders. It covers when patches make more sense than direct embroidery, sizing, construction, backing, colour matching and how to plan for staff turnover.
Patches vs direct embroidery on garments
Direct embroidery stitches your logo straight into the garment. It looks clean, but it ties your logo to that exact garment and that exact supplier. When the shirt style is discontinued or a different vendor fills the next order, the logo can come back a slightly different size, colour or stitch quality.
A patch separates the logo from the garment. Some practical advantages for a business:
- Consistency across vendors. Every patch comes from the same run, so a polo from one supplier and a jacket from another carry an identical logo.
- Portability. When a uniform wears out, the patch can often be removed and sewn onto the replacement, or you pull a spare from stock.
- Local application. Any tailor, alteration shop or uniform supplier near your sites can sew a patch on. You do not need an embroidery machine in every region.
- Mixed garments. One design works on shirts, outerwear, caps, aprons and bags, sized to suit each.
Direct embroidery still makes sense when you buy a single garment style in bulk from one source and rarely change it. For teams with turnover, several sites or a mix of garment types, patches are usually easier to manage. Our corporate and uniform patches page shows the kind of work involved.
Placement and sizes for work uniforms
Start with where the logo will be worn, then size the patch to that spot. These are common starting points, not limits:
| Placement | Common size | Notes |
|---|---|---|
| Left chest (shirts, polos, jackets) | 3 to 3.5 in | The standard spot for a company logo |
| Shoulder or upper sleeve | 3 to 4.5 in | Good for a secondary mark or a department patch |
| Cap front | 2 to 2.5 in tall | Keep wide logos short so they sit on the crown |
| Jacket back | 8 to 12 in | For crews seen from behind, such as field and delivery staff |
| Name patch or tape | 4 to 5 in wide | One name per patch, sized to the chest panel |
In the trade, patch size is usually quoted as width plus height divided by two, so a 4 x 2 in patch is quoted as a 3 in patch. If you need help picking a size for each garment, our patch size guide goes placement by placement.
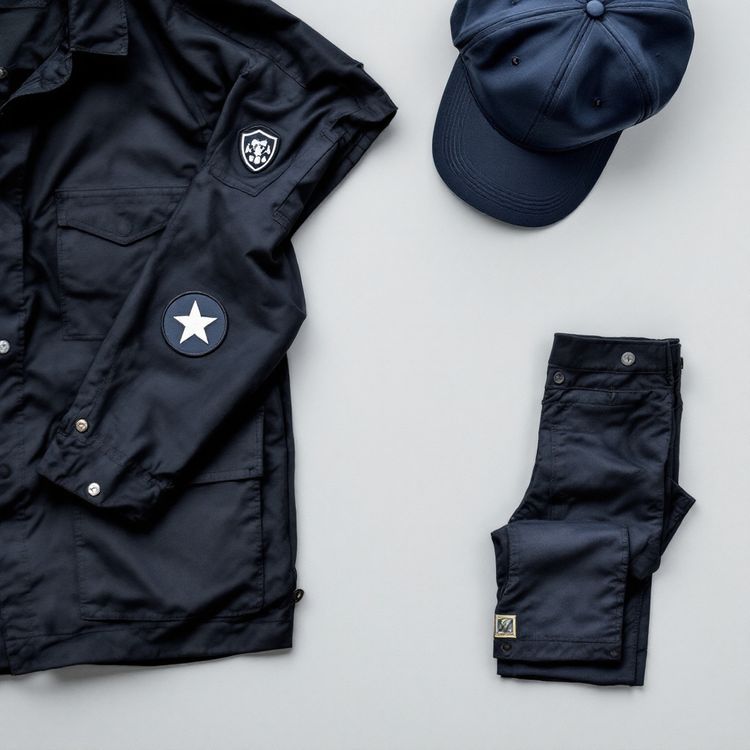
Name patches
Name patches are made per person, so they need a tidy list: spelling, the name as it should appear, and any title. Many businesses keep the logo patch and the name patch separate, so a new hire only needs a name patch and the logo comes from stock.
Choosing a construction for a company logo
Most business logos fall into one of two cases.
Bold logo, few colours, short name. Embroidery gives raised texture and a classic uniform look. As a general guide, embroidered lettering needs about 1/4 in (6 mm) cap height to stay readable, so a short wordmark at chest size works well.
Fine text, a tagline, thin lines or small icons. Woven is usually the better fit. Woven thread is finer, so it holds smaller lettering and thinner lines than embroidery can, and the patch is thin and flexible on lightweight shirts. A full logo lockup with a tagline often reads cleanly as woven at a size where embroidery would blur it.
If the logo uses a gradient or a photographic element, a sublimated patch prints it in full colour. Ask for two constructions side by side on one quote if you are unsure.
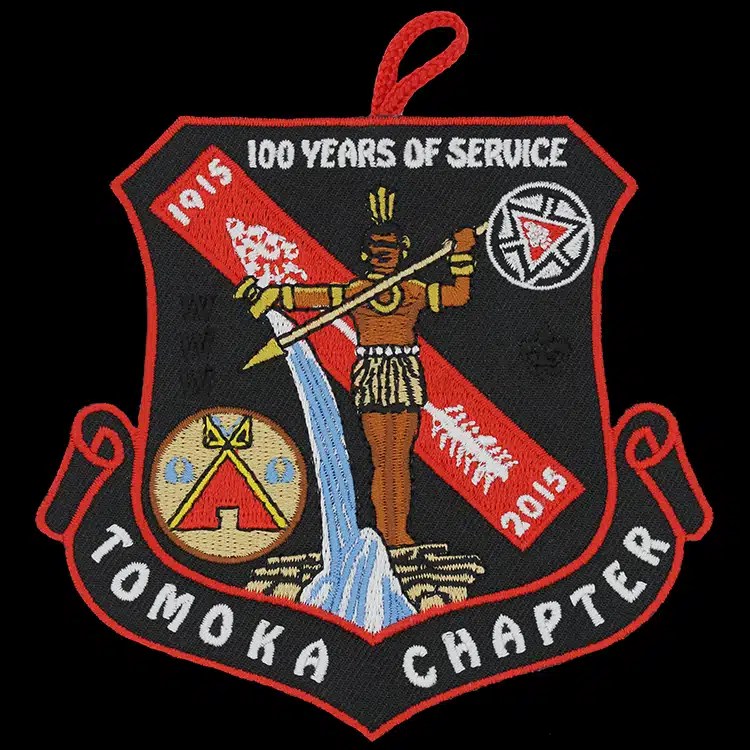
Backing choice for workwear and laundering
Uniforms are washed far more often than most garments, and many go through commercial or industrial laundry. That makes backing the decision most likely to cause problems later if it is chosen for convenience.
- Sew-on is the most permanent option and the right default for uniforms washed often. It is what a tailor or uniform shop expects to receive.
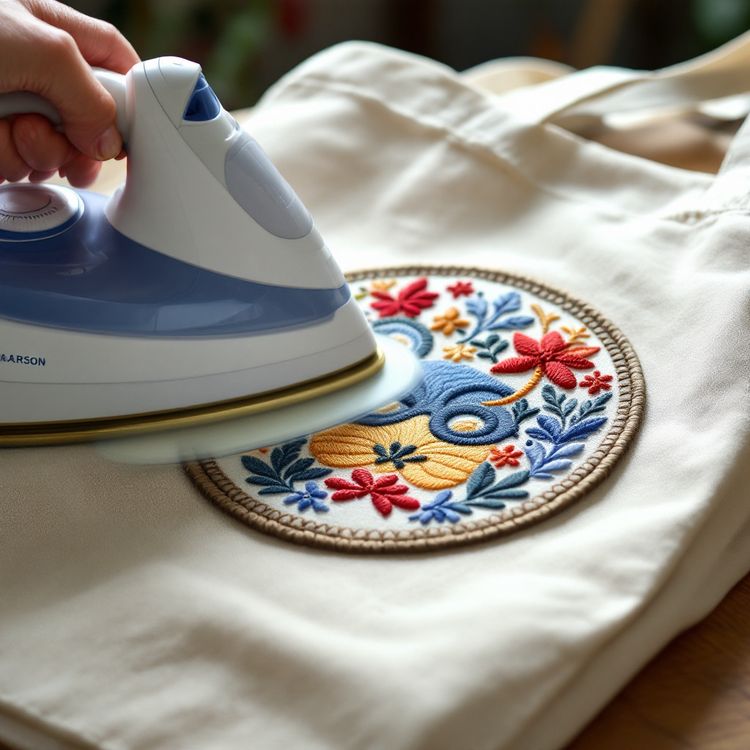
- Iron-on is quick for cotton and canvas, but adhesive alone is less reliable on polyester performance fabrics and on garments washed hot. If you use it, sew around the edge as well. Our guide on how to attach iron-on patches covers when it works.
- Hook-and-loop lets a patch come off for laundering or move between garments, and suits jackets, vests and bags. The loop side has to be sewn onto the garment first.
Matching brand colours in thread
Thread comes in a fixed range of colours, so each brand colour is matched to the nearest available thread. Send Pantone references with your artwork, and tell us which colour matters most if two are close. The proof shows the thread colours we have chosen, and nothing is made until you approve it in writing.
Keep the colour count reasonable. Every extra colour adds stitching and can raise cost, and very small areas of a third or fourth colour often disappear at chest size. Twill colour matters too: choosing a background twill that matches the garment or the main brand colour can reduce how much needs to be stitched.
Planning for staff turnover and reorders
The mistake we see most is ordering exactly one patch per current employee. Within months there are new hires, replacement garments and lost jackets, and a small reorder becomes urgent.
Plan the first run around garments, not people. Count the uniforms each person wears in rotation, add outerwear and caps, then add spares for new hires and replacements. Custom minimums start from 100 pieces for most products, confirmed on the quote, and larger runs generally lower the per-piece cost because setup is spread over more pieces. Ask for pricing at two or three quantities, for example 100, 200 and 500, on one quote.
When you do reorder, your digitizing stays on file, so the reorder skips the setup and the new patches match the old ones.
Rollout checklist
- Final logo file (vector AI, EPS or PDF is cleanest; PNG is accepted)
- Pantone references for each brand colour
- List of garments and placements, with a size for each
- Construction: embroidered, woven or both quoted side by side
- Backing: sew-on for most uniforms, hook-and-loop where patches come off
- Quantity per placement, including spares for new hires
- Name list with exact spellings, if name patches are needed
- Who will sew the patches on, and your in-hands date
Before you send the request, you can upload your logo to the free Patch Studio and see it on a jacket or a cap at your chosen size. It is a rendering rather than a guarantee, but it is a quick way to agree on size and shape internally.
Beyond the uniform: labels and gifts
The same logo often ends up on more than the uniform. If you sell or give away branded apparel, custom woven labels put your name inside the collar or on a hem, the same way clothing brands finish a garment.
For client gifts, onboarding kits and team travel, embroidered luggage tags carry the logo on a heavy twill tag with an ID window on the back. Our embroidered luggage tags guide covers sizes and shapes.
Getting a quote for your team
Send your logo, the placements and sizes, the quantity for each, your preferred construction and backing, and the date you need patches in hand. We send the job to two or three factories that make that construction and come back with one quote in 2 to 3 business days. A proof follows for written approval, and production typically runs about 3 to 4 weeks after that, confirmed on the quote. Request a quote and we will take it from there.