Good patch design ideas share a few traits: one clear subject, bold shapes, three to six colours, and short text set large. Crests and badges, simple landscape scenes, die-cut objects, type-only badges, retro travel styles and numbered series all stitch well because they are built from solid areas rather than fine detail. Below are twelve ideas grouped by purpose, with a note on how to make each one work at patch size.
Use them as starting points for a team, department, brand, club or event. If you already have a logo, our guide to designing a logo that embroiders well covers adapting it.
First, what makes a design stitch well
Every idea below follows the same few rules, so it is worth knowing them before you sketch.
- One focal subject that reads from across a room.
- Solid shapes with clear edges, not soft shading.
- Lettering at least about 1/4 in (6 mm) tall on embroidered patches, as a general guide.
- Lines no thinner than about 1 mm.
- A limited palette with strong contrast between neighboring areas.
- A border or outline that frames the design.
If an idea needs more detail than that, a woven patch holds finer elements, and a sublimated patch can carry gradients and photographs.
Badges, crests and emblems
1. The classic shield
A shield with a central emblem, a name banner across the top and a motto or date along the bottom is the template behind countless department, school and club patches. It works because each element has its own zone. Keep the emblem simple and the motto short.
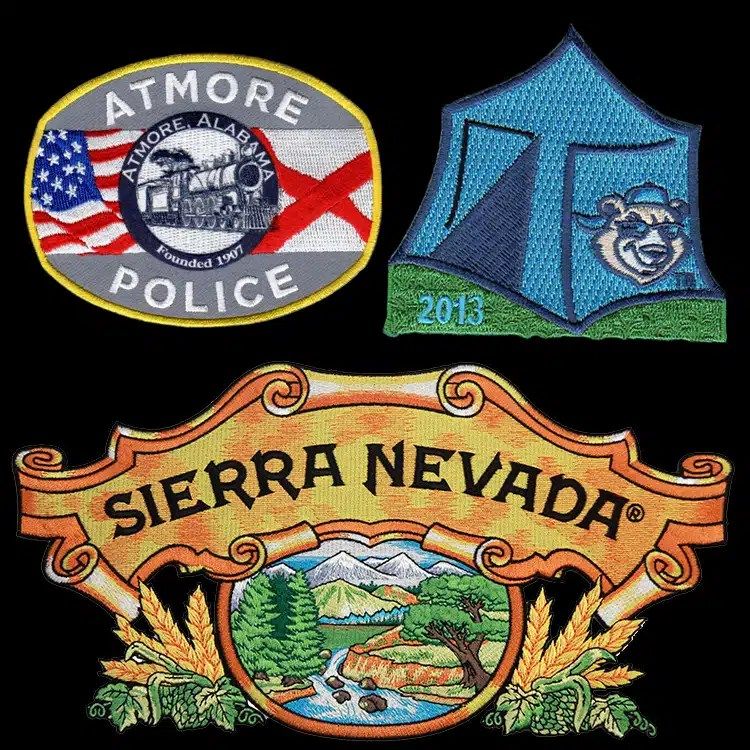
2. The round seal
A circle with lettering around a ring and an icon in the middle suits organizations, anniversaries and municipal departments. Give the ring lettering enough height; it is the first thing to become cramped. If the seal has fine detail, consider woven.
3. The rocker set
A center patch with curved top and bottom rockers lets a club or crew vary the location or chapter without redrawing the main design. The rockers and back patches guide explains how to plan a set.
Scenes and places
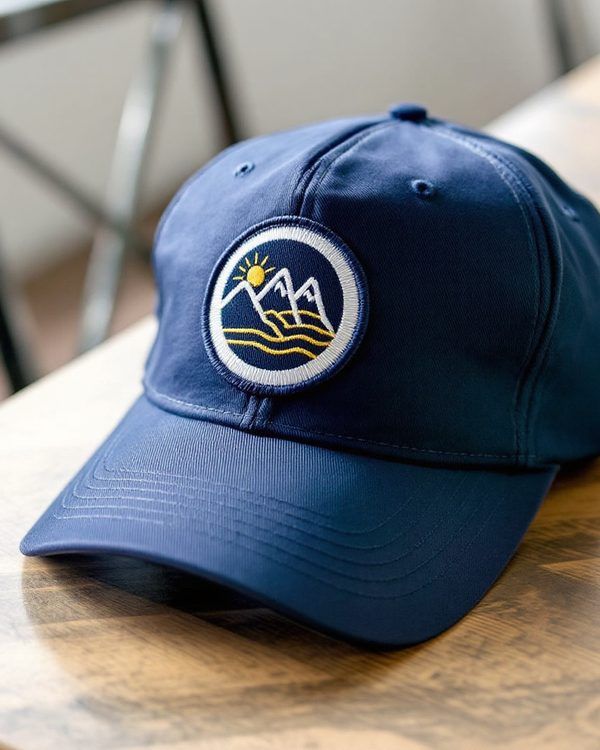
4. The landscape badge
Mountains, a lake, pine trees and a sky in three or four bands make one of the most popular patch styles for parks, trails, camps and outdoor brands. Treat each band as a solid colour, and let a sun or moon add one accent.
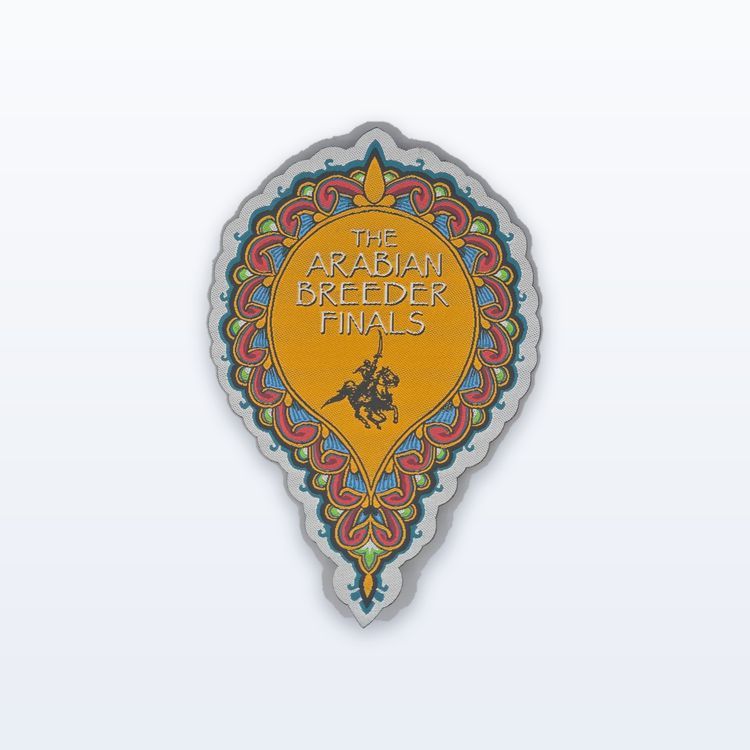
5. The retro travel patch
Borrow from vintage souvenir patches: a bold place name in a script or block, a simple landmark, and a strong border. It suits towns, resorts, events and destination merch.
6. The map or outline
A state, county or coastline outline with a star on a location is easy to read and works well as a die-cut shape. Simplify the coastline; tiny inlets and islands will not stitch.
Die-cut shapes and objects
7. The object patch
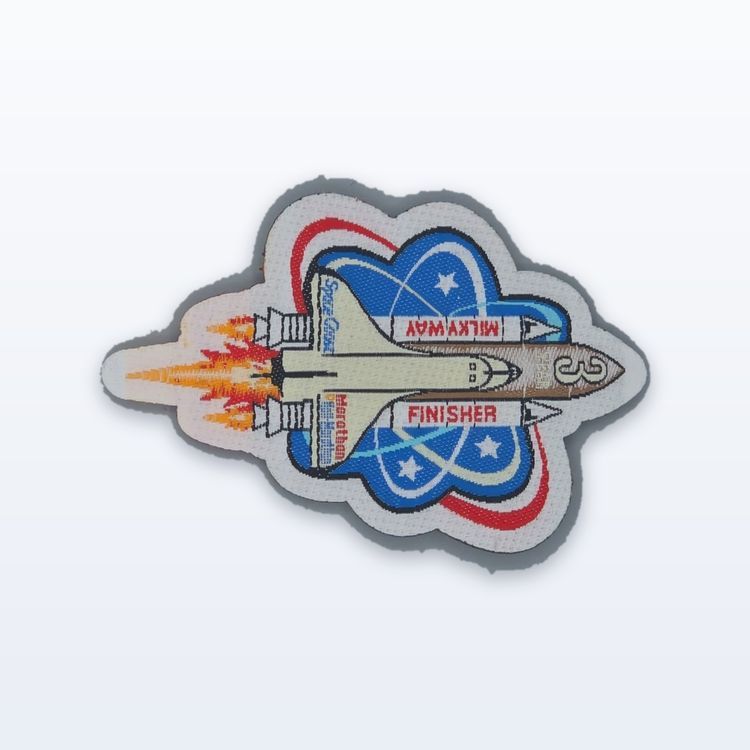
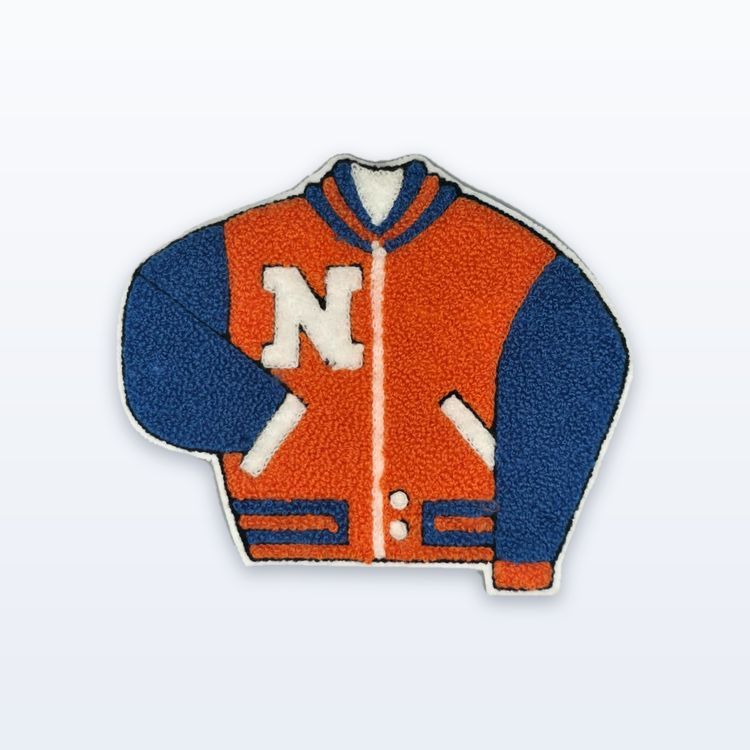
Cut the patch to the outline of a thing: a fire helmet, a coffee cup, a guitar, a varsity jacket, a fish. Object patches look playful and work well as merch. A heat cut edge follows the outline closely; read our border guide for when a merrowed edge still fits.
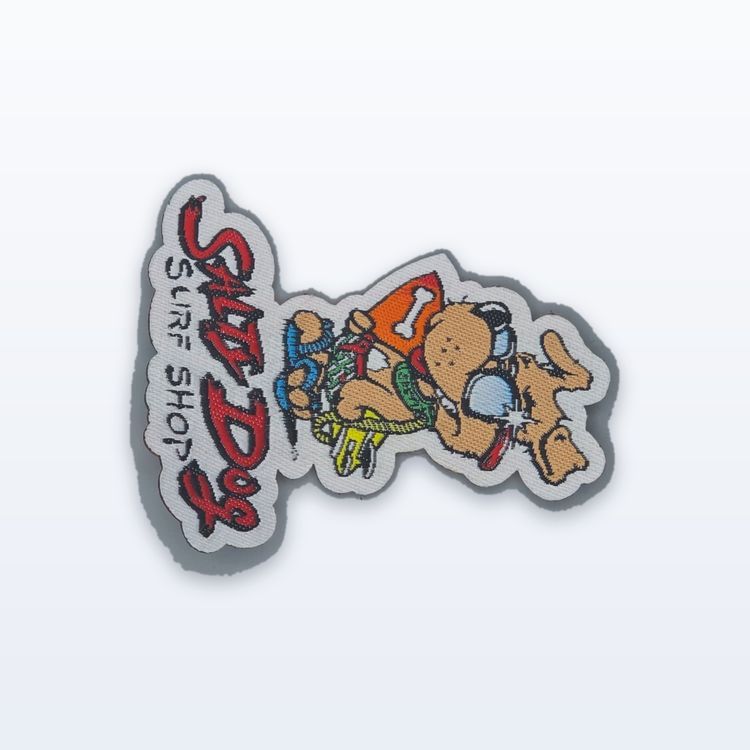
8. The mascot
A mascot head or full character suits teams and schools. Use a thick outline around the character so it stays readable against any garment, and limit the facial detail to a few bold shapes.
Type-led ideas
9. The word badge
Some of the strongest patches are just a word or two in a bold font inside a simple shape: a crew name, a motto, an inside joke. They are fast to design and stitch cleanly. Our list of fonts that work in embroidery will help you pick a typeface.
10. The varsity letter
A single chenille letter with a felt edge, sometimes with a small embroidered sport or year, is a design in itself. It suits schools, alumni groups and brands with a heritage feel.
Series and occasion patches
11. The yearly series
Keep the same shape, size and layout every year and change only the year and the colour scheme. Events, races, camps and clubs use this so collectors want the full set. Reorders skip setup and the digitizing stays on file, so each year starts from the same base.
12. The milestone patch
Anniversaries, retirements, deployments, championships and fundraisers all suit a one-off patch with a date. Keep the date large and the story simple; one image and one line usually say more than a crowded collage.
Matching the idea to a construction
| Idea | Construction that suits it | Why |
|---|---|---|
| Shield, rocker, mascot | Embroidered | Bold shapes and raised texture |
| Round seal with fine ring text | Woven | Holds small lettering and thin lines |
| Landscape with a sunset sky | Sublimated, or embroidered in bands | Print carries gradients; thread needs steps |
| Varsity letter, object patch | Chenille | Soft, tufted, large simple areas |
| Formal crest for a blazer | Hand embroidered bullion | Metallic wire and raised relief |
| Large letters and numbers | Satin tackle twill | Layered fabric for athletic styles |
From idea to finished patch
You do not need finished artwork to start. A sketch, a reference photo or a rough layout is enough for a quote, and the proof shows how the idea will look before anything is made. Our guide on how to design a custom patch covers shape, size and colour in more depth.
Briefing a designer or a committee
If someone else is drawing the patch, a short brief saves rounds of changes. Give them the finished size, the construction you have in mind, the garment or gear it goes on, the colours you must use and the one thing the patch should say. Share two or three example patches you like and say what you like about each. Ask for a version at real size, not just a large drawing on screen. For a committee or a group vote, show every option at the same size and in the same colours so people compare designs, not presentation.
To see an idea on a jacket or cap, try the free Patch Studio. Then send the details for a quote with the size, quantity and backing. Quotes come back in 2 to 3 business days, and production is about 3 to 4 weeks after proof approval, confirmed on your quote.