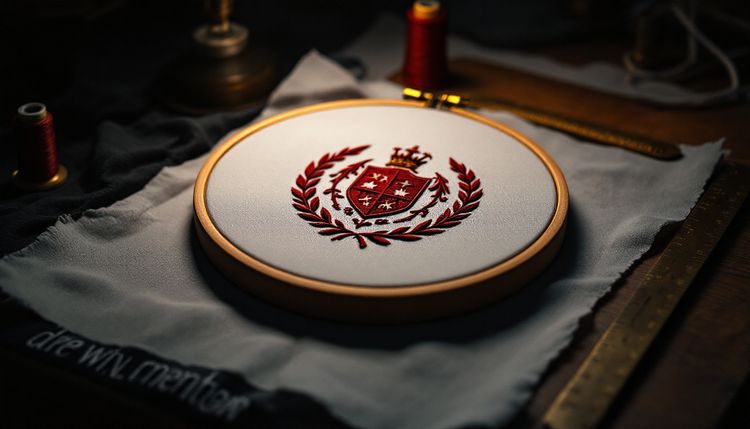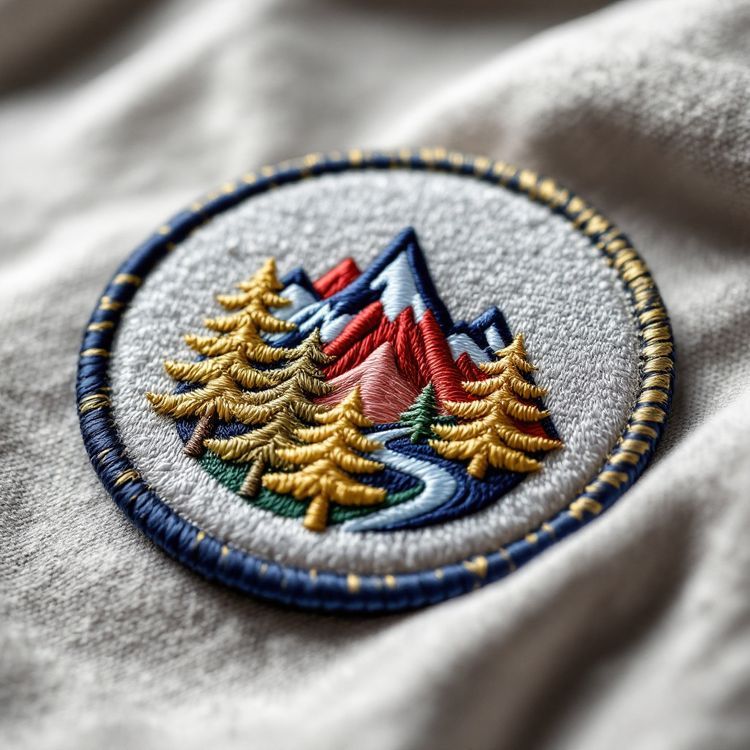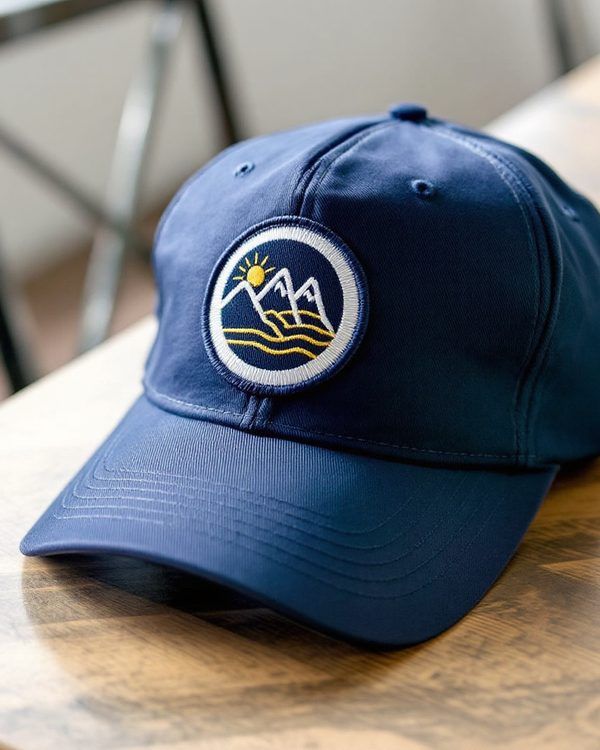
A logo embroiders well when it is built from bold, solid shapes, uses a few flat colours with strong contrast, keeps text short and large, and avoids hairlines, gradients and tiny details. If your current logo does not meet those rules, you do not need a new brand: make a simplified embroidery version of the same mark, with thicker lines, fewer colours and less text, and use it for patches, caps and uniforms.
Below we cover what thread can and cannot do, the design rules that follow from it, how to adapt an existing logo, and what to send so the first proof looks right.
What thread can and cannot do
An embroidered logo is built from stitches of solid-coloured thread laid on fabric. That gives it texture and depth that print cannot match, but it also sets some physical limits:
- Lines narrower than about 1 mm do not stitch cleanly.
- Text below about 1/4 in (6 mm) cap height starts to fill in, as a general guide.
- Each thread is one solid colour, so gradients become bands.
- Small shapes close together tend to merge.
- Very large solid areas add stiffness and thickness.
Every rule below comes from one of those limits. Our guide to embroidery digitizing explains the process behind them.
Design rules for an embroidery-friendly logo
Bold, simple shapes
Think in silhouettes. A strong logo still reads when filled with a single colour. Rounded corners and smooth curves stitch more cleanly than jagged edges and sharp points.
A limited palette
Three to five flat colours is a comfortable range. Make sure neighboring colours differ clearly in lightness, so the logo reads in thread on any garment. See how to choose patch colours for a quick contrast test.
Readable lettering
Use a bold font with even stroke weight, and keep the wordmark short. Taglines and small descriptors are the first things to fail at small sizes; plan to drop them from the embroidered version. Our list of the best fonts for embroidery helps if you are choosing a typeface.
Line weight
Make the thinnest line in the logo at least about 1 mm at the smallest size it will be stitched. Fine outlines are better as thicker keylines or removed altogether.
Space between elements
Leave clear gaps between shapes and letters. Thread spreads slightly as it sews, and gaps that look comfortable on screen can close in stitching.
Adapting an existing logo
Most organizations already have a logo designed for print and screen. Rather than redesign it, create an embroidery version that keeps its recognizable parts and drops what thread cannot hold.
| Logo feature | Problem in thread | Embroidery version |
|---|---|---|
| Gradient or glow | Becomes visible bands | Flat colour or two solid steps |
| Thin outline | Breaks or disappears | Thicker keyline or no outline |
| Small tagline | Fills in and cannot be read | Remove, or set larger separately |
| Fine texture or pattern | Turns into stray stitches | Solid fill |
| Many colours | Small areas read as noise | Merge to three to five colours |
| Drop shadow | Soft edge cannot stitch | Solid offset shape or remove |
Many brands end up with two or three versions: a full logo for large patches and jacket backs, a compact version for chest patches, and an icon or monogram for cap sides and small tabs.
Design for the smallest size you will use
The same logo might appear as a 2.5 in (64 mm) cap patch, a 3.5 in (89 mm) chest patch and a 10 in (254 mm) back patch. Check it at the smallest size, because that is where detail fails. If something only works at large sizes, keep it in the large version and simplify the small one.
Shape matters too. A logo that is very wide, such as a long wordmark, makes a thin patch where the letters end up small. Stacking the wordmark under an icon, or putting it inside a shape, often gives a better patch. Our patch size guide lists common sizes for each placement.
Light and dark versions
Plan for the garments too. A logo with dark lettering disappears on a navy cap, and a white logo vanishes on a white polo. Most brands keep two colourways of the embroidery version: one for light garments and one for dark. The shapes stay identical, only the thread colours change, so the mark still looks like one brand. List both on your quote request so they are digitized and proofed together.
Placement on caps and sleeves
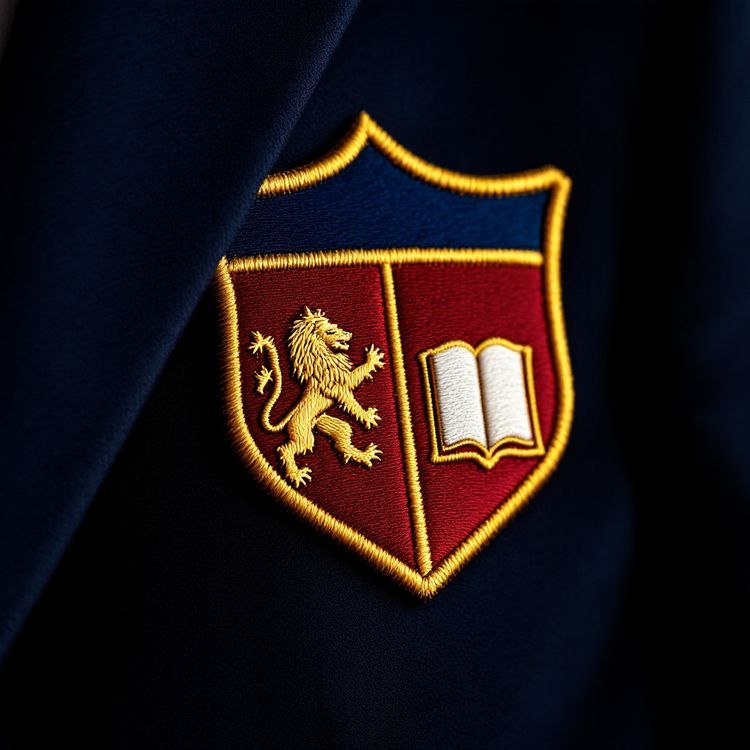
Cap fronts curve and have a center seam on many styles, so a logo with a strong center line or fine detail in the middle can look distorted. Compact, roughly square or round marks sit best on a cap front. Sleeve and shoulder positions suit vertical or shield shapes. Thinking about placement while you design saves a redesign later.
When to choose woven or sublimated instead
Some logos lose too much in embroidery. If yours depends on small text, a detailed seal or hairline linework, a woven patch holds much finer detail while staying a thread product. If it depends on a gradient or a photograph, a sublimated patch is printed and keeps continuous tone. Embroidery remains the best choice for bold marks where texture and a premium feel matter.
What to send with your logo
- The cleanest file you have: AI, EPS or PDF is best, and PNG is accepted.
- Text converted to outlines, or the font name.
- Colour references, such as Pantone numbers or a physical sample.
- The finished size or sizes and where each will be worn.
- Which parts must not change and which can be simplified.
If you do not have a vector file, a clear image or even a photo of an existing patch is enough to start. The guide to preparing artwork for embroidery covers files in more detail.
Preview, proof and quote
Upload your logo to the free Patch Studio to see it as an embroidered or woven patch on a cap or jacket, with an optional stitch check. Then send it for a quote. Quotes come back in 2 to 3 business days, the proof usually 1 to 3 business days after artwork, and nothing is made until you approve the proof in writing. Once your logo is digitized it stays on file, so reorders skip setup and match.