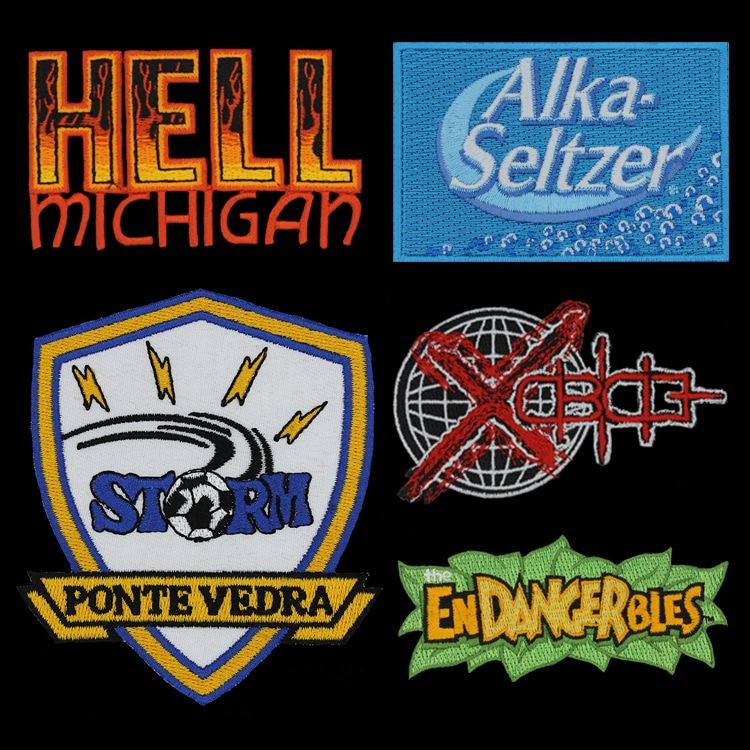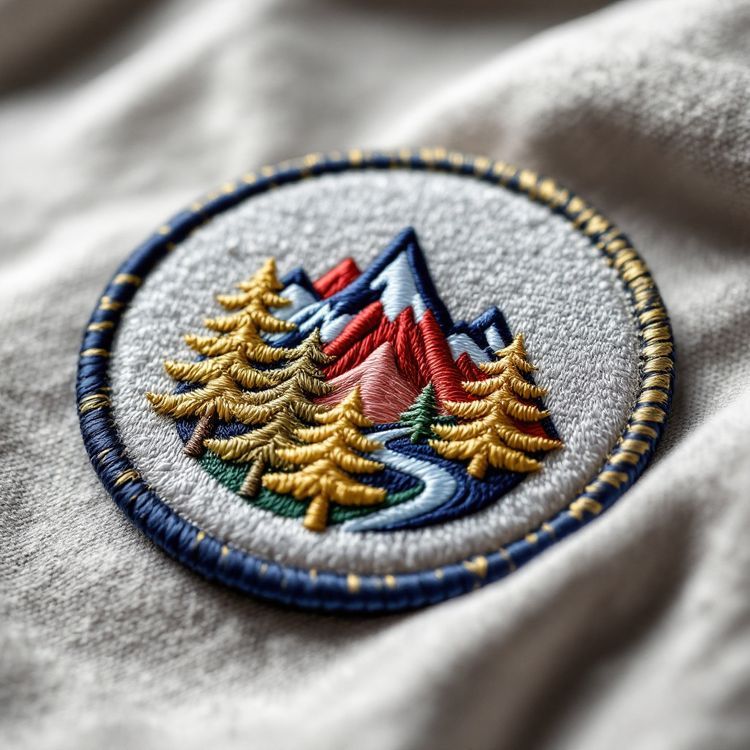
Custom embroidered patches are made by stitching thread onto a twill or felt base, following a stitch file built from your artwork, then finishing the edge and adding a backing. To order one well you choose six things: size, shape, how much of the surface is stitched (coverage), thread colours, border and backing. Get those right and an embroidered patch is the most versatile, durable option for logos, uniforms, clubs and merch.
This guide walks through each decision in the order you will meet it, with the detail limits that matter for embroidery and the information we need to quote your job accurately.
How a custom embroidered patch is made
Every one of our embroidered patches starts with your artwork. A digitizer converts it into a stitch file that tells the machine where each stitch goes, which direction it runs, what order the colours are sewn in and how dense each area is. That step is called digitizing, and it is where most of the quality is decided.
The machine then sews the design onto a sheet of base fabric, usually polyester twill, and sometimes felt. Satin stitches form borders, lettering and narrow shapes. Fill stitches cover larger areas. Once stitched, each patch is cut out, the edge is finished, and the backing is applied.
Before any of that runs, you see a proof showing the size, colours and layout. Nothing goes into production until you approve that proof in writing.
Coverage and base fabric
Coverage is the share of the patch surface covered by thread. At lower coverage, part of the twill base shows through as the background colour. At 100% coverage the whole face is stitched, which gives a richer, thicker patch.
Lower coverage suits simple logos on a solid background colour: the twill does the work, and the patch is lighter and more flexible. Full coverage suits designs with detailed backgrounds, scenes and badges where every area has its own colour. Our explainer on embroidery coverage shows 50%, 75% and 100% side by side.
Twill is the standard base because it is smooth, stable and takes stitches cleanly. Felt has a softer, matte look and is common for vintage and varsity styles.
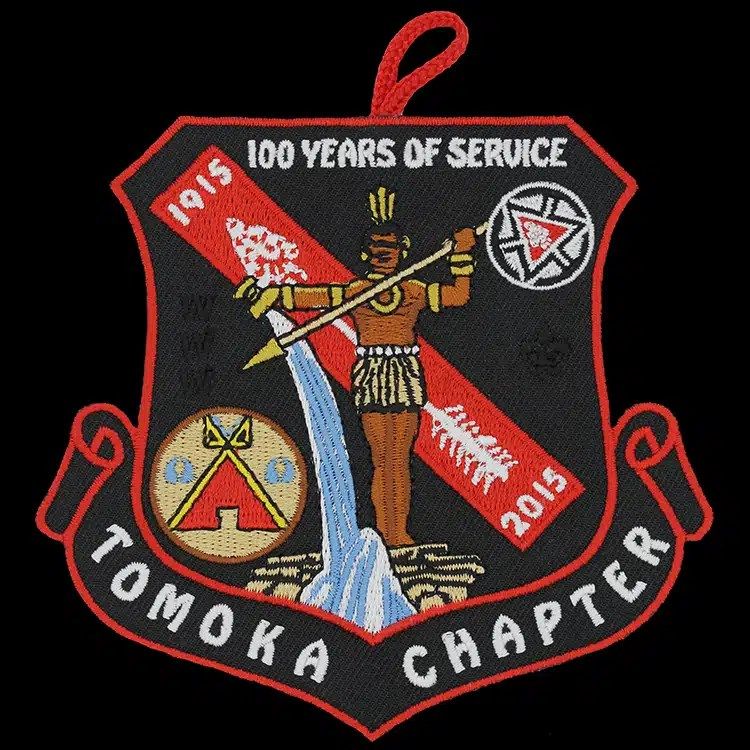
Detail limits: text, lines and small shapes
Embroidery thread has a physical width, so there is a floor to how small detail can go. These are general guides, and the factory confirms them on your proof:
- Lettering: about 1/4 in (6 mm) cap height is a sensible minimum for clean, readable text. Bold, simple fonts hold better than thin or script ones.
- Lines: strokes thinner than about 1 mm tend to break up or disappear.
- Small gaps: tiny spaces between shapes can close up as stitches pull the fabric.
- Gradients: soft shading turns into bands of solid colour. A few stepped shades can suggest depth, but true blends do not stitch.
- Fine outlines: very thin outlines around small shapes are often dropped or thickened.
If your design pushes past these, you have three options: make the patch larger, simplify the artwork, or switch to a woven patch, which holds much finer detail. Our guide to preparing artwork for embroidery shows how to simplify a logo without losing what makes it recognizable.
Thread colours
Embroidery uses solid thread colours. Each colour in your design is matched to the closest available thread from your references, such as Pantone numbers or a physical sample. Metallic gold and silver threads are available for accents, and they work best on borders, lettering and simple shapes rather than large fills.
A few practical points help colour come out as you expect:
- Give Pantone references where you have them, rather than relying on how a colour looks on screen.
- Keep strong contrast between lettering and the colour behind it. Dark navy text on black twill will disappear at arm's length.
- Count your colours. Each one is a separate thread, and fewer colours often means a cleaner patch.
Borders and shapes
Embroidered patches take two edge finishes. A merrowed border is the raised, wrapped edge you see on classic round, oval, square and shield patches. A heat cut edge is sealed close to the design, so it can follow custom outlines with points and inside corners.
Simple geometric shapes almost always look best merrowed. Die cut silhouettes, such as a mascot or a state outline, need a heat cut edge. If you are unsure, our comparison of merrowed vs heat cut borders covers which shapes suit each.
| Choice | Options | Good default |
|---|---|---|
| Base fabric | Twill or felt | Twill |
| Coverage | Partial to 100% | Depends on background |
| Edge | Merrowed or heat cut | Merrowed for simple shapes |
| Backing | Sew-on, iron-on, hook-and-loop, rigid plastic | Sew-on for uniforms |
| Thread | Standard and metallic | Standard, metallic for accents |
Backing options
How the patch attaches depends on the garment and how often it will be washed.
Sew-on is the most secure and the standard for uniforms that are laundered often. Iron-on, also called heat seal, adds an adhesive layer you activate with heat, which is convenient for cotton and cotton blends. Hook-and-loop lets the patch be removed and swapped, common on tactical gear and morale patches. Rigid plastic backing stiffens the patch so it holds its shape, useful for caps and display.
Not sure which to choose? Our comparison of iron-on vs sew-on patches explains the trade-off for everyday garments.
What to send for a quote
An accurate quote needs the details that change the build. Send these with your artwork:
- Artwork: AI, EPS or PDF is cleanest. PNG is accepted, and a photo of an existing patch is enough to start.
- Size: the width and height you need, in inches.
- Quantity: custom minimums start from 100 pieces and vary by product, confirmed on the quote.
- Colours, with Pantone references if you have them.
- Border and backing preferences.
- Your in-hands date, so we can tell you whether standard production fits.
Quotes typically come back in 2 to 3 business days. After you send final artwork, a proof usually follows in 1 to 3 business days, and production takes about 3 to 4 weeks after you approve it. Rush around 10 business days is possible when the factory can hold it. All of these are typical figures, confirmed on your quote.
Want to see it first? Upload your logo to the free Patch Studio to preview it as an embroidered patch, then request your quote. Reorders skip setup, and your digitizing stays on file for the next run.