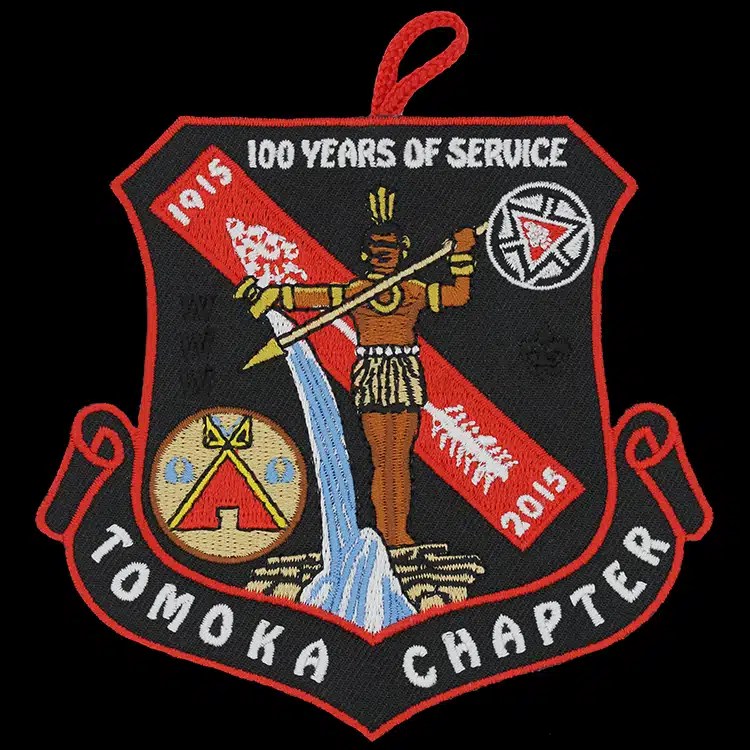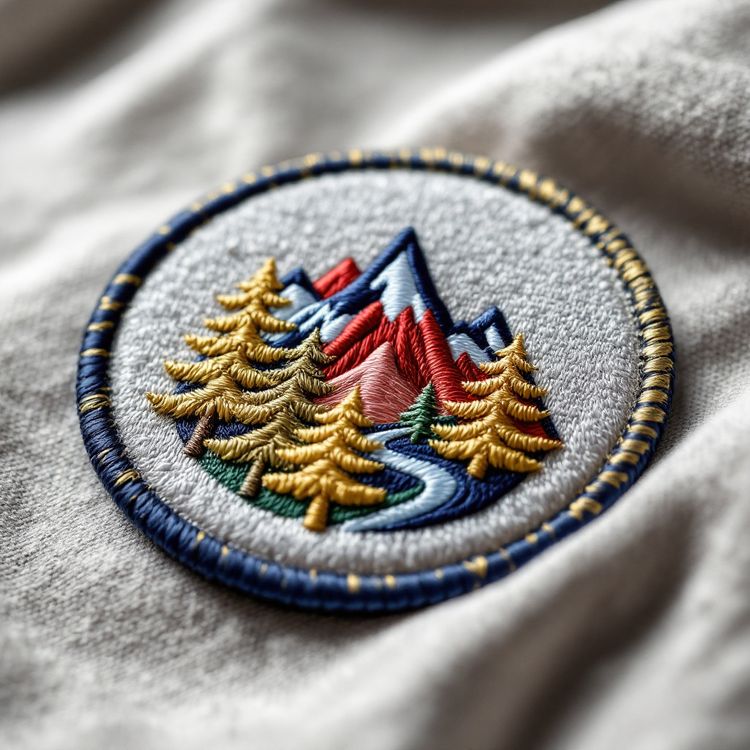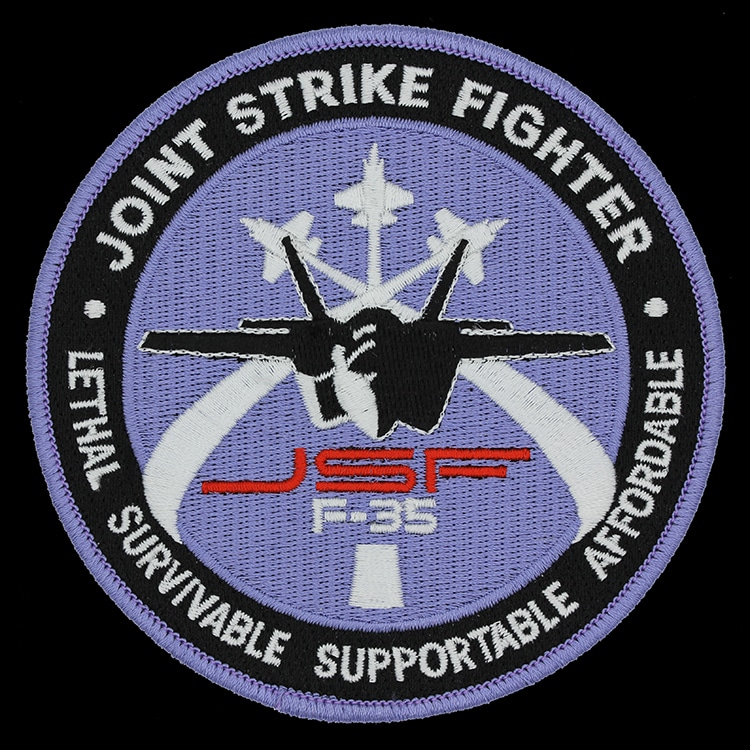
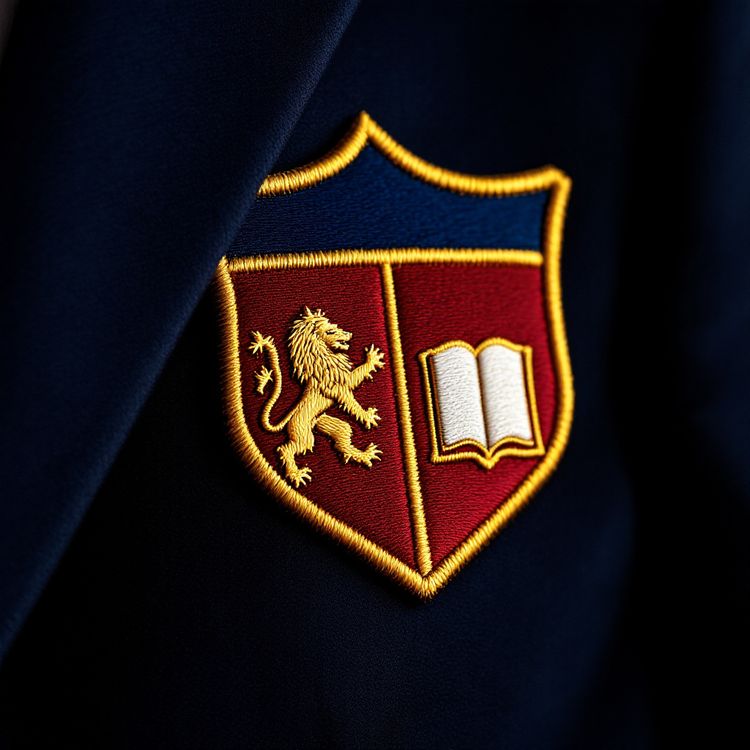
To prepare artwork for embroidery, send the cleanest file you have, ideally a vector file (AI, EPS or PDF), tell us the finished size, and list your colours. Then check the design against embroidery's limits: lettering about 1/4 in tall or larger, no lines thinner than about 1 mm, and no gradients or photo detail. If you only have a PNG or a photo of an old patch, that is still enough to start a quote.
This guide explains each part in turn, how digitizing works, and exactly what to send with your request.
Vector, raster and photos: which file to send
There are two broad kinds of image file, and the difference matters for embroidery.
- Vector files (AI, EPS, and PDFs saved from a design program) describe shapes as clean outlines. They scale to any size without blurring, so every edge and letter is exact. This is the best starting point.
- Raster files (PNG, JPG) are made of pixels. A large, sharp PNG works well. A small image copied from a website or an email signature may be blurry when enlarged, which makes fine shapes hard to read.
- Photos of an existing patch, pin or coin are fine for a quote. Shoot square on, in even light, with the item filling the frame.
Whatever you send, we redraw the design for thread, and the proof shows the result. A better file simply makes the proof closer to your intent on the first pass.
Fonts and colour references
Outline your fonts
If your file contains live text, the font may not be installed on the computer that opens it, and the lettering will change. Before exporting, convert text to outlines (sometimes called "create outlines" or "convert to curves"). If you cannot, tell us the font names in the request.
Give colour references
List each colour in the design. Pantone references are the clearest, but brand guide colours, hex codes or a physical sample all help. Thread comes in a fixed range, so each colour is matched to the nearest available thread shade. Check those choices on the proof, especially for brand colours that are close to each other.
Fewer colours usually make a cleaner patch. If two shades are very similar, they may read as one in thread, so consider merging them.
Detail limits: text, lines and small shapes
An embroidered patch is built from thread with real width, so there is a practical floor to how small things can be. As general guidance:
| Element | General limit for embroidery | What to do if yours is smaller |
|---|---|---|
| Lettering | About 1/4 in (6 mm) cap height | Enlarge the patch, shorten the text, or consider woven |
| Lines and outlines | About 1 mm thick or more | Thicken the line or remove it |
| Small shapes close together | Need clear space between them | Merge them or space them out |
| Gradients and fades | Not reproduced in thread | Use solid colour steps, or choose sublimated |
| Drop shadows and glows | Usually lost or muddy | Replace with a solid outline or drop them |
If your design depends on fine text or hairline detail, a woven patch holds noticeably smaller detail than embroidery. Our comparison of embroidered and woven patches explains where each one works best.
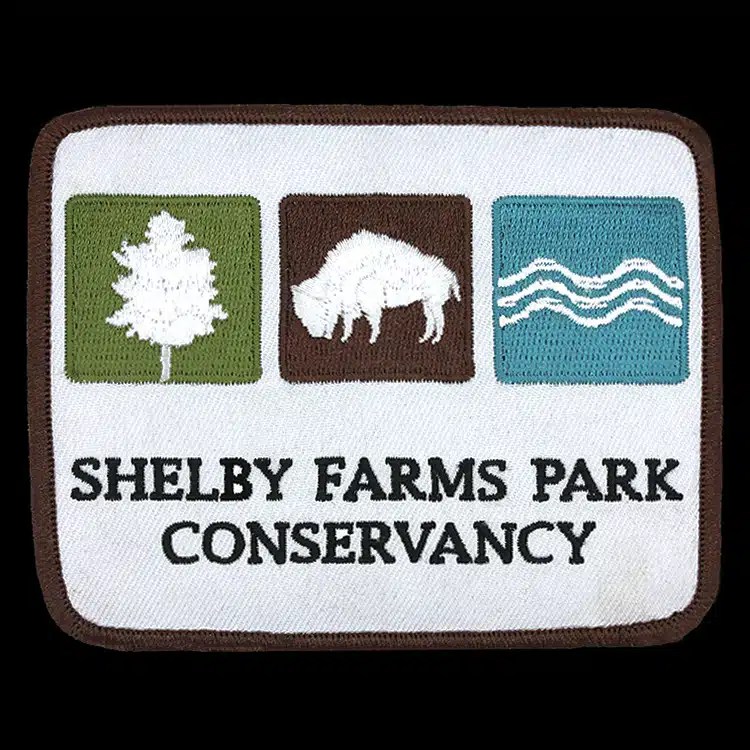
Simplifying artwork that was made for print or screen
Most logos are designed for screens and print, where any detail is possible. Thread works more like a mosaic of solid colours. A few common adjustments make a big difference.
- Gradients: replace with two or three solid bands of colour, or keep one flat colour.
- Drop shadows and bevels: remove them, or use a solid offset outline instead.
- Thin outlines: thicken them, or drop them if the shape reads without one.
- Taglines and small print: move them to a banner, enlarge them, or leave them off the patch.
- Photos: redraw as a simple illustration, or consider a sublimated patch, which is printed and can carry photographic detail.
You do not have to make these changes yourself. Tell us which parts of the design matter most, and we will simplify the rest when we redraw it.
How digitizing works
Embroidery machines do not read image files. Your artwork is converted into a stitch file, a set of instructions for every stitch: its type, direction, length, colour and order. This step is called digitizing.
Digitizing is where the decisions about texture and detail are made. Satin stitches are used for lettering and borders, fill stitches for larger areas, and the stitch direction changes how light catches the thread. How much of the patch is stitched also matters, which is explained in our guide to embroidery coverage.
The finished size has to be known before digitizing, because a design stitched at 2 in needs different decisions from the same design at 4 in. That is why size is one of the first questions on every quote. Once your design is digitized, the file stays on record, so a reorder of the same patch skips that setup.
Common artwork mistakes to avoid
A few problems come up again and again, and each one adds a round of revisions to the proof.
- Sending a tiny logo from a website. A 200 pixel image does not show enough detail to redraw accurately. Look for the original file first.
- Leaving the size open. Without a finished size, nobody can judge whether the text will be readable. Give a size, even an approximate one.
- Approving the proof without zooming in. Check spelling, numbers and dates letter by letter, since the proof is what gets made.
- Expecting screen colours. Bright on-screen colours can look slightly different in thread. Compare the proof to a printed or physical reference where you can.
What to send with your request
- Your artwork: vector if you have it, otherwise a large PNG or a clear photo
- The finished size in inches, or where the patch will be worn
- Colour references for each colour
- Font names, if the text is not outlined
- Construction: embroidered, woven, or ask us to recommend
- Border style and backing
- Quantity, or two or three quantities to compare
- Your in-hands date
- Any parts of the design that must not change
Our page on how ordering works walks through the full process, from artwork to delivery.
Check your design before you send it
The free Patch Studio lets you upload a logo, remove a plain background, set the size and construction, and see it as a patch in 3D. Its optional stitch check gives a quick read on how a logo is likely to stitch at the size you chose. It is a guide, not a guarantee, and we review detail and size when we quote.
When you are ready, send your files through the quote form. We send one quote within 2 to 3 business days, and your proof usually follows 1 to 3 business days after we have your artwork. Nothing is stitched until you approve that proof in writing.