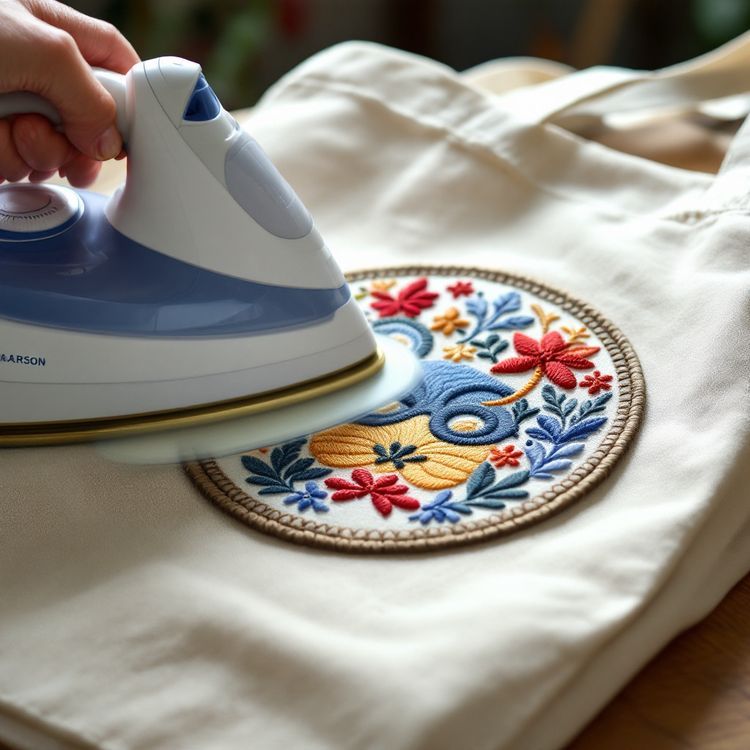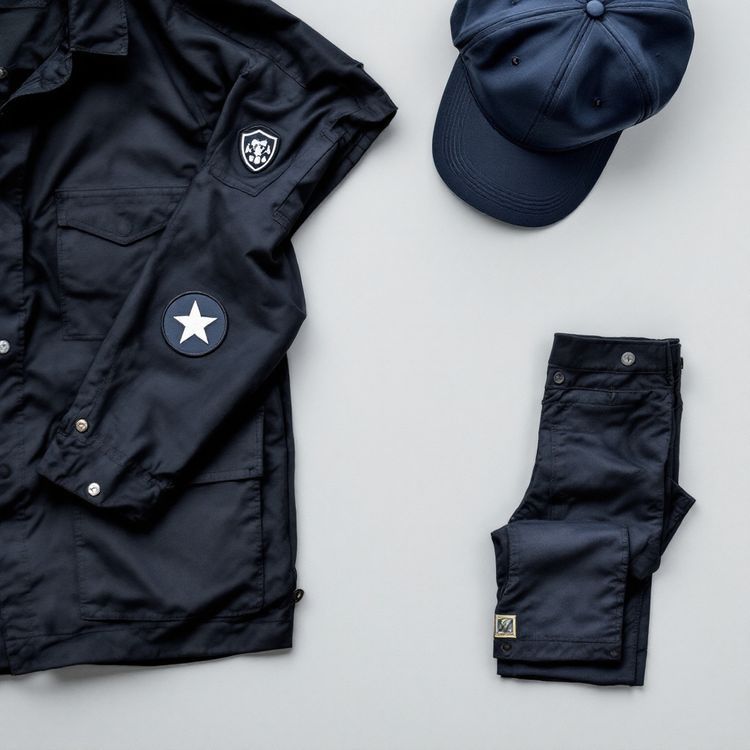
An iron-on patch usually falls off for one of four reasons: the adhesive never fully melted into the fabric because of too little heat, pressure or time; the fabric has a coating, stretch or finish the adhesive cannot grip; residue such as fabric softener or sizing blocked the bond; or hot washing and drying softened the adhesive again. The fix is to re-press it properly with a pressing cloth, from the front and then the back, and for anything washed often, to stitch around the edge so it cannot lift again.
Below we go through each cause, how to tell which one you are dealing with, and how to repair a patch that is already peeling.
How an iron-on bond is supposed to work
An iron-on patch has a heat seal backing: a film of thermoplastic adhesive on the back. Heat melts the film, pressure pushes it down into the weave, and as it cools it sets around the fibers. A good bond is mechanical as much as sticky. The adhesive has to flow into the fabric, not just sit on its surface.
When any part of that process falls short, the patch looks fine at first, then lifts at the edges after a wash or two. Understanding that makes most failures easy to diagnose.
The common causes
1. Not enough heat
Household irons vary a lot, and many people use a setting that is too low or leave steam on. The adhesive needs to get properly hot through the thickness of the patch. Thick, densely stitched embroidered patches insulate the adhesive, so they need longer than a thin woven patch.
2. Not enough pressure
Gliding the iron around like you are pressing a shirt does not push the adhesive into the fabric. Press straight down, firmly, on a hard surface. An ironing board with a soft, springy cover absorbs much of the pressure, so a table with a towel on it often works better.
3. Not enough time
A few seconds is rarely enough. As a general guide, hold the iron in place for about 30 seconds, then press again from the inside of the garment. Lifting too early is one of the most common mistakes.
4. Moving it before it cooled
The adhesive is still soft right after pressing. Peeling back a corner to check it, or folding the garment while it is warm, can break the bond before it sets.
5. The wrong fabric
Some fabrics resist heat seal by nature. Water-repellent and coated shells have a finish the adhesive cannot penetrate. Nylon and polyester can only take limited heat, so the adhesive often never gets hot enough. Leather and vinyl should not be ironed at all. Stretchy knits flex while the patch stays stiff, which works the edges loose. Our guide to ironing patches on polyester, nylon or leather covers these fabrics in detail.
6. Residue on the fabric
New garments often carry sizing, and fabric softener and dryer sheets leave a waxy film. Both sit between the adhesive and the fibers. Washing the garment without softener before you apply the patch avoids it.
7. Hot washing and drying
Heat seal adhesive softens again when it gets hot. A hot dryer cycle is the single biggest cause of patches that held fine for a while and then peeled. Dry cleaning can do the same, since solvents and heat both attack the adhesive.
Which cause is yours?
| What you see | Likely cause | Fix |
|---|---|---|
| Patch never stuck at all | Too little heat, or a coated fabric | Re-press hotter and longer, or sew it |
| Edges lift but center holds | Uneven pressure or short press time | Re-press edges with a cloth, then stitch the border |
| Held fine, then peeled after washing | Hot dryer or hot wash | Re-press, stitch, then wash cool and dry low |
| Peels on a stretchy shirt | Fabric stretch | Sew it, or choose a sew-on patch next time |
| Fabric shiny or melted under patch | Fabric could not take the heat | Stop ironing, sew it or use another backing |
| Adhesive visible but patch loose | Residue or softener blocking bond | Remove, clean the area, re-press |
How to fix a patch that is peeling
If the patch and fabric are undamaged, there is usually enough adhesive left to re-bond it.
- Check the fabric label and set the iron to the highest heat it allows, with steam off.
- Lay the garment on a hard, heat-safe surface with a folded towel underneath.
- Put a thin cotton pressing cloth over the patch to protect the thread.
- Press firmly straight down for about 30 seconds. Pay extra attention to lifted edges.
- Turn the garment inside out and press the back of the patch area the same way.
- Let everything cool completely before touching the patch.
If the patch has been through many washes or the adhesive has worn thin, re-pressing may not hold for long. At that point, stitching is the reliable answer.
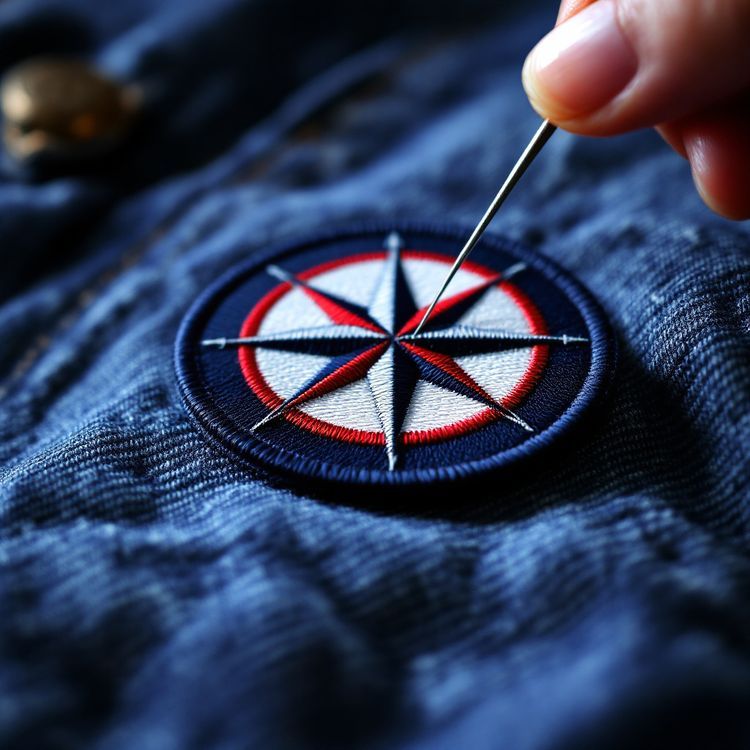
The permanent fix: stitch around the edge
Stitching does not depend on the adhesive at all. Re-press the patch first so it lies flat, then sew around the border by hand with a running or whip stitch, or by machine with a straight stitch just inside the edge. Use a thread that matches the border so it disappears. Our guide on how to sew on a patch walks through both methods.
Fabric glue is a stopgap for a corner on a garment you rarely wash, but most glues stiffen and yellow over time and do not hold up to laundering as well as thread.
How to stop it happening again
- Pre-wash the garment without fabric softener.
- Use the highest heat the fabric allows, no steam, and a pressing cloth.
- Press down firmly on a hard surface for about 30 seconds, then from the back.
- Let it cool fully before moving it.
- Wash inside out on cool or warm, and tumble dry low or hang dry.
- Skip dry cleaning for garments with iron-on patches.
- For uniforms and work shirts, stitch the edge or order sew-on patches.
Ordering patches that stay put
We make custom patches with sew-on, iron-on (heat seal), hook-and-loop and rigid plastic backings. If the patches are for jackets and caps, see our custom iron-on patches guide for which fabrics take heat seal well. Quotes typically return in 2 to 3 business days. Send us your artwork for a quote.