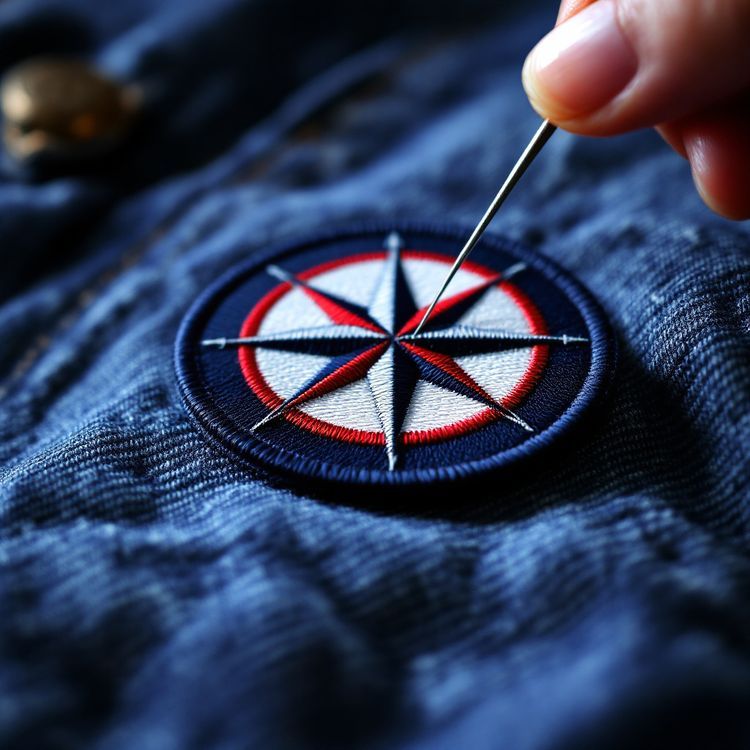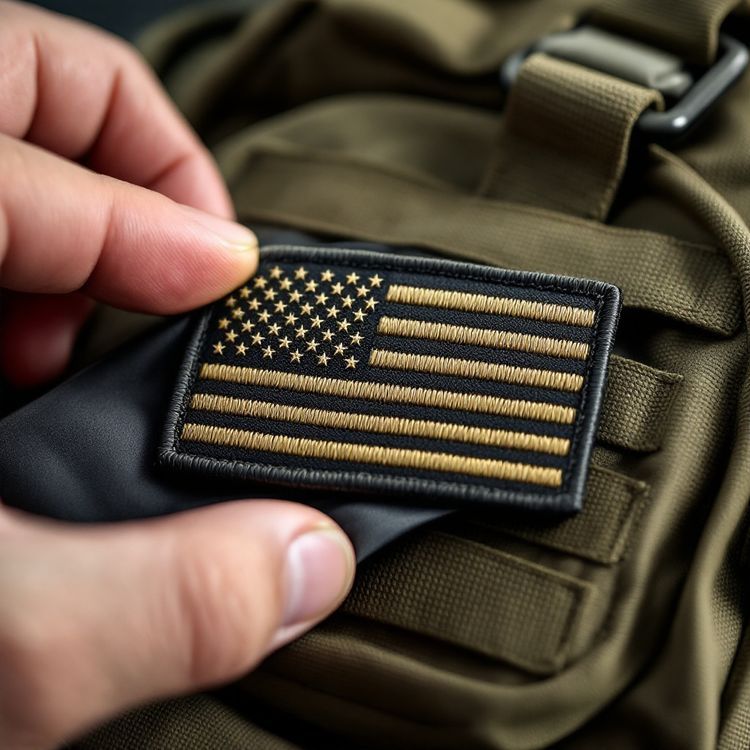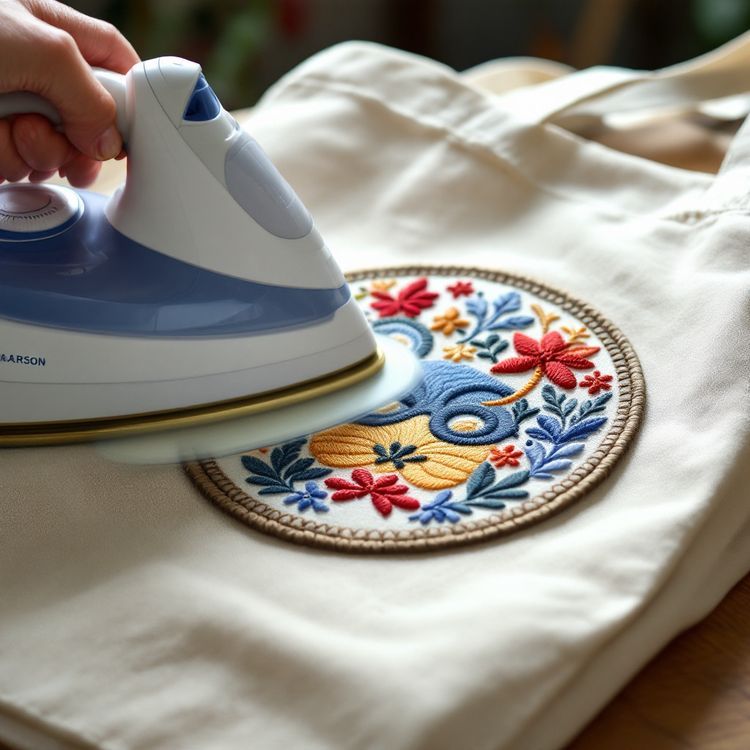
To remove iron-on patches, heat the adhesive from the inside of the garment with an iron and a press cloth until it softens, then peel the patch away slowly from one edge while it is still warm. Clean off any glue left behind with more heat and a paper towel, or a little adhesive remover tested on a hidden spot first. The adhesive that holds the patch on is the same thing that lets it go: it softens with heat.
Below is the full method, gentler options for delicate fabrics, how to deal with residue, and what to do with the space once the patch is gone.
Before you start
A few checks save the garment.
- Read the care label. If it says do not iron, use the gentler methods below, not a hot iron.
- Look for stitches around the border. Many iron-on patches are sewn as well, and those stitches have to come out first.
- Find a hidden area, such as an inside seam, to test heat and any cleaning product.
- Have a thin cotton cloth, tweezers and a blunt butter knife or a plastic card ready.
If the patch is also sewn on, unpick the stitches with a seam ripper or small scissors, working from the inside of the garment so you cut thread, not fabric.
How to remove iron-on patches with an iron
This is the standard method and works on cotton, denim, canvas and most cotton blends.
- Turn the garment inside out. Heating from the back pushes heat straight into the adhesive without scorching the thread.
- Set the iron. Use the highest setting the fabric allows, with steam off. Cotton can take a hot iron; blends need less.
- Cover the area. Lay a thin cotton cloth over the back of the patch area.
- Press for 15 to 30 seconds. Hold the iron still on the section you want to lift first.
- Peel from one edge. Turn the garment right side out and lift a corner with tweezers or a butter knife. Peel slowly, keeping the patch close to the fabric rather than pulling it straight up.
- Reheat as you go. When it starts to resist, stop and heat that section again. Working in sections is safer than forcing it.
Gentler methods for delicate fabrics
A hair dryer
On polyester, nylon, blends and anything that marks under an iron, a hair dryer on its hottest setting gives slower, gentler heat. Hold it a few inches from the patch for a minute or two, test the edge, and peel a little at a time. It takes longer, but the fabric stays safer.
A heat press
If you have access to a heat press, it heats the whole patch evenly, which helps with large patches. Use a lower temperature than you would to apply a patch and test on a hidden area first.
Freezing the residue
Some people put the garment in a bag in the freezer for a few hours after removing the patch. Cold makes leftover adhesive brittle, so some of it can be chipped or scraped away with a fingernail or a plastic card instead of smeared.
Taking it to a professional
If the garment is valuable, such as a vintage jacket, a leather piece or a uniform you cannot replace, a dry cleaner, tailor or uniform shop can remove the patch for you. They see adhesive and stitched patches often and can judge how much heat the fabric will take before they start.
How to remove the leftover adhesive
Iron-on patches nearly always leave some glue behind. The patch is gone, but a shiny or tacky shape stays on the fabric. There are three common ways to clear it.
| Method | How it works | Watch out for |
|---|---|---|
| Heat and paper | Lay a paper towel or brown paper on the residue and press with a warm iron, so the softened glue lifts into the paper | Change the paper often so you do not press the glue back in |
| Rubbing alcohol | Dab on with a cotton pad, let it sit, then rub the softened glue away | Test first, as it can affect some dyes and synthetic fabrics |
| Adhesive remover | A product made for fabric, applied and rubbed off as the label directs | Test on a hidden area and follow the label exactly |
After any of these, wash the garment as normal to clear the last traces. Check the area before it goes in the dryer, since dryer heat can set any adhesive that is still there.
What the fabric looks like afterwards
Even with careful removal, the fabric under a patch can look different from the rest of the garment. It has been covered from light and wear, so on a faded jacket the patch area is often darker, a clear outline of the old patch. On some fabrics the heat or the adhesive leaves a slight sheen or stiffness. These usually soften with a few washes, but a strong outline may not disappear.
The simplest answer is often a new patch in the same spot, slightly larger than the old one so it covers the outline. If you change patches often, a hook-and-loop backing avoids the problem altogether. Our custom Velcro patches guide explains how that works.
Can you reuse a patch after removing it?
Usually, yes, but not as an iron-on. Once it has been heated and peeled, the adhesive on the back is thin and uneven and rarely bonds well a second time. Trim any loose glue, then sew the patch on instead. Our step by step guide on how to sew on a patch covers it by hand and by machine.
If you are removing a patch because it kept lifting, the fabric may have been the problem. Iron-on adhesive is less reliable on nylon, polyester performance fabrics, leather and coated shells, and on garments washed hot. See our guide on how to attach iron-on patches for where it works best.
Ordering replacement or new patches
If you are replacing patches on a set of uniforms, for a new logo or a new name, choose the backing for how the garments are worn and washed. Sew-on suits uniforms washed often, iron-on suits quick application on cotton and canvas, and hook-and-loop suits patches that come off. Our backings and borders section shows each one.
If you need more of a patch we have made before, reorders skip setup because the digitizing stays on file. Otherwise, mock up the new design in the free Patch Studio and request a quote with your size, quantity and backing. You will have a quote within 2 to 3 business days, and nothing is made until you approve the proof in writing.