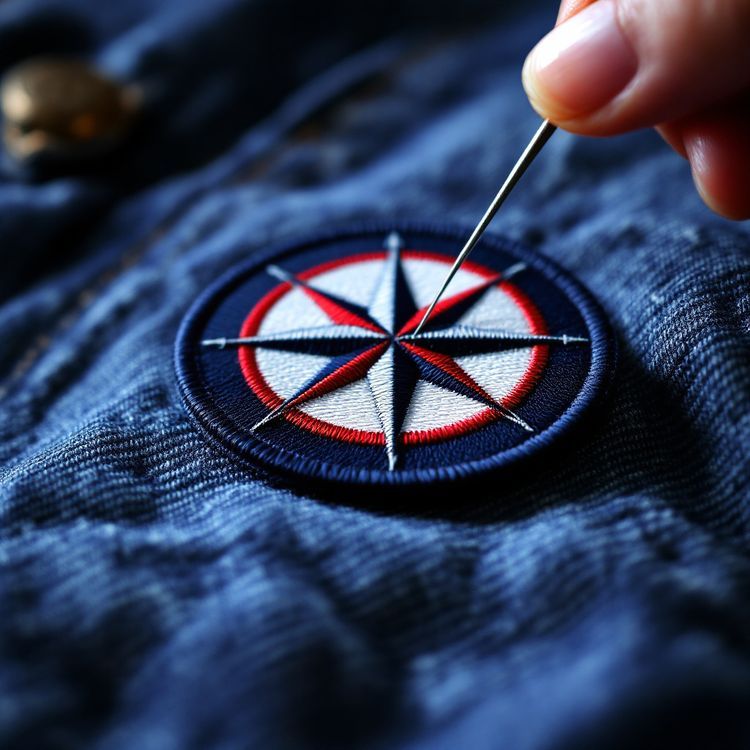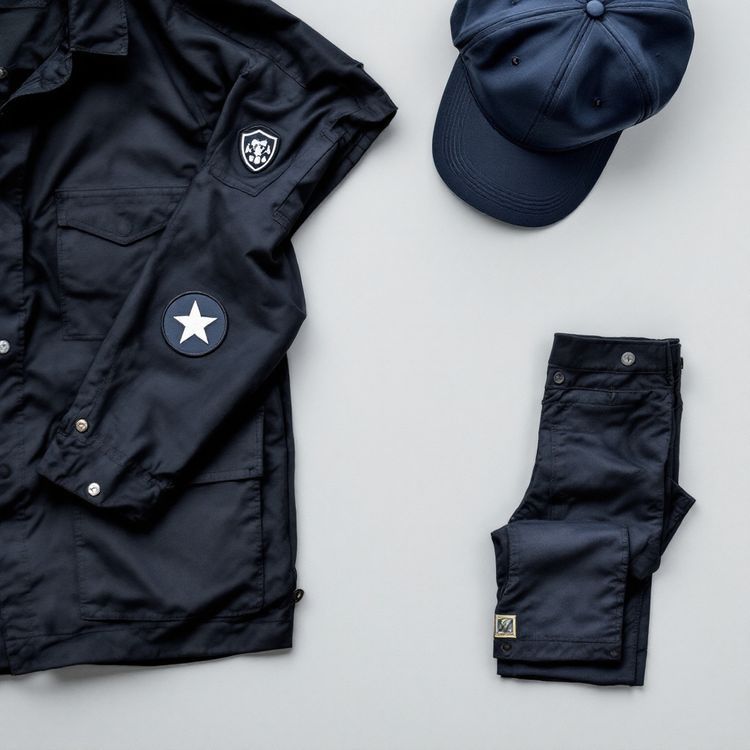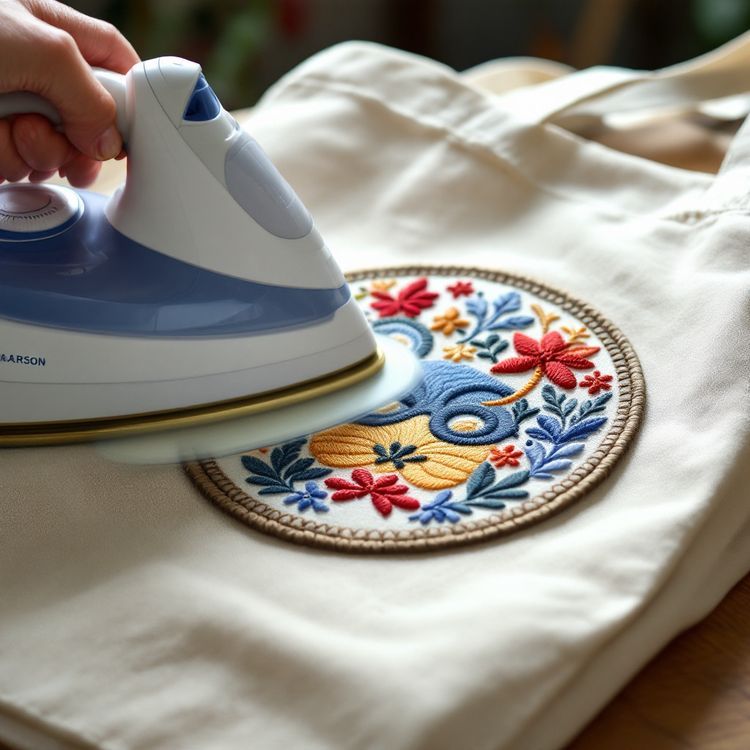
Custom iron-on patches have a heat seal backing: a layer of heat-activated adhesive on the back that melts under an iron or heat press and bonds the patch to the fabric as it cools. They are the easiest patches to attach yourself, with no sewing, and they hold well on cotton, denim, canvas and sturdy blends. For uniforms that are washed weekly, high-stretch fabrics or heat-sensitive materials, iron-on alone is not the best choice, and adding a few stitches or choosing another backing gives a longer life.
This guide covers how heat seal works, which patches and fabrics suit it, how to apply it so it holds, and what to put on your order.
How a heat seal backing works
The backing is a thin film of thermoplastic adhesive applied to the back of the patch at the factory. At room temperature it is dry and not sticky, so the patches stack and ship cleanly. Under enough heat it softens and flows into the weave of the fabric underneath. Pressure pushes it into the fibers, and when it cools it sets again, locking the patch in place.
Three things decide how well it bonds: heat, pressure and time. Too little of any one and the adhesive only grabs the surface, which is the usual reason a patch lifts at the edges later. Our post on why iron-on patches fall off goes through the common causes and fixes.
Which patch types suit iron-on
Heat seal can be added to most of our custom patches, but some constructions take it better than others.
| Patch type | Iron-on suitability | Notes |
|---|---|---|
| Embroidered | Good | The most common iron-on patch. Very dense, high coverage patches need extra heat time. |
| Woven | Very good | Thin and flat, so heat reaches the adhesive quickly and the patch sits flush. |
| Sublimated | Very good | Flat and light, bonds evenly. |
| Tackle twill | Good | Often stitched as well on jerseys for a full season of wear. |
| Chenille | Limited | Thick pile and felt layers make an even bond hard. Usually sewn. |
| Bullion | Not suitable | Heat can damage metallic wire. Always sewn. |
Which fabrics take iron-on well
The fabric has to tolerate enough heat to melt the adhesive and have a weave the adhesive can grip.
- Good: cotton, denim, canvas, twill, cotton-poly blends and heavy cotton fleece. These take high heat and have an open, absorbent weave.
- Use care: polyester and nylon. They can scorch, shine or melt at the heat an iron-on needs. Our guide on ironing patches on polyester and nylon covers when it is safe and what to do instead.
- Avoid: leather, vinyl, rayon, silk, waterproof shells and anything with a coated or water-repellent finish. Coatings stop the adhesive bonding, and many of these materials cannot take the heat.
- Avoid for long life: very stretchy knits, such as performance shirts and leggings. The fabric stretches and the stiff patch does not, so edges lift over time.
Where iron-on patches make sense
Iron-on is a great fit when people will attach patches themselves, or when convenience matters more than decades of wear.
- Merch and giveaways that customers apply to their own jackets, totes and jeans.
- Scout and club patches that families add at home.
- Event patches handed out at races, festivals and conferences.
- Positioning a patch before stitching it, so it does not shift under the needle.
- Cotton hoodies, tote bags and denim jackets.
For work uniforms laundered weekly, sew-on remains the standard. Many buyers order iron-on backing anyway and stitch around the edge after pressing, which gives the best of both. Our comparison of iron-on vs sew-on patches explains that trade-off in more detail.
Applying an iron-on patch so it holds
The full step by step is in our guide to attaching iron-on patches. The short version:
- Wash and dry the garment first without fabric softener, so sizing and residue do not block the bond.
- Preheat the iron to the hottest setting the fabric allows, with steam turned off.
- Place the patch, cover it with a thin pressing cloth, and press firmly without sliding the iron. Hold for about 30 seconds, then check that the edges have bonded.
- Turn the garment inside out and press from the back to drive heat straight into the adhesive.
- Let it cool completely before you move or flex it.
Iron-on for team and staff rollouts
When you are handing patches to a group, decide early who will attach them. If every member applies their own, iron-on is the practical choice, but results will vary with each person's iron and patience. A one-page instruction sheet in the bag with the patches helps a lot: fabric to use, heat setting, the 30 second press, pressing from the back, and the reminder to let it cool.
If the organization attaches them centrally, a heat press and one trained person give a far more consistent result. Mark the placement once with a template cut from card, so every chest or sleeve patch lands in the same spot. For shirts that will be washed every week, have the same person add a line of stitching around each border after pressing.
Think about the garment mix too. A rollout that covers cotton polos, polyester jackets and caps may need two backings: iron-on for the cotton pieces and sew-on for the rest. You can order the same design with different backings on one quote, so ask for the split rather than forcing one backing onto every garment.
Sizes that bond best
Small and medium patches, roughly up to about 4 in (102 mm), are the easiest to bond evenly with a household iron, because the iron plate covers the whole patch at once. Large back patches are harder: you have to press in sections and overlap them, and it is easy to leave a cold spot. For big patches, a heat press or stitching is the safer route.
Washing iron-on patches
Heat seal adhesive softens again at high temperatures, so the dryer is the biggest threat. Wash inside out in cool or warm water on a gentle cycle, and tumble dry low or hang to dry. Avoid dry cleaning, since solvents and heat can loosen the adhesive. If an edge starts to lift, press it again with a cloth, then add a few stitches to keep it there.
Ordering custom iron-on patches
Ask for iron-on (heat seal) backing on your quote, with the patch type, size, quantity, colours and border. Tell us what garment and fabric the patches are going on, and we will flag it if another backing would serve you better. Custom minimums start from 100 pieces and vary by product, confirmed on the quote.
Quotes typically return in 2 to 3 business days, and production runs about 3 to 4 weeks after you approve the proof in writing. Preview your design in the free Patch Studio, then send us your artwork.