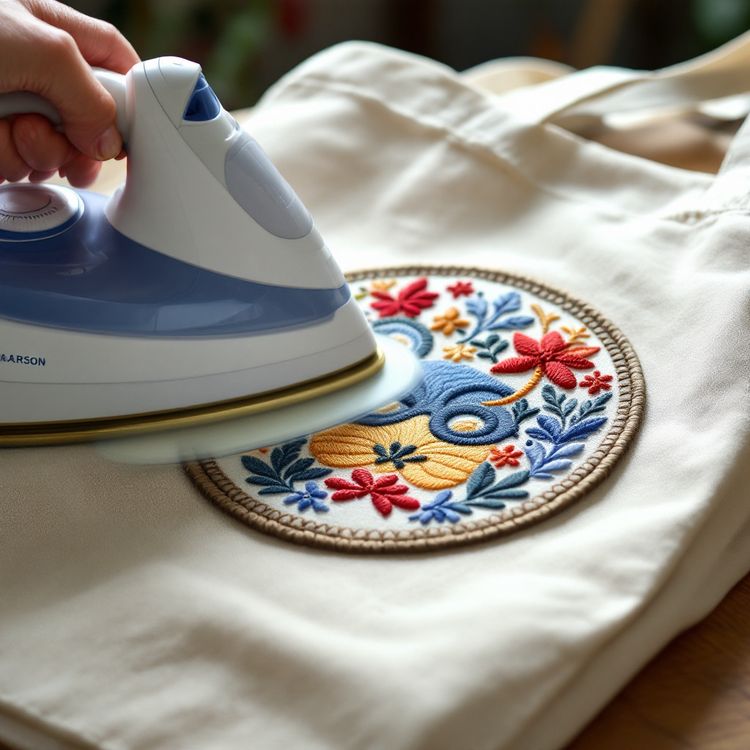
To attach an iron-on patch, set your iron to the cotton setting with no steam, place the patch on clean fabric, cover it with a thin press cloth, and press down firmly for about 30 to 45 seconds. Then turn the garment inside out, press the back of the area the same way, and let it cool completely before you move it. That is typical guidance for a household iron; always test on a scrap or an inside seam first.
Below is the full method, the fabrics where iron-on works and where it does not, washing care, and how to fix a patch that starts to lift.
Step by step with a household iron
- Check the fabric. Iron-on works best on cotton, cotton blends, denim and canvas. Read the care label; if it says do not iron, do not iron-on.
- Prepare the area. Wash and dry new garments first to remove sizing. Iron the spot flat for a few seconds so there are no creases under the patch.
- Heat the iron. Cotton setting, steam off, and empty the water if your iron has a reservoir. Moisture weakens the bond.
- Position the patch. Adhesive side down, exactly where you want it. A ruler helps with chest and sleeve placement; once heated, it is hard to move.
- Cover it. Lay a thin cotton cloth, a pillowcase or a tea towel over the patch to protect the thread.
- Press, do not iron. Hold the iron still with firm, even pressure for about 30 to 45 seconds. Do not slide it back and forth, which can shift the patch.
- Press from the inside. Turn the garment inside out and press the back of the patch area for another 30 seconds or so. This pushes heat straight into the adhesive.
- Let it cool. Leave it flat until fully cool. The adhesive sets as it cools, so tugging at a warm patch is the most common way to loosen it.
- Check the edges. Run a fingernail around the border. If any edge lifts, cover and press that section again.
Heat press vs household iron
A heat press gives even temperature and pressure across the whole patch, which is why uniform shops and print shops use one for larger batches. Typical guidance for patches is a medium to high temperature for around 15 to 30 seconds with firm pressure, but the right setting depends on the adhesive and the garment, so run a test piece first.
A household iron works well for a few patches. Its weakness is uneven heat, especially near the steam holes, and the fact that most people press too lightly or too briefly. Press longer and harder than feels necessary, and press the back as well as the front.
| Household iron | Heat press | |
|---|---|---|
| Best for | One to a handful of garments | Batches of uniforms or merch |
| Heat and pressure | Uneven, depends on the user | Even and repeatable |
| Typical time | About 30 to 45 seconds per side | Often shorter, set by test |
| Main risk | Too little pressure or time | Too much heat on synthetics |
Which fabrics work and which do not
Iron-on adhesive needs a fabric that can take the heat and has enough texture for the glue to grip.
- Good: cotton, cotton blends, denim, canvas, twill. Tote bags, denim jackets, cotton caps and cotton uniform shirts are the classic iron-on garments.
- Unreliable: nylon, polyester performance fabrics and stretch knits. They can melt or glaze at the heat the adhesive needs, and stretch fabrics pull the edges loose as they move.
- Avoid: leather, suede, waterproof or coated shells, rain jackets and anything with a care label that says do not iron. Heat damages them and adhesive does not bond to them.
For those fabrics, order a sew-on or hook-and-loop backing instead. Our guide to patch backing types compares all the options, and our backings and borders section shows what we offer.
Washing care for iron-on patches
Iron-on adhesive softens with heat, so the main enemy after application is a hot wash and a hot dryer.
- Turn the garment inside out before washing.
- Wash on a cool or warm cycle rather than hot.
- Air dry, or tumble dry on low.
- If you iron the garment later, iron around the patch or from the inside with a cloth.
Garments washed hot and often, such as work uniforms, will loosen any adhesive over time. Our guide on patches for business uniforms explains why sew-on is the default there.
When to sew instead, or as well
Iron-on is about speed. When the patch has to stay on for years, sewing is more permanent. Sew instead of, or as well as, ironing when:
- The garment is a uniform washed hot or sent to commercial laundry
- The patch goes on outerwear, a vest or a bag that takes rough wear
- The fabric is leather, nylon, a performance synthetic or a coated shell
- The patch is chenille, which is thick and normally sewn
- The patch is large, such as a back patch, where adhesive alone can peel from the edges
- It goes on a child's uniform that will be washed every week
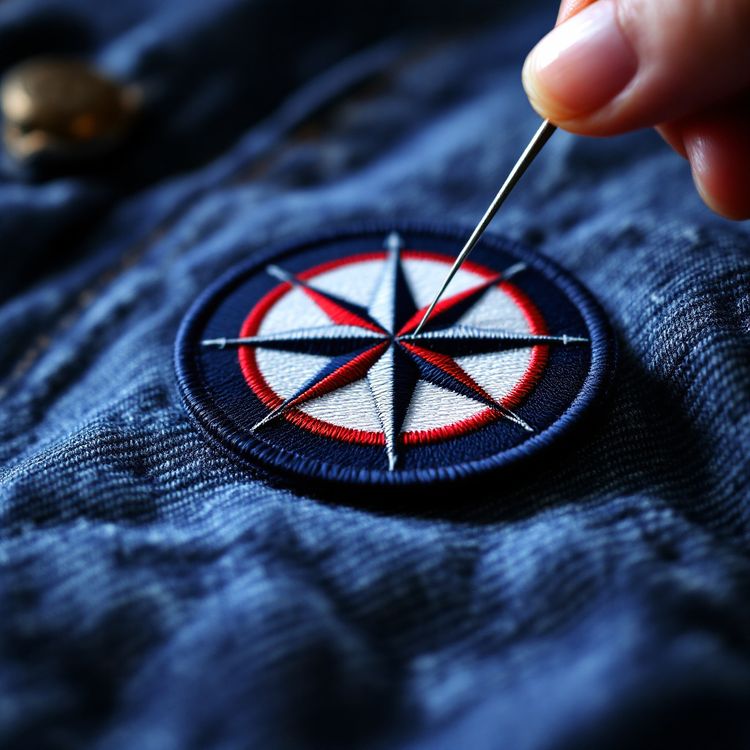
The common compromise is to iron the patch on to hold it in place, then add stitches around the border by hand or machine. The adhesive keeps it flat while you sew, and the stitches do the long term work. Many scout leaders use this method, as covered in our scout and club patches guide.
Troubleshooting lifting edges, and removing a patch
Edges lifting after pressing: cover the patch and press that edge again with firm pressure, then press from the inside. Let it cool flat.
Edges lifting after washing: re-press the same way. If it lifts again, the fabric or washing routine is too much for adhesive alone; add stitches around the border.
Patch slid while pressing: you moved the iron. While it is still warm, carefully reposition it, cover it and press straight down.
Shiny or scorched marks: the iron was too hot for the fabric or there was no press cloth. Lower the heat, always use a cloth, and test on a hidden area.
Removing a patch: heat it from the inside to soften the adhesive, then peel slowly from one edge while warm. Some residue may stay on the fabric. If the patch was also sewn, unpick the stitches first. On delicate fabrics, test the heat before you start.
Ordering patches with the right backing
When you request a quote, tell us what the patches will go on and how they will be washed. We can recommend iron-on, sew-on or hook-and-loop to suit, and the backing is confirmed on the proof before anything is made. You can try your design on a jacket or cap in the free Patch Studio, then request a quote with the backing you need.