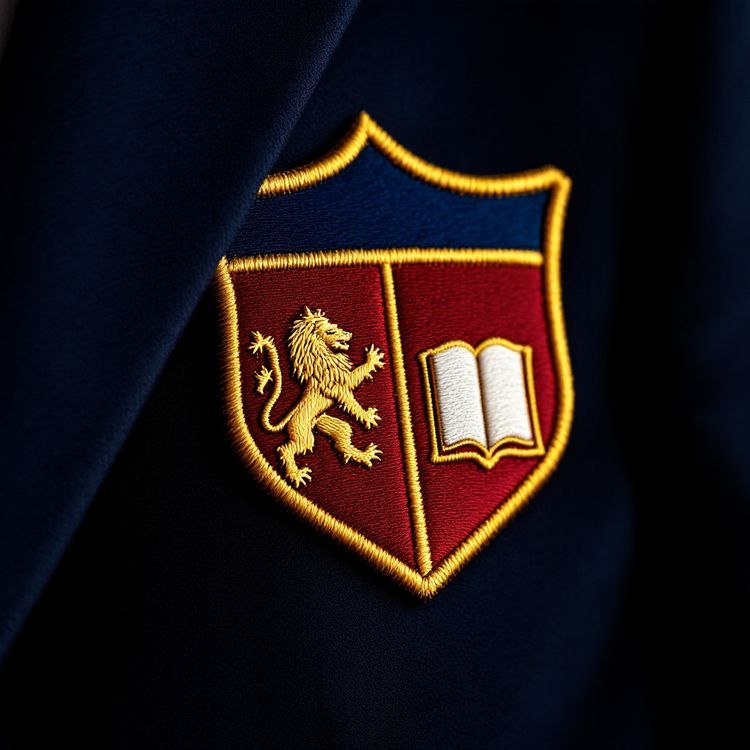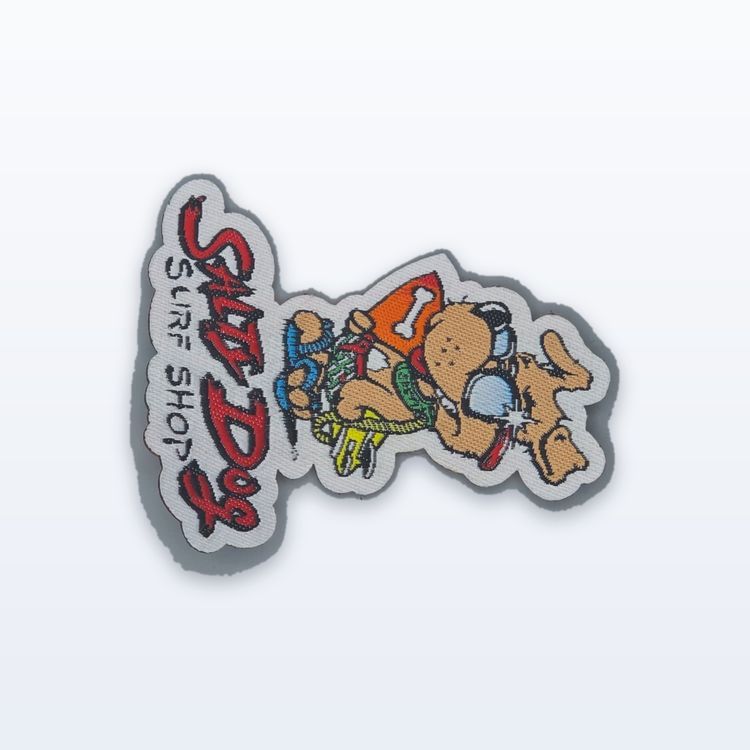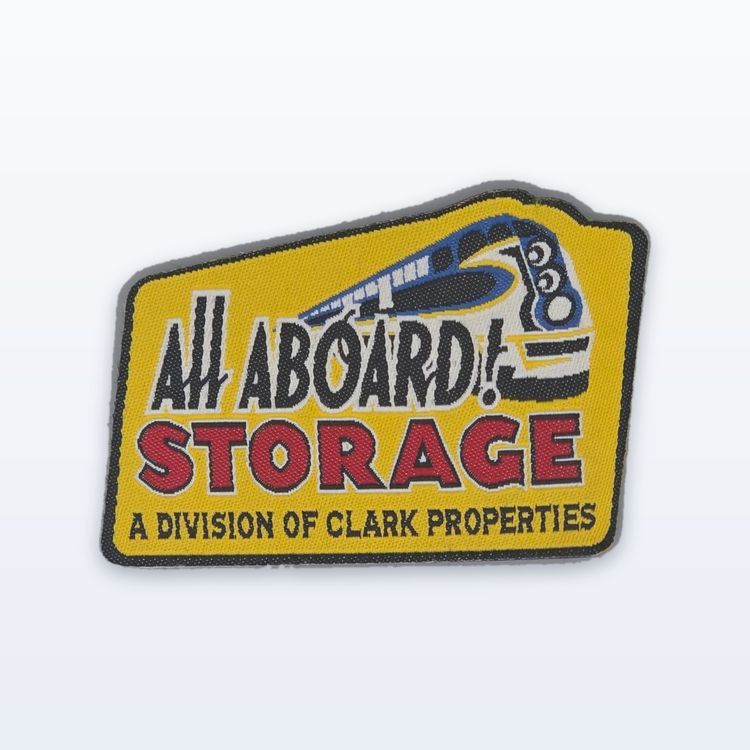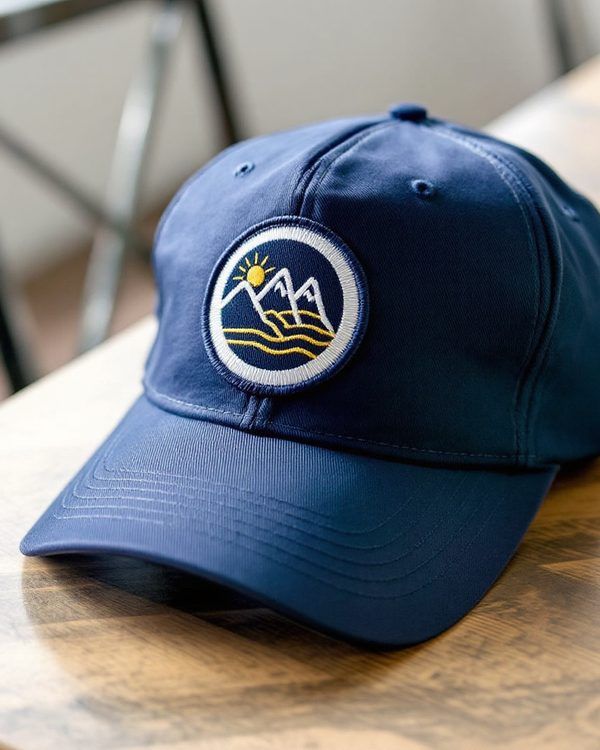
To turn your logo into a patch, send the logo file (AI, EPS or PDF is cleanest, a PNG is fine) with the size you want, and the factory redraws it as a stitch file or loom file. Your part is to choose the construction, the size, the border and the backing, and to check that the smallest text and thinnest lines in the logo will survive at that size. Then you approve a proof, and only then does production start.
Most logos convert well. The ones that need help are those with tiny taglines, hairline outlines or soft gradients. This guide walks through each decision in the order you will make it.
Start with the file you already have
You do not need a special patch file. Send whatever version of the logo is cleanest. A vector file (AI, EPS or PDF) gives the digitizer exact shapes and edges to trace. A high resolution PNG works too. If all you have is a photo of a shirt or an old patch, that is enough to start a quote, and the artwork can be cleaned up from there.
Along with the file, tell us where the logo lives in your brand. If there is a brand guide with colour references, include it. If the logo has a full version and a simplified version (a mark on its own, or a stacked lockup), send both. The simpler version is often the better patch.
For more on file types, our guide to vector and raster artwork explains what each format gives the factory and why vectors save a round of questions.
Choose the construction that suits the logo
Patchworks USA makes six patch constructions. For most logos the choice comes down to three of them.
- Embroidered: thread stitched over a twill or felt base. Raised, textured, the classic look. Best for bold marks with short, large text.
- Woven: fine thread woven into one flat piece. Holds small lettering and thin lines that embroidery cannot. Best for detailed seals and wordmarks with a tagline.
- Sublimated: dye printed in full colour. The only option for logos built on a gradient, a photo or soft shading.
Chenille suits varsity letters and mascots, satin tackle twill suits large letters and numbers, and hand embroidered bullion suits formal crests. You can see all six on the custom patches page.
Pick a size that holds the detail
Size is where most logo patches succeed or fail. A logo that looks sharp on a website can lose its tagline entirely at 2 in (51 mm) across. Before you settle on a size, find the smallest element in your logo and check it at the patch size.
- Embroidered lettering needs a cap height of about 1/4 in (6 mm) as a general minimum.
- Embroidered lines thinner than about 1 mm do not stitch cleanly.
- Woven holds noticeably smaller text and finer lines than embroidery.
- Shapes that sit very close together tend to merge when stitched.
Common sizes give you a starting point: about 3 to 3.5 in (76 to 89 mm) for a left chest or shoulder, about 2 to 2.5 in (51 to 64 mm) tall for a cap front, and 8 in (203 mm) or more for a jacket back. Our patch size guide lists sizes by placement.
Simplify the logo for thread
Thread works in solid areas of colour. That means a few elements of a typical logo may need to change, and it is better to decide them yourself than to be surprised by the proof.
Small text and taglines
If the tagline falls under the minimum, you have three choices: make the patch bigger, drop the tagline from the patch, or switch to woven. Many brands keep the tagline on printed materials and leave it off the patch.
Gradients and shadows
A gradient becomes two or three bands of solid thread in embroidery. Drop shadows and glows usually read as a muddy outline. Either flatten them into solid shapes or move to a sublimated patch, which prints the tones.
Thin outlines and keylines
A hairline stroke around a letter will either disappear or be widened. On dark fabrics, a slightly thicker outline in a contrasting thread often helps the logo read, so it can be worth adding rather than removing.
Colour count
Each colour is a separate thread. Logos with a handful of flat colours convert most faithfully. If yours has many close shades, consider merging the ones that sit next to each other. Our guide to preparing artwork for embroidery covers these changes in more detail.
Shape, border and backing
The outline of the patch does not have to be a circle or rectangle. You can follow the shape of the logo itself. Merrowed borders, the raised wrapped edge, suit simple shapes such as circles, ovals, squares and shields. Heat cut edges follow custom outlines with points and inside corners, so they suit a die cut logo shape.
Backing depends on where the patch goes and how long it stays.
| Use | Suggested backing | Why |
|---|---|---|
| Staff uniforms and workwear | Sew-on | Survives repeated industrial washing |
| Retail merch and giveaways | Iron-on (heat seal) | Easy for the buyer to apply at home |
| Tactical gear, bags, swappable IDs | Hook-and-loop | Removable and repositionable |
| Caps and structured items | Rigid plastic or sew-on | Holds a flat shape on a curved panel |
The backing types guide goes through each option in more depth, including how iron-on holds up over time.
Preview it, then approve the proof
Before you request a quote, you can upload your logo to the free Patch Studio, set the size and construction, and see a mockup on a jacket or cap. It is a rendering, so treat it as a quick check that the size and layout make sense.
The proof is the version that counts. Once your artwork is in, the proof usually comes back in 1 to 3 business days. Check it for spelling, colours, size and any detail that was simplified. Nothing runs until you approve it in writing, and production then takes about 3 to 4 weeks (typical, confirmed on your quote).
Digitizing for your logo stays on file, so reorders skip the setup and match the first run.
Send your logo for a quote
When you request a quote, include the logo file, the size, the quantity, the construction you have in mind (or ask us to suggest one), the backing, and your in-hands date. Quotes come back in 2 to 3 business days. Custom minimums start from 100 pieces, vary by product, and are confirmed on the quote.
If you are not sure between embroidered and woven, ask for both at the same size and quantity. Seeing them priced side by side, with notes on what detail each will hold, is the quickest way to decide.