Custom band patches are one of the most profitable small items on a merch table: light to carry, quick to sell and worn for years on jackets, vests and bags. Most bands order a 3 to 4 in (76 to 102 mm) logo patch, often woven for a detailed logo or embroidered for a bold one, and sometimes a large back patch for fans who build battle jackets. A sublimated patch is the choice when the design is album art. Send your logo or artwork with sizes and quantities and you will have a quote in about 2 to 3 business days.
Patches have been part of music culture for decades, from punk jackets to metal battle vests to indie tote bags. This guide covers which construction suits your art, the sizes fans actually wear, edges and backings, rights to the artwork, and how to plan quantities around a tour.
Choosing the construction for your art
Band art varies wildly, from a two-colour wordmark to an intricate illustrated logo to a photographic album cover. Match the patch type to the art, not the other way round.
| Construction | Look | Best for | Watch out for |
|---|---|---|---|
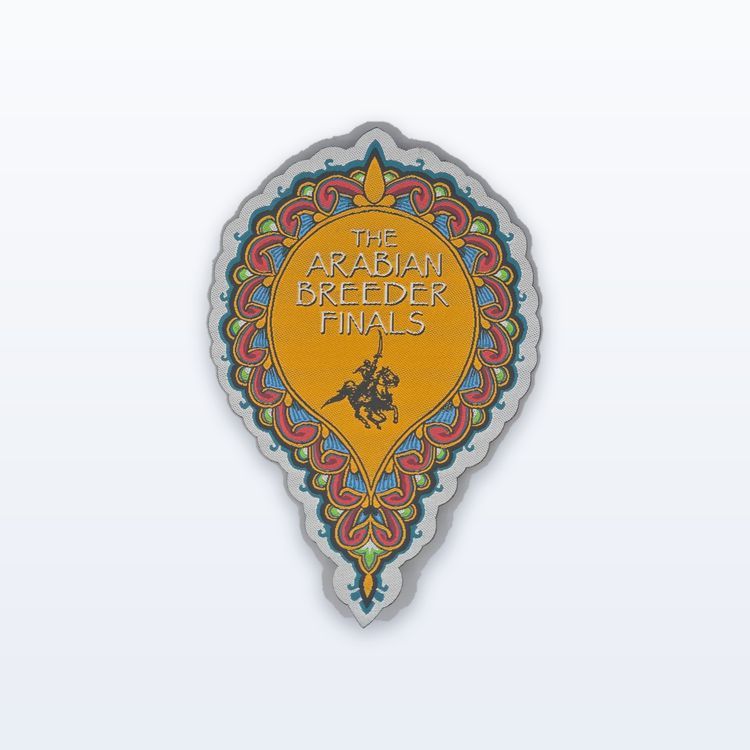
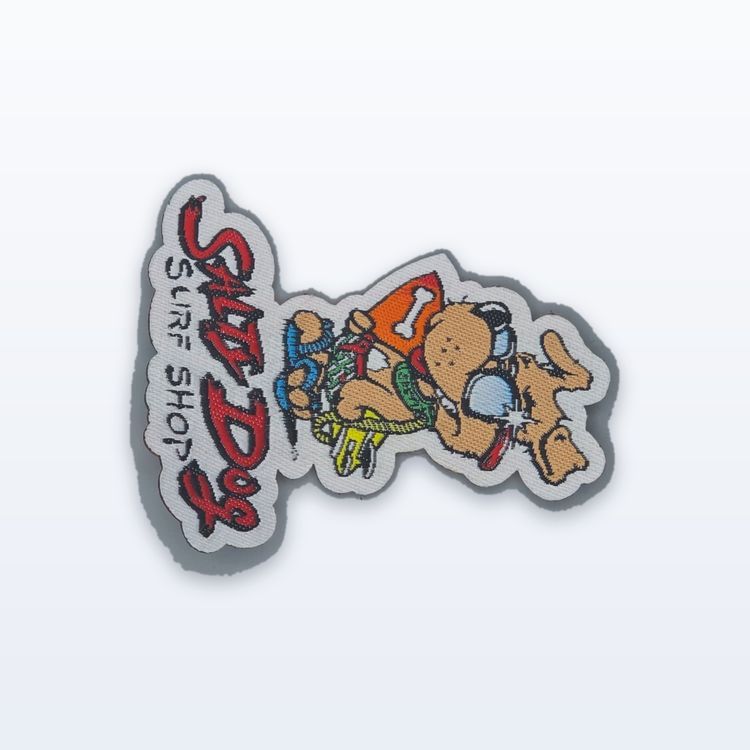
| Woven | Flat, sharp, fine detail | Spiky metal logos, thin script, detailed illustrations | No raised texture |
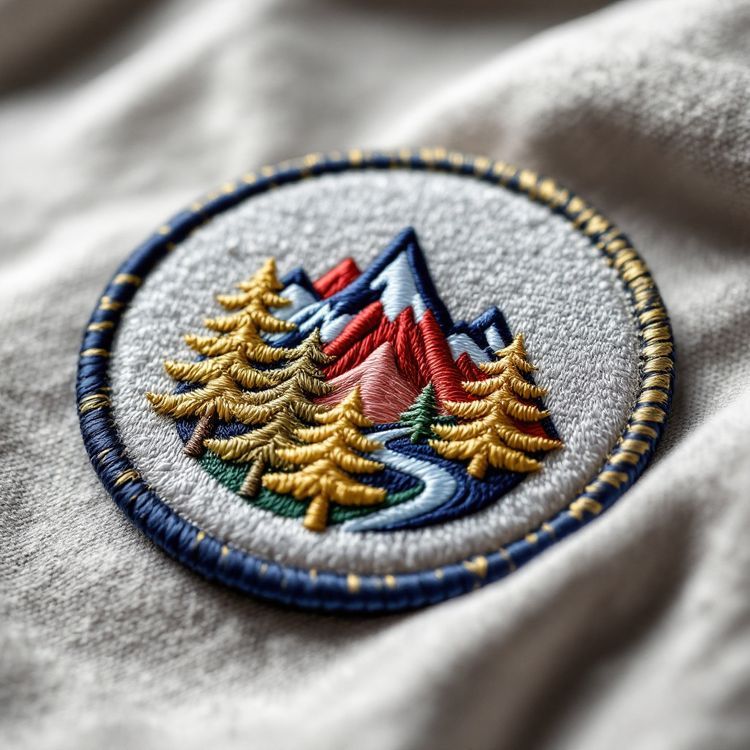
| Embroidered | Raised, textured, classic | Bold wordmarks, simple icons, vintage look | Very thin lines and small text |
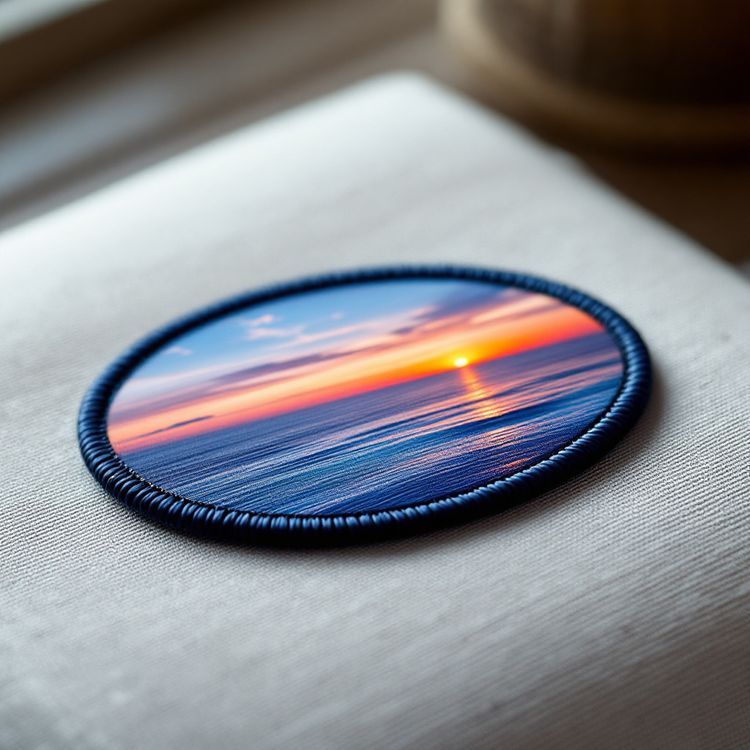
| Sublimated | Printed full colour | Album covers, photos, gradients | Flat surface, no thread texture |
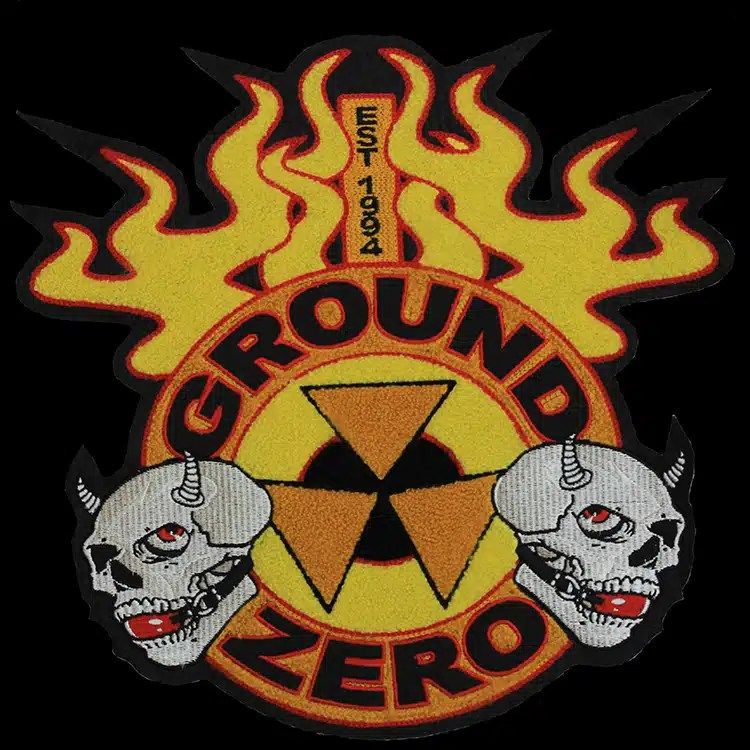
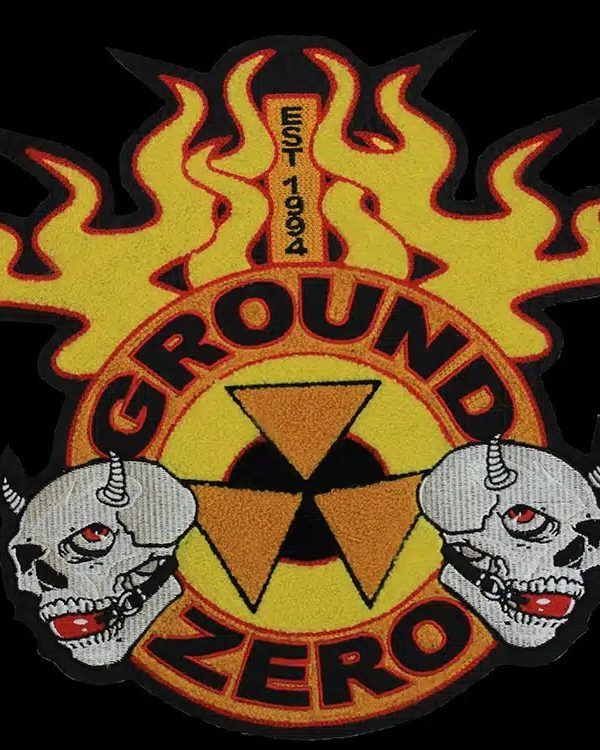
| Chenille | Fuzzy, varsity style | Big single letters or simple shapes | Cannot hold small detail |
Many metal and hardcore logos are full of thin, spiky strokes. As a general guide, lines thinner than about 1 mm do not stitch cleanly in embroidery, so a woven patch is often the better choice for those. For a clean, bold wordmark, an embroidered patch gives the raised texture that fans associate with classic band patches. If you are torn, ask for both constructions at the same size on one quote and compare.
Album art and photos
Thread comes in solid colours, so a cover with gradients, painted textures or a photograph flattens into bands if you stitch it. A sublimated patch prints the full image and then gets a merrowed or heat cut edge like any other patch. It is a good way to sell the album cover itself as a patch.
Sizes fans actually wear
- Standard logo patch: about 3 to 4 in (76 to 102 mm) wide. Fits jacket fronts, sleeves, bags and denim vests.
- Strip or bar patch: a long wordmark around 4 to 5 in (102 to 127 mm) wide and 1 to 1.5 in (25 to 38 mm) tall, good for horizontal logos.
- Small patch: about 2 to 2.5 in (51 to 64 mm), for caps, hats and a lower price point.
- Back patch: around 10 to 12 in (254 to 305 mm) wide, for the center back of a jacket or vest.
Back patches are a bigger purchase, but they are what battle jacket builders look for, and they often sell out first at a heavy show. Our patch size guide has more on placements.
Shape, edge and backing
Rectangles and circles with a merrowed edge are the traditional band patch, and they suit a logo set on a background colour. If your logo has a distinctive outline, cutting the patch to that shape with a heat cut edge makes it look like the logo itself rather than a logo on a square. Our guide to merrowed vs heat cut borders shows when each works.
For backing, sew-on is the classic and what most jacket builders prefer, since it is the most secure on denim and canvas. Iron-on (heat seal) is convenient for casual fans and for tote bags; many people iron first and stitch around the edge for a permanent hold. Avoid ironing a patch onto leather. Hook-and-loop is less common for band merch but useful for patches meant to go on backpacks and gear.
Artwork and rights
Send the cleanest file you have: AI, EPS or PDF is best, a high resolution PNG is accepted, and a photo of an existing patch is enough to start a reprint. If your logo was drawn by an artist, make sure your agreement lets you use it on merch. The same goes for album art, photography and any characters or images you did not create. Band names and logos can also be trademarks, so if you are a side project or a tribute act, think about what you are entitled to use before you print it.
Our guide to vector vs raster artwork explains which file to ask your designer for.
Planning quantities around a tour
Custom runs start from 100 pieces, varying by product, and the minimum is confirmed on the quote. For many bands that is a sensible first order: light enough to carry in a merch bin, and enough to see which designs sell.
- Start with one standard logo patch, then add a back patch or a second design once you know what sells.
- Ask for two or three quantities on one quote so you can compare price breaks.
- Count back from the first show: about 3 to 4 weeks of production after proof approval, plus shipping.
- Do not rely on a rush for a tour date; around 10 business days is possible only when the factory can hold it.
- Keep the design on file so a reorder before the next run skips setup.
Patches pair well with other small merch. A soft enamel pin of the band logo sells to the same fans, and printed lanyards are useful for crew and VIP passes.
Selling patches at the merch table
Patches sell best when fans can see them. Pin a few to a board or a jacket behind the table rather than leaving them in a bag, and show the back patch on an actual jacket so people can picture it on theirs. Keep patches flat in a box or folder on the road, since a crushed merrowed edge or a bent rigid backing looks secondhand. For online stores, photograph each patch on a plain background next to a ruler or a coin so buyers can judge the size, and list the backing and the exact dimensions in the description.
Preview and get a quote
You can upload your logo to the free Patch Studio, try it as embroidered or woven, cut it to the logo shape and see it on a black jacket. Then request a quote with the size, quantity, edge, backing and the date of your first show. Nothing is made until you approve the proof in writing.