Beanie patches work best when they are small, flexible and sewn on. On a cuffed beanie, a patch about 2 to 3 in (51 to 76 mm) wide and 1 to 2 in (25 to 51 mm) tall fits the folded cuff with a margin all round. Woven patches and thin embroidered patches suit knit best because they bend with it. Sew the patch on with loose, stretchy stitches through the cuff only. Iron-on is a poor fit for most beanies: acrylic knit can melt or glaze, and the adhesive cannot grip open stitches well.
Below we cover sizes for each style of beanie, the patch types that suit knit, how to sew one on without spoiling the stretch, and what to put on a quote for a team or brand order.
Beanie styles and where the patch goes
Cuffed beanie
The most common style for branded beanies. The patch sits centered on the front of the folded cuff. The cuff is a double layer of knit, which gives a firmer base, and the inside of the fold hides your stitches. Measure the cuff height when folded: most are about 2.5 to 3.5 in (64 to 89 mm), and the patch should leave at least 1/4 in (6 mm) of knit above and below.
Uncuffed or slouch beanie
With no cuff, the patch goes on the front of the single knit layer, usually about 1 to 1.5 in (25 to 38 mm) above the bottom edge. A single layer stretches more, so keep the patch small and choose a flexible construction.
Fisherman or short beanie
A short, shallow cuff that sits above the ears. Patches here need to be compact, often a small rectangle or a short wordmark about 2 in (51 mm) wide and under 1.25 in (32 mm) tall.
Pom beanie
Usually cuffed, so it follows the cuffed rules. Keep the patch on the front so it is not hidden by the pom when the beanie is worn tilted.
Beanie patch sizes at a glance
| Beanie style | Typical patch width | Typical patch height | Common shapes |
|---|---|---|---|
| Cuffed | 2 to 3 in (51 to 76 mm) | 1 to 2 in (25 to 51 mm) | Rectangle, circle, small shield |
| Uncuffed or slouch | 1.5 to 2.5 in (38 to 64 mm) | 1 to 2 in (25 to 51 mm) | Rectangle, circle |
| Fisherman | About 2 in (51 mm) | Under 1.25 in (32 mm) | Short rectangle, wordmark |
| Kids' beanie | 1.5 to 2 in (38 to 51 mm) | 1 to 1.5 in (25 to 38 mm) | Circle, simple die cut |
These are rule-of-thumb sizes. A wide, short rectangle is the shape that suits a beanie cuff best, because it follows the band instead of fighting it. For sizes on other garments, see the patch size guide.
Which patch types suit knit
- Woven patches are thin and flexible, and they hold small text. A woven rectangle with a heat cut or merrowed edge is the classic beanie patch. See our woven patches.
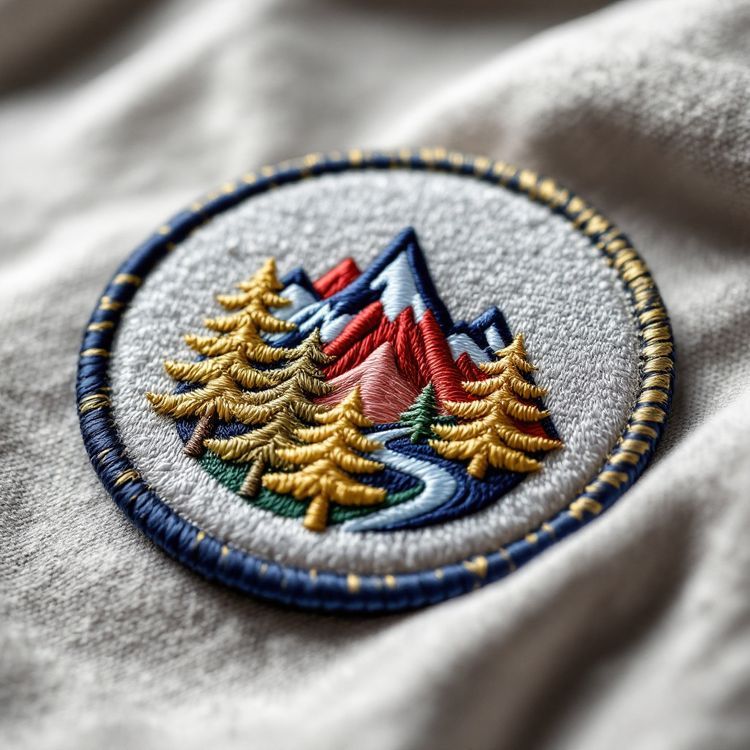
- Embroidered patches give a raised, textured look. On a beanie, choose a lower coverage design so the patch stays flexible; a 100% coverage patch is stiff on knit. Our guide to embroidery coverage explains the difference.
- Sublimated patches work when the logo has gradients or photographic detail, and they are thin and soft.
- Chenille is too thick for most beanies, though a small chenille letter can work on a heavy cuff.
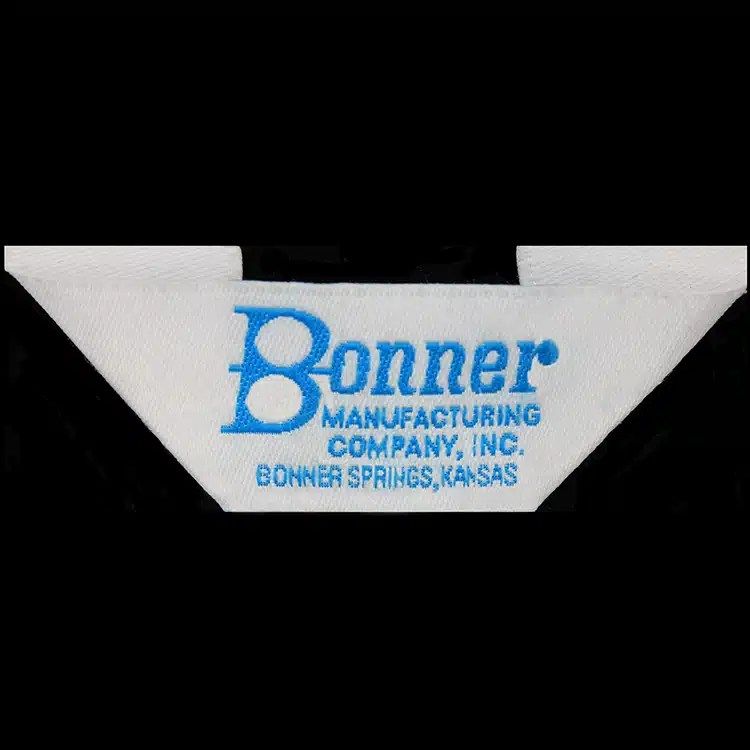
- Woven labels, folded or flat, are a common brand tag on the cuff or the side seam. A small folded woven label sewn into the seam gives a quiet, retail look.
Leather and PVC patches are also popular on beanies in retail. We do not make those, so if your design calls for that look, a woven or embroidered patch in neutral colours is the closest option we offer.

How to sew a patch on a beanie
Sewing by hand is the reliable method. It takes about 15 minutes.
- Put the beanie on or stretch it over a ball or a bowl about head size. Knit relaxes when flat, so a patch placed on a flat beanie can end up off-center or too high once worn.
- Center the patch on the front of the cuff and hold it with two pins pushed through the knit, not through the face of the patch.
- Take the beanie off and unfold the cuff. Sew through the outer layer of the cuff only, so the stitches end up hidden inside the fold. Do not stitch the cuff to the crown or it will not fold properly.
- Use polyester thread and a ballpoint needle. A ballpoint slips between knit loops instead of splitting the yarn.
- Keep stitches a little loose, about 1/8 to 3/16 in (3 to 5 mm) apart. Tight stitches pull the knit into puckers and stop it stretching around the patch.
- Stretch the knit gently as you finish each side, so there is a little give in the thread, then tie off inside the fold.
Our guide on how to sew on a patch shows the edge stitch in detail.
Why iron-on is risky on beanies
Most beanies are acrylic, which softens and can glaze or melt at the heat an iron-on adhesive needs. Wool and cotton knit can take more heat, but the adhesive has only the tips of the knit loops to bond to, so the bond is weak and the edges lift when the cuff stretches over a head. If the patches you have are already iron-on, sew them on anyway. The adhesive does no harm, and you can test a short press on a wool or cotton beanie if you want extra hold. The iron-on guide explains why fabric type matters so much.
Design tips for beanie patches
- Keep the design bold: a wordmark or simple icon reads at a distance on a small cuff patch.
- Check that lettering is large enough for the construction. Woven holds smaller text than embroidery.
- Choose patch colours that contrast with the knit colour, and plan a version for each beanie colour you stock.
- Avoid thin points in a die cut outline; knit moves and points lift.
- Ask for a sew-on backing, which keeps the patch thin and flexible.
For the same logo on caps as well, our guide to putting a patch on a hat covers the different sizes and methods for structured caps.
Ordering beanie patches
When you request a quote, say the patches are for beanies, which style, and the folded cuff height. Send your artwork, the size, quantity and colours. You can preview the patch in our free Patch Studio first. Request a quote and we reply within about 2 to 3 business days. Minimums start from 100 pieces for most custom patches and are confirmed on the quote.