Custom hat patches put your logo on a cap or beanie as a separate piece, sewn, pressed or fixed to the hat rather than stitched straight into it. They are usually about 2 to 2.5 in tall for a cap front, embroidered or woven, and finished with a merrowed or heat cut edge. Getting the size right for the curve of the hat matters more than on almost any other garment.
This guide covers why patches suit hats, the sizes that work on each part of the hat, which constructions and shapes to choose, how the patch attaches, and what to send for a quote.
Why use custom hat patches
A patch keeps your logo the same on every hat, whichever supplier made the cap. That matters for teams, businesses and events that buy hats from more than one source, or replace them often. The same patch can also go on shirts, jackets and bags, sized to suit each.
- Consistency: one patch design looks the same on every style and colour of cap.
- Flexibility: you can order patches now and put them on hats later, or move them to a new cap style.
- Texture: a patch sits on top of the hat with a defined edge, which gives a raised, finished look.
- Options: custom shapes, borders and constructions that suit the hat and the brand.
Patches vs embroidering the hat directly
Direct embroidery stitches the logo straight into the hat, so it cannot be moved or reused, and every new hat style has to go back on the machine. A patch is made once, to your artwork, and goes on whichever hats you choose. It also lets you use a woven or sublimated finish that direct embroidery cannot give.
Hat patch sizes by placement
A cap front curves, and the panel between the seams and the brim is smaller than it looks. Keep the height around 2 to 2.5 in and watch the width. Very wide patches bend at the ends on an unstructured cap and can look pinched. A structured cap with a stiff front gives a flatter surface.
| Placement | Common starting size | Notes |
|---|---|---|
| Cap front | 2 to 2.5 in tall | Centred on the front panel; check the width on the curve |
| Cap side or back | 1.5 to 2 in | Small secondary marks, initials or a flag |
| Beanie cuff | 2 to 2.5 in | On the folded cuff of a knit beanie |
These are common starting sizes, not limits, and any size can be quoted. Measure the hat you will actually use, since front panels vary between styles. The patch size guide covers every placement, and our article on how to choose a patch size explains how width and height affect the look.
Which patch type suits a hat
Embroidered
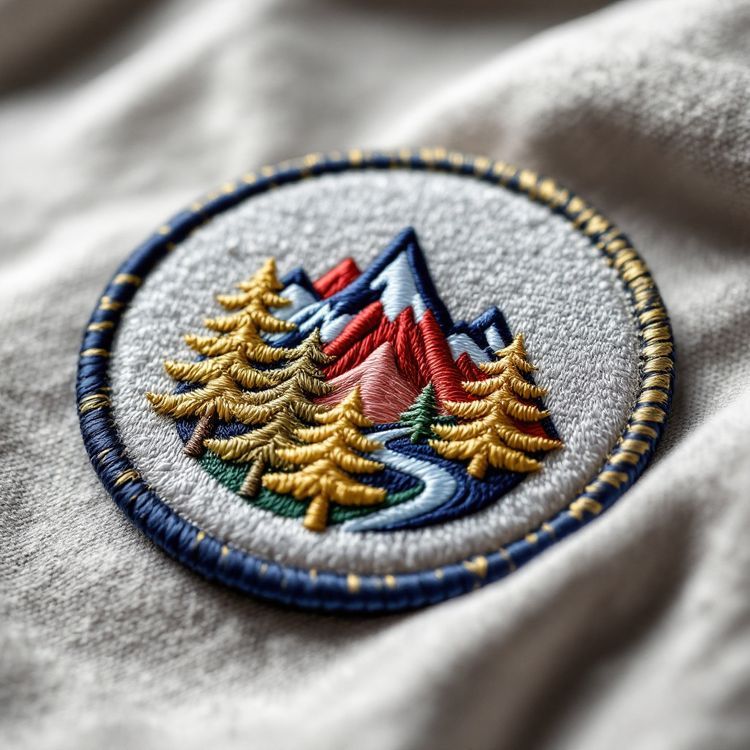
Embroidered patches are the classic hat patch. Satin stitch over a twill base gives raised, textured letters and logos, and the patch holds its shape on a structured cap front. At high embroidery coverage the patch is stiffer, so ask how coverage affects the feel if it is going on a soft cap.
Woven
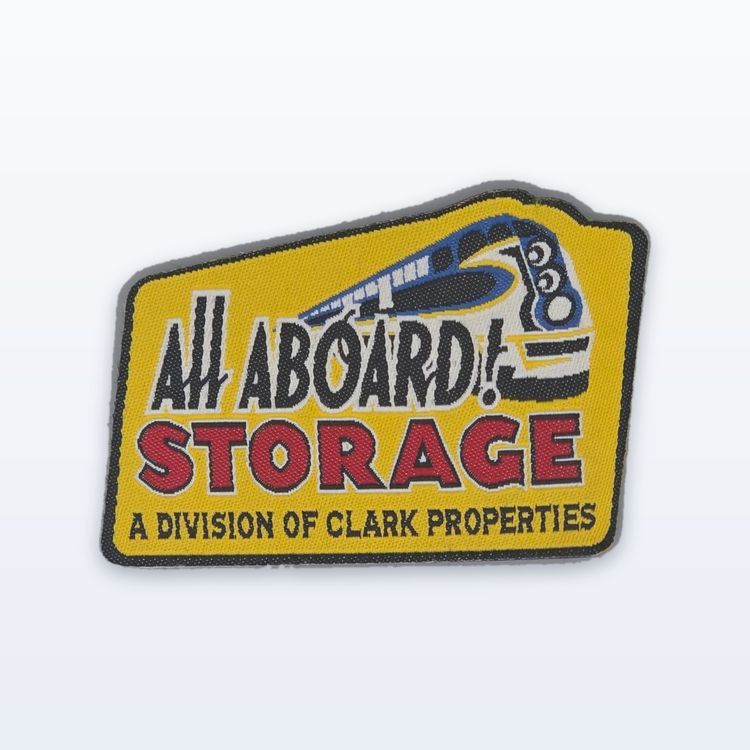
Woven patches are flat, thin and flexible. They curve with an unstructured cap or a beanie cuff, and they hold small text and fine lines that embroidery cannot. At hat sizes that often makes woven the better choice for detailed logos.
Sublimated
Sublimated patches are dye printed in full colour, so they suit logos with photos, gradients or shading. They are flat like woven. Our guide to sublimated vs embroidered patches compares the two.
Chenille and hand embroidered bullion are thicker, heavier builds and are not the usual choice for a cap front. If you are not sure, tell us the hat style on your quote and we will recommend a construction.
Shapes and edges for cap patches
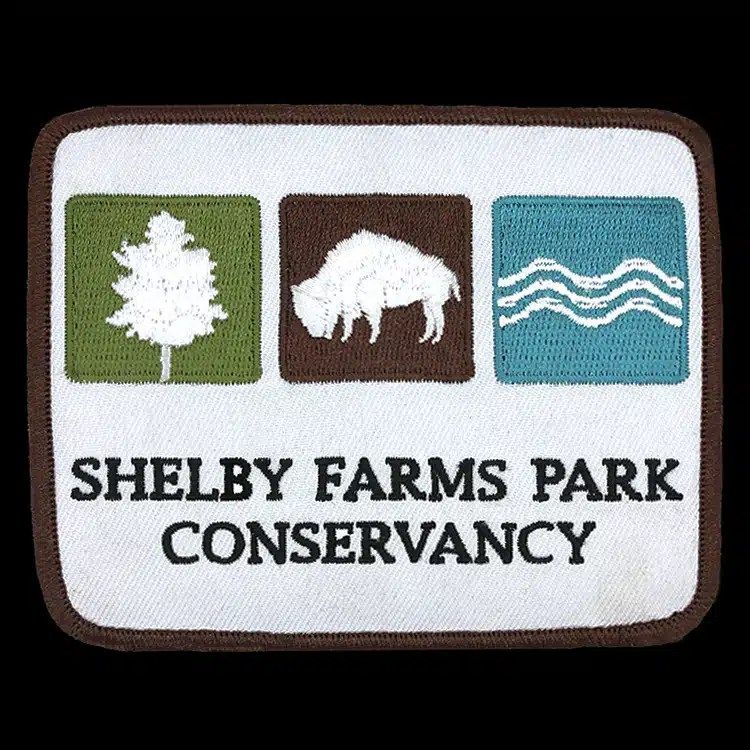
Rectangles, ovals and circles are the most common hat patch shapes, since they sit neatly on a curved front panel. A merrowed border gives a raised, wrapped edge that suits those simple shapes. A heat cut edge is sealed right to the outline of the design, so the patch can follow a custom shape, such as a mascot, a state outline or a wordmark.
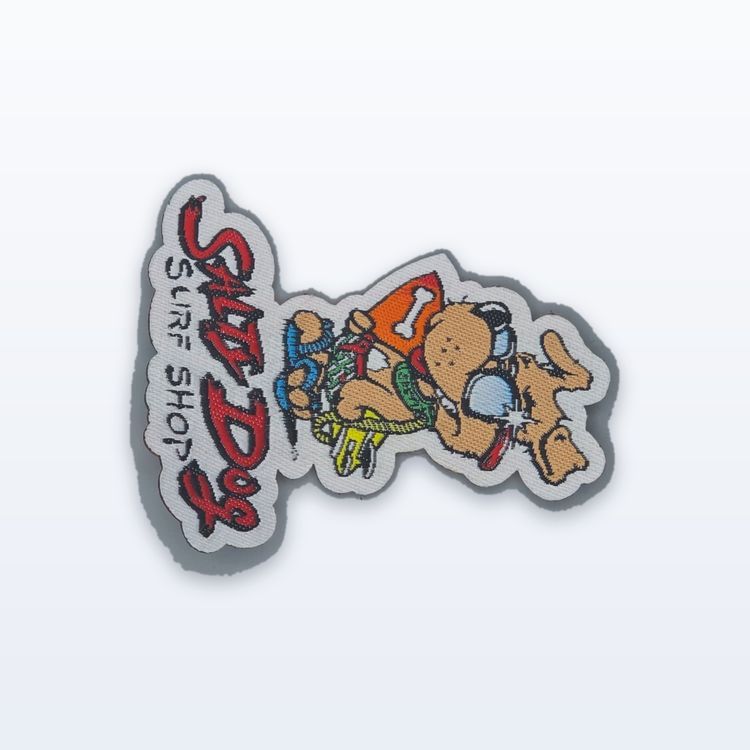
Keep custom outlines fairly compact. Long, thin points along the bottom edge can catch on the brim, and very wide outlines curl on a soft cap. Our guide to merrowed vs heat cut borders explains the choice in more depth.
How patches attach to hats
The backing decides how the patch goes on. We offer sew-on, iron-on, hook-and-loop and a rigid plastic backing. For hats, the first three are the ones to look at.
- Sew-on: the most permanent choice and the safest for most caps. A local embroidery or uniform shop can sew patches onto hats quickly, or you can sew them by hand from inside the crown.
- Iron-on: quick on cotton caps with a fabric front. Heat and some cap fronts do not mix: foam, mesh and synthetic panels can mark or melt, so test first or choose sew-on.
- Hook-and-loop: for tactical caps that already have a loop panel on the front, so the patch can be swapped.
A common approach on cotton caps is to press an iron-on patch to fix its position, then add stitches around the edge. Our guide on how to sew on a patch covers hand stitching on caps.
Design tips for small hat patches
- Keep embroidered lettering at about 1/4 in cap height or larger, as a general guide, so it stays readable.
- Drop taglines and small text that will not read at 2 in tall, or choose woven.
- Pick a twill or background colour that contrasts with the hat colour, so the patch stands out.
- Use fewer, bolder colours. Small areas of colour get lost at hat size.
- Give width and height, not just one number, since width is what bends on the curve.
Mock up your hat patch and request a quote
Upload your logo to the free Patch Studio, set the width and height, and view the patch on a cap in 3D. It is a rendering, and we still review size and detail when we quote. When you are ready, request a quote with the size, quantity, colours, backing and in-hands date. Custom patch runs start from 100 pieces, and custom orders typically run 3 to 4 weeks after you approve the art proof.