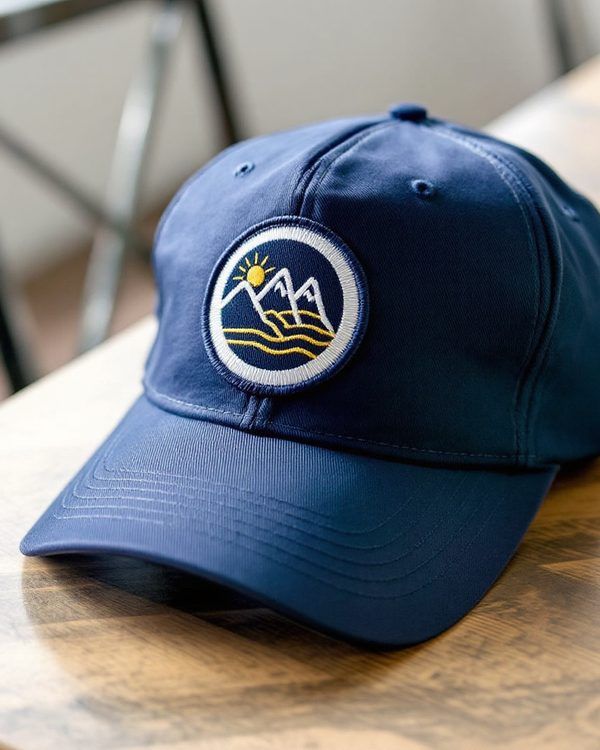
To put a patch on a hat, center it on the front panel with the bottom edge about 1/2 in (13 mm) above the brim seam, then either sew it through the front panel by hand, iron it on with the crown supported from inside, or press it with a curved hat press. Sewing works on every cap. Ironing works on cotton and canvas caps if the patch has a heat seal backing. A hat press gives the most even bond and is the right tool if you are doing more than a handful.
Hats are harder than flat garments because the front is curved, stiffened and close to the brim. Below we cover how to prepare the cap, each of the three methods, and the caps where one method is a bad idea.
Check the hat before you start
Turn the cap over and look inside. Three details decide which method you can use:
- Structured or unstructured. A structured cap has a stiff backing, called buckram, behind the front panels. It holds the shape you press against, but it makes hand sewing slower. An unstructured or dad-style cap is soft and folds, which makes sewing easy and pressing harder.
- Fabric. Cotton twill and canvas take heat well. Polyester performance caps can scorch or shine. Foam-front trucker caps should not be ironed, because the foam can melt or dent.
- Center seam. Six-panel caps have a seam down the middle of the front. A patch can sit across it, but sew or press carefully so the seam does not create a ridge under the patch.
Also check the size of the front. Most adult cap fronts take a patch about 2 to 3 in (51 to 76 mm) wide and no more than about 2.25 in (57 mm) tall before it starts to wrap too far around the curve. Our hat patch guide covers shapes and sizes in more depth, and the patch size guide lists common sizes by placement.
Where the patch should sit
Put the cap on a head or a rounded form, not flat on a table. A cap lying flat distorts the front and the patch will end up too high or crooked.
- Find the center line. On a six-panel cap it is the front seam; on a five-panel or trucker cap, measure across the front and mark the middle with chalk.
- Set the bottom edge of the patch about 1/2 to 3/4 in (13 to 19 mm) above the brim seam. Closer than that and the brim gets in the way of the needle or the press.
- Hold it in place with two pins, or a strip of masking tape across the top edge, and look at it from straight on and from the side.
Sewing a patch on a hat
Sewing is the most secure method and works on every cap, including foam, mesh and polyester. It takes about 20 to 30 minutes by hand.
- Fold the sweatband down and out of the way, so you stitch only through the front panel and buckram. Stitches through the sweatband show inside and can rub.
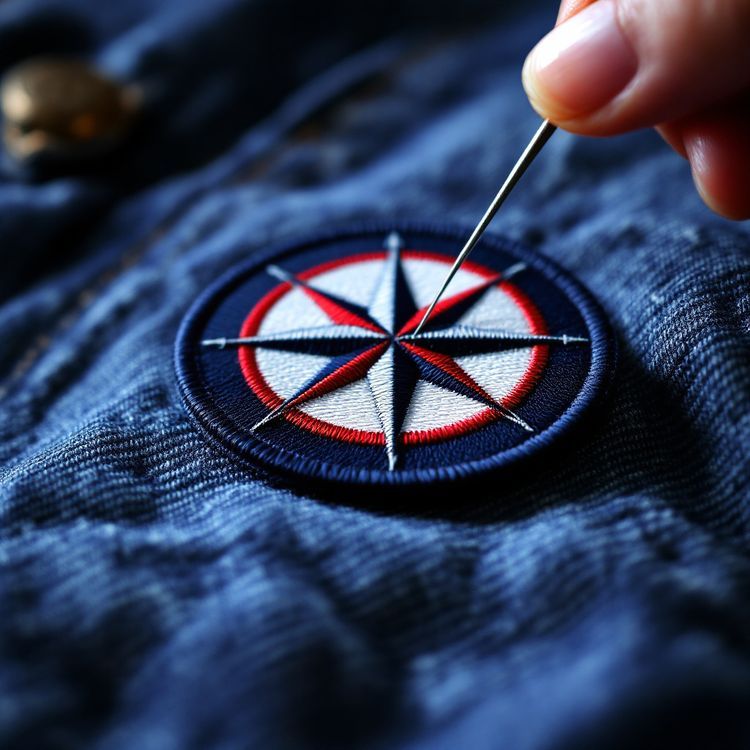
- Use a strong needle and polyester thread matched to the patch border. A curved upholstery needle makes it much easier to get in and out of a structured crown without reaching inside. A thimble helps push through buckram.
- Stitch just inside the border. On a merrowed patch, come up through the cap and go down over the edge of the border, so the thread blends into the wrapped edge. On a heat cut patch, stitch about 1/16 in (2 mm) in from the edge.
- Keep stitches about 1/8 in (3 mm) apart and pull them snug, not tight, or the front will pucker.
- Tie off inside under the sweatband, then fold the sweatband back into place.
For a full walkthrough of stitches and knots, see our guide on how to sew on a patch. A sewing machine is rarely practical on a finished cap, because the crown will not lie flat under the foot.
Ironing a patch on a hat
A patch with an iron-on (heat seal) backing can be ironed onto a cotton or canvas cap. The trick is support: a curved front collapses under an iron unless something firm is inside it.
- Stuff the crown tightly with a rolled towel, or fit it over a rounded object such as a tailor's ham, so the front is firm and keeps its curve.
- Set the iron to the cotton setting, steam off. A small travel or craft iron is easier to control on a curve.
- Place the patch, cover it with a thin cotton cloth, and press the center first, then rock the iron gently toward each edge. Keep pressing firmly for about 30 to 45 seconds in total.
- Let it cool fully on the support before you check the edges.
Using a hat press
A hat press has a curved heated upper and a curved lower platen that the cap front fits over. It applies even heat and pressure across the whole patch, so it is the best method for a team or merch order. Pull the cap snug over the lower platen, line the patch up with the center seam, and press for the time and temperature on your patch instructions. As a general guide, heat seal patch adhesives usually press at around 300 to 330°F (150 to 165°C) for 15 to 20 seconds, but test on a spare cap first.
If you do not own a hat press, many local print and embroidery shops will press patches onto caps you supply.
Which method suits which cap
| Cap type | Sew | Iron | Hat press |
|---|---|---|---|
| Structured cotton twill | Yes, use a curved needle | Yes, with the crown supported | Yes, best for batches |
| Unstructured cotton (dad cap) | Yes, easiest to sew | Possible, needs firm support | Yes |
| Foam-front trucker | Yes | No, foam can melt | Not recommended |
| Polyester performance cap | Yes | Test first, risk of shine | Low heat only, test first |
| Wool or wool blend | Yes | Use a pressing cloth, low heat | Test first |
Ordering patches made for caps
When you order patches for caps, tell us they are for hats and how they will be attached. That steers the backing and edge. For pressing, ask for iron-on. For sewing, sew-on is cleaner and lighter. A rigid plastic backing helps a patch keep its shape on a cap front, and it is common on caps that will be sewn. Heat cut edges suit detailed shapes; merrowed edges suit circles, ovals and rectangles. Embroidered patches are the classic choice, and woven works well when the logo has small text.
You can preview your logo on a cap in our free Patch Studio, then send it for a quote with the size, quantity and backing. Quotes come back within about 2 to 3 business days, and nothing is made until you approve the proof in writing.