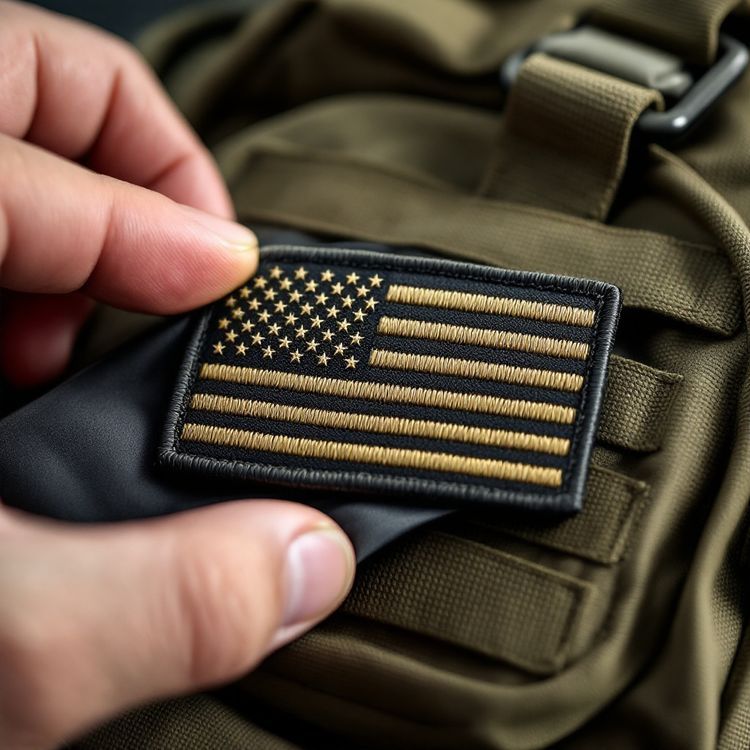
Tote bag patches go on best when you match the method to the bag. Cotton canvas and cotton duck totes take iron-on patches well, especially with a few stitches added around the edge. Non-woven polypropylene, nylon and coated totes should be sewn, because a hot iron can melt or mark them. Whichever you use, attach the patch to the front panel only, centered a few inches below the top hem, and keep the inside of the bag out of the way so you do not sew it shut.
This guide covers tote fabrics, placement and size, both attaching methods, and how to plan patched totes for an event, shop or team.
Know your tote fabric first
Totes come in a wide range of materials, and that changes how a patch goes on.
| Tote material | Iron-on | Sew-on | Notes |
|---|---|---|---|
| Cotton canvas or duck | Yes | Yes | Thick and stable, the easiest tote to patch |
| Lightweight cotton | Yes | Yes | Use a smaller, lighter patch so the bag does not sag |
| Jute or burlap | Unreliable | Yes | Open weave gives adhesive little to grip |
| Non-woven polypropylene | No | Yes | Melts under a household iron |
| Nylon or polyester | Test first | Yes | Low heat only, with a pressing cloth |
| Coated or laminated | No | Yes | Heat can blister the coating |
If you are not sure what a tote is made of, check the label or the supplier's listing. When in doubt, sew. Our post on ironing patches onto polyester and nylon explains why synthetics need care.
Placement and patch size
The most common spot is the center of the front panel, slightly above the middle so the patch is visible when the bag is carried by the handles. Measure about 3 in (76 mm) to 4 in (102 mm) down from the top hem to the top of the patch on a standard tote, then adjust by eye.
- Small totes and book bags: a 2.5 in (64 mm) to 3.5 in (89 mm) patch, centered.
- Standard shopping totes: 3.5 in (89 mm) to 5 in (127 mm) for a single centered patch.
- Large beach or market totes: up to about 6 in (152 mm), or a cluster of smaller patches.
- Corner accent: a small patch near a lower corner or on the outside pocket gives a quieter, branded look.
- Gusset or side: fine for a small patch if the side panel is flat and wide enough.
Keep patches clear of the handle stitching and the top hem, which take the load. For a collection of several patches, lay them out on the bag before you attach any, and photograph the layout so you can repeat it.
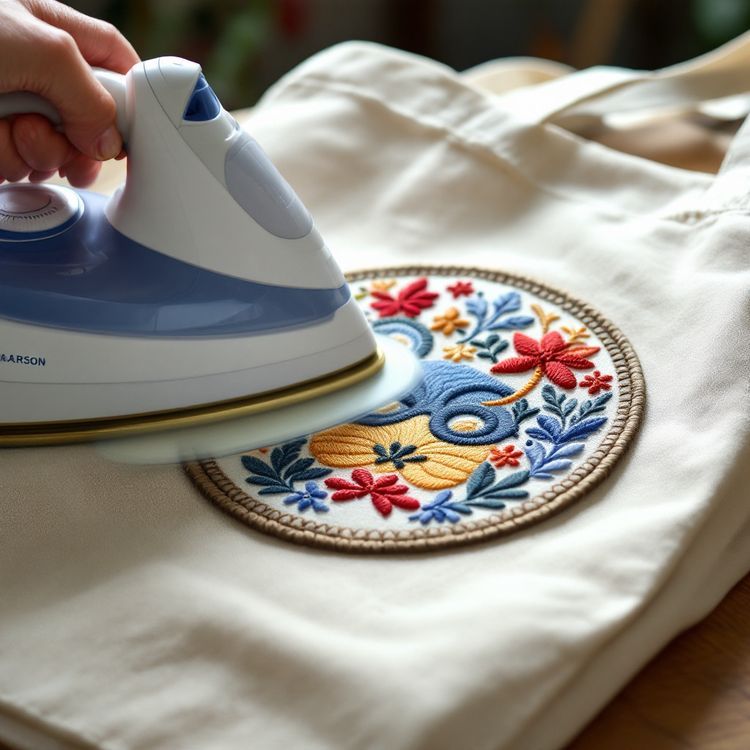
Ironing a patch onto a canvas tote
Cotton canvas is one of the best surfaces for an iron-on (heat seal) patch: flat, tightly woven and happy with high heat. As a general guide:
- Turn the bag so the front panel lies flat on a hard surface, with a board or thick card inside to keep the back panel out of the way.
- Press the area for a few seconds to flatten it and drive off moisture.
- Place the patch, cover it with a thin cloth, and press firmly with a dry iron on the cotton setting for about 30 to 45 seconds without sliding.
- Turn the bag inside out and press the back of the area for another 20 to 30 seconds.
- Let it cool fully before you handle it.
Totes get stuffed, dragged and set down on wet floors, so for anything used daily, add a few stitches around the edge after pressing. The adhesive holds the patch flat and the stitches stop the edges lifting. Our guide to attaching iron-on patches covers heat and timing in more detail.
Sewing a patch onto a tote
Sewing works on every tote material. The main challenge is reaching the front panel without catching the back.
By hand
Reach inside the bag and work from the inside out, or turn the tote inside out so the front panel is on top. A thimble helps push the needle through canvas. Use strong polyester thread and stitch just inside the patch border about 1/8 in (3 mm) apart. On non-woven bags, keep stitches a little farther from the edge of the patch and avoid pulling hard, since the material can tear along a line of holes.
By machine
Open the bag and feed the front panel under the presser foot with the rest of the bag gathered to one side. A heavy needle suited to denim or canvas helps on duck and thick cotton. Straight stitch around the patch just inside the border, going slowly at corners. A free arm or a sewing machine with a removable bed section makes it easier on small totes.
Which patch suits a tote
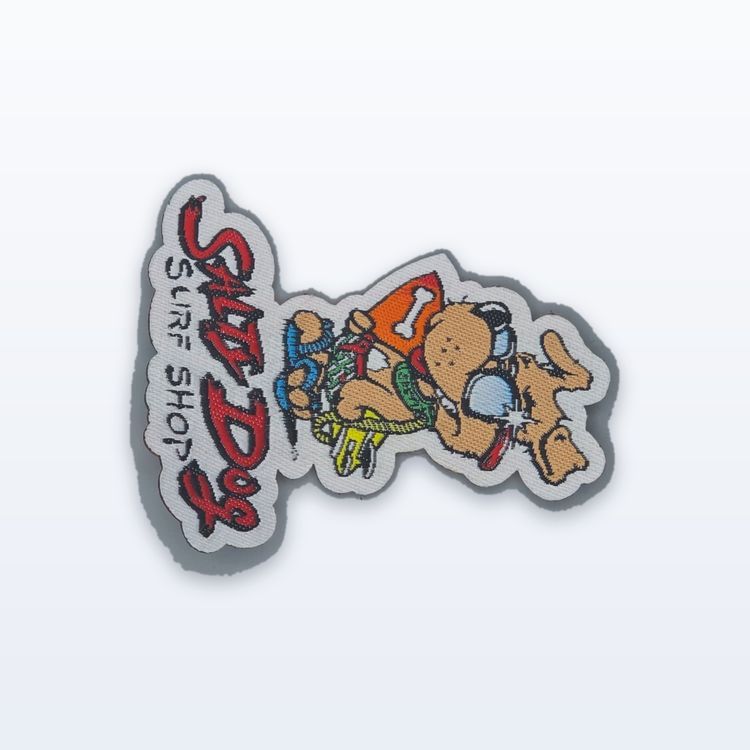
Embroidered patches are the usual choice. They are durable, show up well on plain canvas and handle abrasion as the bag rubs against a hip or a car seat. Woven patches are thinner and lighter, and hold fine detail such as small text or a detailed illustration. On a light tote, a woven patch keeps the bag soft. A sublimated patch suits photographic or gradient art.
Choose the edge to suit the shape. A merrowed border is easy to sew around on circles and rectangles, and a heat cut edge follows a die-cut outline. For backing, order iron-on for cotton totes and sew-on for synthetics. Our guide to patch backing types compares the options.
Planning patched totes as merch
Patched totes are popular for shops, events, schools and fundraisers because the patch can outlive the bag or be sold separately. A few planning points:
- Order patches sized for the smallest tote in the range so one design works on all of them.
- Decide early whether patches will be attached for customers or sold loose with the bag. Loose patches need a backing that suits the buyer's own bags.
- Leave time for both the patch run and attaching. Production on custom patches typically takes about 3 to 4 weeks after proof approval.
- Keep the proof and spec on file so a reorder matches. Reorders skip setup, and digitizing stays on file.
It also helps to think about who attaches the patch. If your team is pressing patches onto a few hundred cotton totes, a heat press gives the same temperature, pressure and time on every bag, which a household iron cannot match. Mark the placement with a simple cardboard template that sits against the top hem and has a window cut where the patch goes. One person loads bags, one presses, and every patch lands in the same spot. For synthetic totes that must be sewn, a local sewing or embroidery shop can usually attach patches by machine faster than hand sewing, so get their timing before you set an event date.
Send us your artwork, tote material and quantity and we will quote the patches, usually within 2 to 3 business days. Nothing runs until you approve the proof in writing.