The patches that stay on a backpack are sewn on through a single layer of fabric, or attached with hook-and-loop to a pack that already has a loop panel. Iron-on works only on cotton canvas packs, because most backpacks are nylon or polyester, which can melt before the adhesive bonds. The key to sewing a backpack is reaching inside so you stitch through the outer panel only, without catching a pocket, the lining or a zipper.
Below: how to read your pack's material, where backpack patches look and wear best, the sewing method step by step, and when hook-and-loop or iron-on is the better choice.
Check what your backpack is made of
Look at the tag inside the main compartment. The material decides your method more than anything else.
| Backpack material | Sew-on | Iron-on | Hook-and-loop |
|---|---|---|---|
| Cotton canvas | Yes | Yes, with firm pressure | Only if a loop panel is sewn on |
| Nylon (school and hiking packs) | Yes | No, risk of melting | Only if a loop panel is sewn on |
| Polyester | Yes | Not recommended | Only if a loop panel is sewn on |
| Tactical pack with loop field or webbing | Usually unnecessary | No | Yes, press it straight on |
| Leather or faux leather | Yes, with a leather needle | No | No |
| Coated or waterproof fabric | Yes, then seal the holes | No | Only if a loop panel is sewn on |
If you are not sure whether a fabric will take heat, assume it will not. The guide to attaching patches without sewing explains why synthetic fabrics and iron-on adhesive are a poor match.
Where backpack patches look and wear best
- Front pocket. The classic spot. It is flat, visible and easy to reach from inside the pocket, so it is the easiest place to sew. A patch about 3 to 4 in (76 to 102 mm) wide suits most school and day packs.
- Top flap or lid. Hiking packs often have a lid pocket that opens fully, which makes it a good sewing spot for a club or trail patch.
- Shoulder straps. Small patches about 1.5 to 2 in (38 to 51 mm) wide, or a name tape, fit on the flat upper part of a strap. Avoid the padded curve, which bends constantly.
- Main panel. Larger patches go here, but this is the hardest place to sew, because you have to work through the main compartment and around the laptop sleeve.
- Side pockets. Mesh side pockets cannot hold a patch. Fabric side pockets can, if they open enough to get a hand in.
How to sew a patch on a backpack
Sewing is slow on a pack, mostly because of access. Plan for about 30 minutes per patch the first time.
What you need
- A heavy needle (a size 16 to 18 hand needle, or a curved upholstery needle for tight spots).
- Strong polyester or nylon thread in the border colour of the patch. Doubled ordinary thread will not last on a pack.
- A thimble, and small pliers to pull the needle through thick spots.
- Pins or binder clips, and chalk to mark the position.
Step by step
- Empty the pack completely and open every zipper near the spot.
- Find a way to the back of the panel. For a front pocket, reach in through the pocket. For the main panel, you may need to work from inside the main compartment. Check that only one layer is between your hand and the patch.
- Pin or clip the patch in place and mark the corners with chalk.
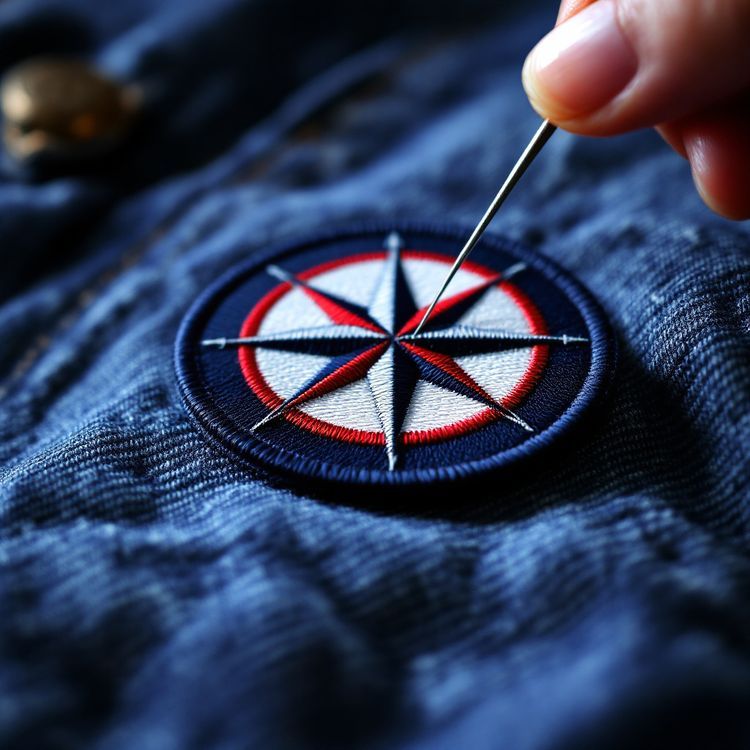
- Stitch around the edge. Bring the needle up from inside and down over the edge of the patch border, about 1/8 in (3 mm) apart. Keep your other hand inside so you can feel each stitch and avoid catching the lining.
- Tie off inside with a double knot, and add a dab of seam sealer or clear fabric glue to the knot.
If you have never hand sewn a patch, our guide on how to sew on a patch shows the stitch in detail.
Sewing through waterproof fabric
Every stitch is a small hole. On a coated or waterproof pack, run a thin line of seam sealer around the stitching on the inside once you are done. It is the same product used on tent seams.
Hook-and-loop on tactical and hiking packs
Many tactical packs have a panel of loop fabric on the front, and some have webbing rows (often called MOLLE) with a loop field above them. On those packs, a patch with a hook backing simply presses on. You can swap patches between packs, change a name tape, or take a flag patch off for travel.
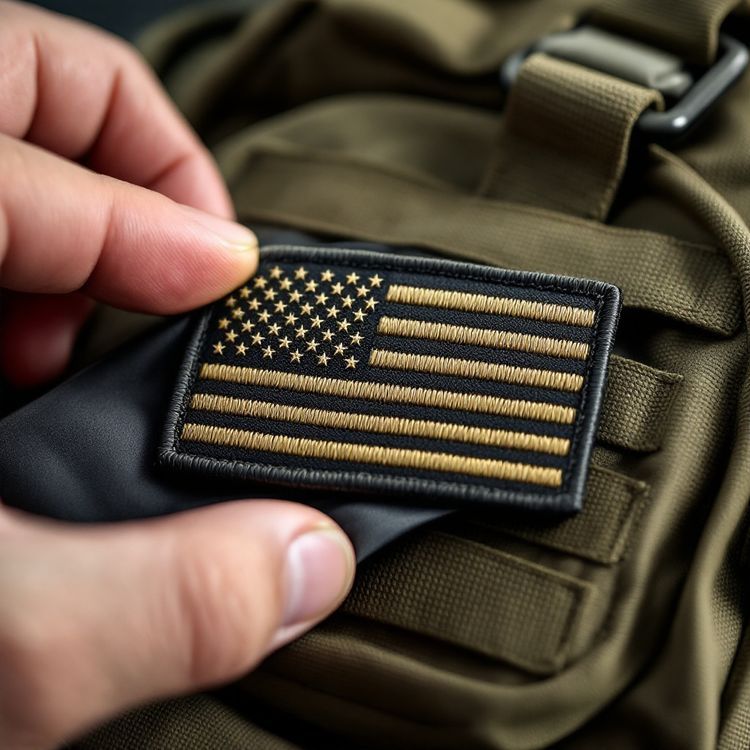
If your pack has no loop panel but you want swappable patches, sew a rectangle of loop fabric on once, using the sewing method above, and every patch after that is no-sew. Our hook-and-loop patch guide explains how the backing is made and how strong it is.
Iron-on: canvas packs only
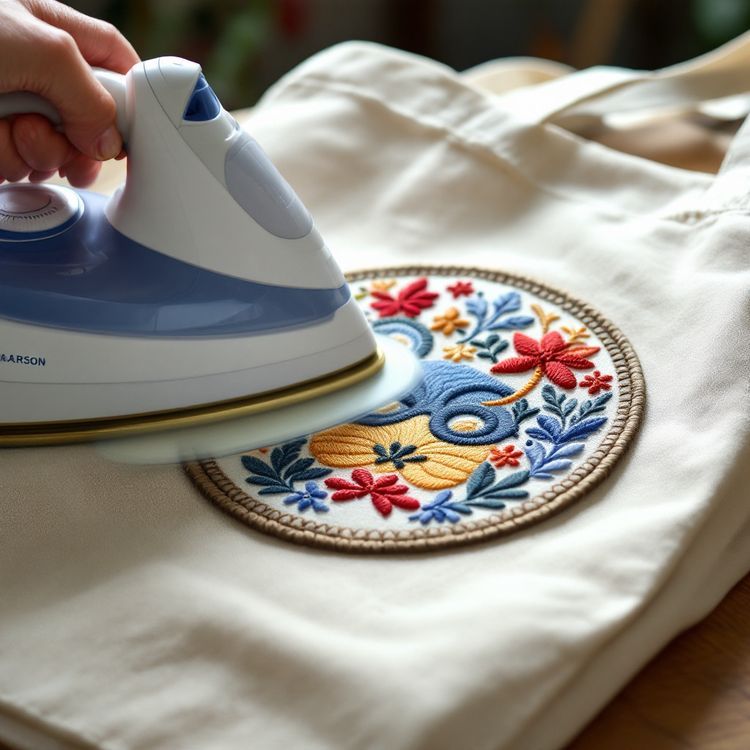
A cotton canvas backpack or tote takes an iron-on patch well. Put a firm, flat surface inside the pack, such as a folded towel on a cutting board, so you are pressing against something solid. Press with the iron on the cotton setting, steam off, through a pressing cloth, for about 30 seconds, then repeat from inside if you can reach. Let it cool before you load the pack.
Backpacks rub against seats, lockers and car doors all day, so even on canvas, a few stitches at the corners of an iron-on patch will keep the edges down far longer.
Choosing patches that suit a bag
Bags take more abrasion than clothes. These choices help a backpack patch last:
- Embroidered patches stand up to rubbing well. Woven patches are thinner and keep small text sharp.
- A merrowed border gives a firm edge to sew over and resists fraying on simple shapes.
- Avoid thin points and long narrow spikes in a die cut outline; they catch and lift.
- Choose sew-on for nylon packs, hook-and-loop for tactical packs, iron-on only for canvas.
- Keep patches for shoulder straps small and simple so they bend with the strap.
If you are ordering backpack patches for a school, club, troop or event, our custom patches page lists every construction, backing and edge. You can try your design in the free Patch Studio, then request a quote with your size, quantity and backing. We reply within about 2 to 3 business days.