Tackle twill is lettering and numbering cut from satin polyester twill fabric and stitched onto a garment around its edges, usually with a zigzag or satin stitch. It is the classic look of athletic jerseys, team jackets and collegiate apparel: bold, flat colour with a clean stitched border, light enough to wear in play and tough enough to last a season of washing. For uniforms, you order it as satin tackle twill patches cut to your letters, numbers and logo, in one, two or three layers.
This guide explains how tackle twill is made, the choices that shape the look, how to size it for common placements and how to plan an order for a full roster.
What tackle twill is
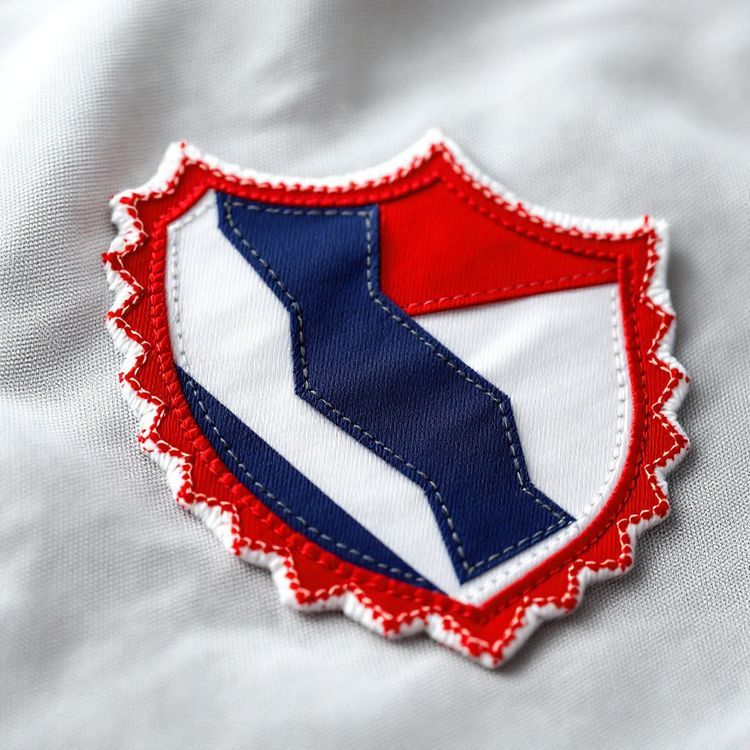
Satin tackle twill is a durable polyester twill fabric with a smooth, slightly glossy face. Letters, numbers or graphic shapes are cut from it, then laid onto the garment and stitched down around every edge. Because the colour comes from the fabric itself, large areas stay light and flexible compared with filling the same shape with embroidery stitches.
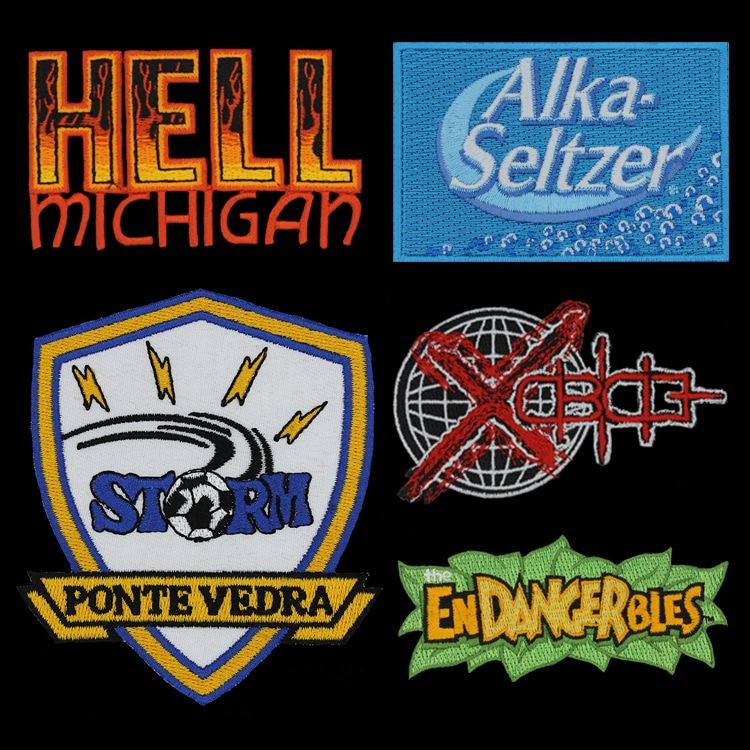
The term covers both the material and the method. You will also hear it called twill applique. As one of our six patch constructions, satin tackle twill can be made as finished patches you attach to jerseys and jackets.
Layers, borders and stitch styles
Single, double and triple layer
A single layer letter is one colour of twill, stitched down. A double layer letter stacks a slightly smaller top colour over a larger bottom colour, so you see a contrasting outline around the letter. A triple layer adds a third outline. Each layer adds visual weight, so two layers is the common choice for school and club jerseys, while three layers suits throwback and pro-style designs.
Stitch styles
The edge stitch both holds the twill down and frames it. A zigzag stitch is lighter and shows the fabric edge. A satin stitch is denser and gives a smooth, raised border. The thread colour can match the twill for a clean look or contrast for a sharper outline.
Tackle twill vs other uniform lettering
Teams usually choose between tackle twill, embroidery, chenille and printed lettering. Each has a place.
| Method | Look | Weight on large areas | Typical use |
|---|---|---|---|
| Tackle twill | Flat fabric, stitched edge | Light | Jersey names, numbers, chest lettering |
| Embroidery | Raised thread, fine detail | Heavier when large | Logos, small text, caps |
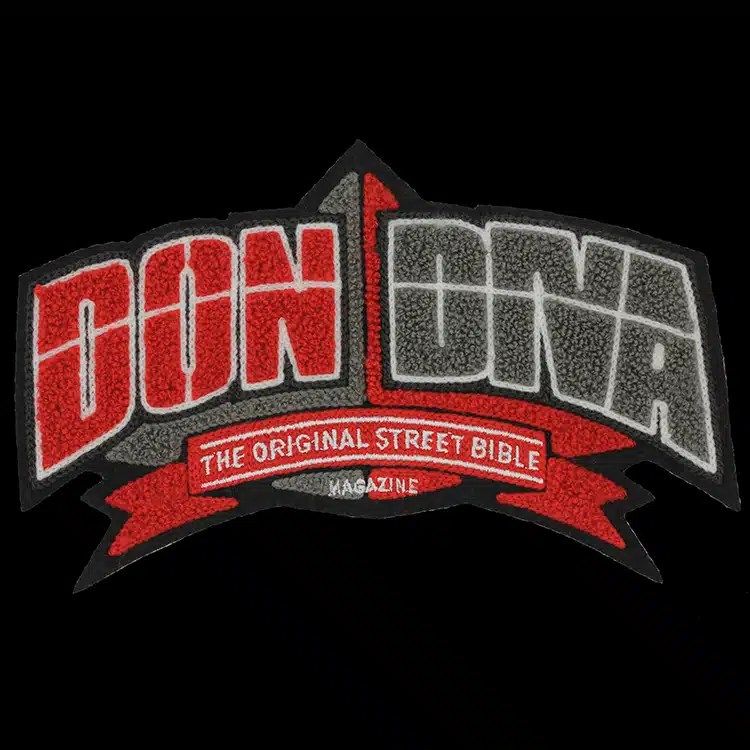
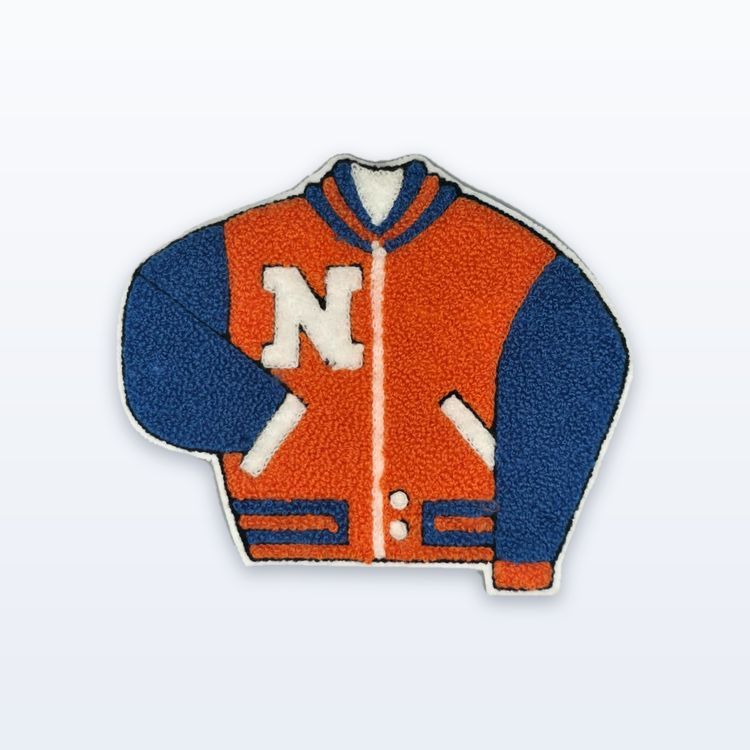
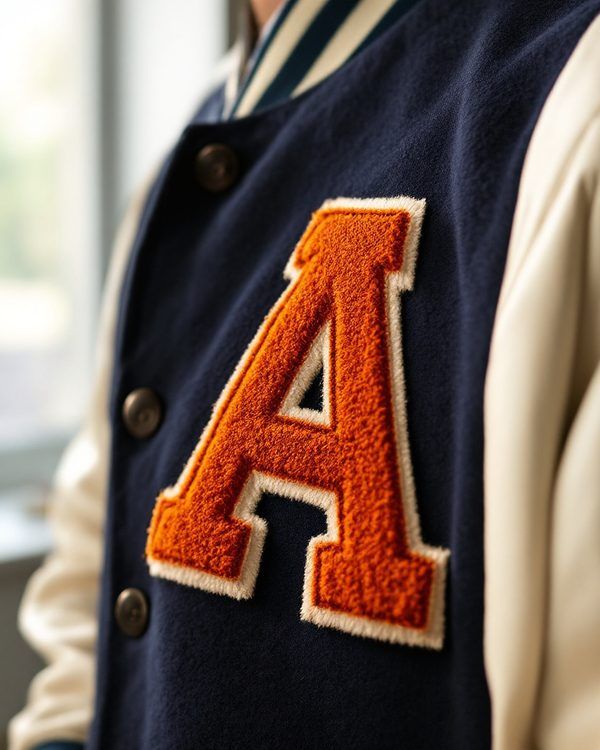
| Chenille | Thick fuzzy pile | Heavy | Letterman letters, mascots |
| Printed | Flat ink, no edge | Lightest | Practice wear, budget sets |
Tackle twill wins when the lettering is large and the garment has to move. A big jersey number in solid embroidery would be stiff and heavy. In twill it stays flexible. For mascots and detailed logos, combine twill letters with an embroidered crest, or see our guide to chenille vs embroidered patches for letterman-style pieces.
Sizing letters and numbers
Sizes vary by sport, garment and league. As a general guide:
- Back numbers on full-size jerseys are usually the largest element, often 8 in (203 mm) to 10 in (254 mm) tall.
- Front numbers are typically smaller than the back number on the same jersey.
- Sleeve and shoulder numbers commonly run around 3 in (76 mm) to 4 in (102 mm).
- Name bars across the upper back usually use letters of around 2 in (51 mm) to 3 in (76 mm).
- Chest wordmarks are sized to the width of the jersey front, with letter height set by how long the word is.
Youth jerseys scale everything down. Measure the actual garment before you commit, since a number that fits an adult large may not fit a youth small. Our sports team patches guide covers crests and tournament patches that pair with lettering.
Design tips for twill lettering
- Use bold block or athletic fonts. Thin serifs and script hairlines are hard to cut and stitch cleanly.
- Keep strong contrast between twill and jersey colour, and between layers. A white letter with a navy outline reads on almost anything.
- Avoid very small counters, the holes in letters such as A, B and R, at small sizes. They are hard to cut and tend to close up.
- Keep names short or allow for a smaller letter on long names. Plan for your longest surname on the smallest jersey.
- Match fonts across names, numbers and chest lettering so the set looks like one uniform.
Planning a roster order
Lettering orders go wrong in the spreadsheet more often than in production. A clean roster list saves a lot of trouble.
- List every player with name exactly as it should appear, number, jersey size and garment type.
- Decide where each element goes: back number, front number, sleeve numbers, name bar, chest wordmark.
- Choose layers, colours and stitch style once for the whole team.
- Check for duplicate numbers and spelling, then have a coach or parent confirm the list.
- Order a few spare numbers for late additions and replacements.
Our step by step guide to ordering custom patches also helps when you combine lettering with sleeve patches or captain patches.
Care, wear and replacements
Tackle twill takes a lot of punishment in a season, from grass, sweat and weekly washing. A few habits keep it looking sharp:
- Wash jerseys inside out, in cool water, on a gentle cycle, so the stitched edges are not rubbed against other garments.
- Skip the hot dryer. Hang dry or tumble on low to keep the twill flat and the stitching tight.
- Do not iron directly over the lettering. If a jersey needs pressing, press from the inside with a cloth.
- Fix a loose edge early. One lifted corner snags and spreads quickly, so a few stitches at the first sign of lifting save the whole number.
Plan for replacements as well. Players join mid-season, jerseys get torn, and a number occasionally needs to change. Keeping a small stock of spare numbers and letters in each size and colour means you can fix a jersey the same week instead of waiting for a new order. Because setup is already done, a reorder of your lettering skips the setup step, and keeping your approved proof on file makes it easy to match fonts and colours later.
Ordering tackle twill patches
Send your font or artwork, the sizes for each placement, the number of layers, colours, stitch style and your roster. Custom minimums start from 100 pieces and vary by product, confirmed on the quote. Quotes typically return in 2 to 3 business days, and production takes about 3 to 4 weeks after you approve the proof in writing, so work back from your first game. Rush around 10 business days is possible when the factory can hold it. Request your quote here.