Patches for jackets look right and stay on when the placement, the size and the backing are planned around the jacket itself. A denim jacket, a leather vest, a varsity jacket and a nylon work shell each take patches differently, and the spot you choose sets how big the patch can be. This guide covers the common placements, the sizes that suit them, and how to attach patches to each kind of jacket.
Start with the jacket, not the patch. Lay it flat, look at where the seams, pockets, zips and buttons sit, and measure the flat areas you actually have.
Common patch placements on a jacket
Most jacket patches go in one of five places. Each has a natural size range and a typical job.
- Left chest. The usual spot for a logo or name patch, where it is seen first.
- Right chest. A second logo, a flag or a name, balancing the left side.
- Shoulder or upper sleeve. Department, unit, club and flag patches, sitting on the flat of the sleeve below the seam.
- Back. The large centre patch, with room for a rocker above or below.
- Front panels of a vest. Chest patches, name tabs and officer tabs on club vests.
Sleeves lower down, pocket flaps and collars also take small patches, but check how the fabric bends there. A patch on a crease or a seam will not sit flat.
Patch sizes for each spot on a jacket
These are common starting sizes, not limits. Our patch size guide shows the same placements, and any size is quoted.
| Placement | Typical size | Notes |
|---|---|---|
| Left or right chest | 3 to 3.5 in | Clear the pocket and the zip or button line |
| Shoulder or upper sleeve | 3 to 4.5 in | Sit below the shoulder seam on the flat of the sleeve |
| Jacket back | 8 to 12 in | Measure between the shoulder seams and down from the collar |
| Name tape or rocker | 4 to 5 in wide | Curved or straight text above or below a patch |
| Vest chest panel | 3 to 4 in | Leave room for name and officer tabs |
On the back, leave space at the edges so the patch does not fold into the sleeves or the side seams. If you plan rockers above and below a back patch, size the centre first and match the rocker width to it. Our guide to motorcycle club back patches and rockers covers full sets in detail.
Patches for jackets: denim, leather, varsity and more
Denim jackets
Denim is the easiest jacket to patch. It is firm, flat and takes both thread and heat seal adhesive well. Iron-on patches work on denim, and a few stitches around the edge make them last. For a large back patch on denim, sew it on, since adhesive alone will not hold a big patch through years of wear and washing.
Leather jackets and vests
Patches for leather are sewn on. Iron-on adhesive does not bond to leather, and the heat can mark or damage it. Leather is best handled by a leather or saddlery shop with a heavy needle and strong thread. Order sew-on backing for every patch going on leather.
Varsity and letterman jackets
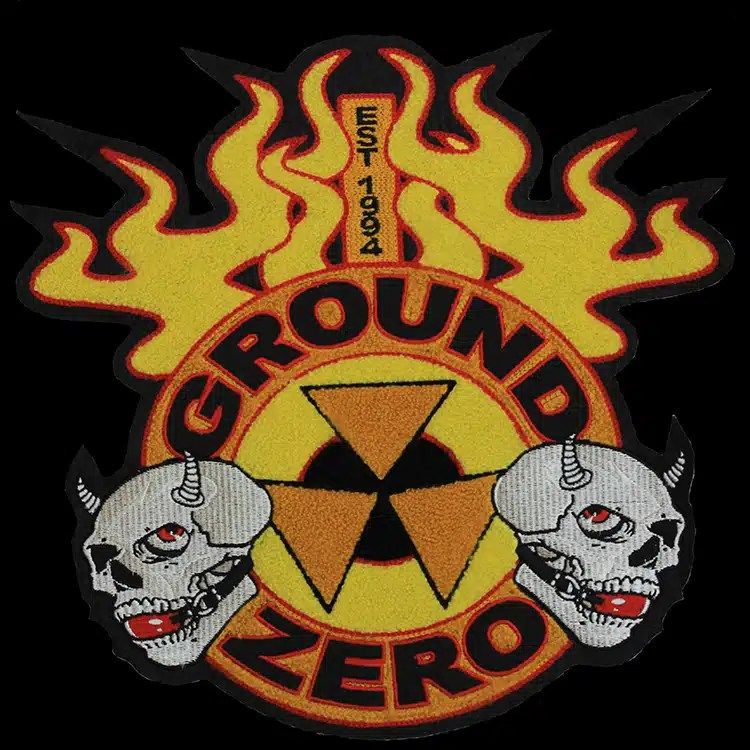
Varsity jackets usually carry chenille: a large letter on the chest, plus numerals, mascots and year patches on the sleeves. Chenille is tufted yarn built up into a raised pile, and it suits bold, simple shapes. Our guide to chenille patches for letterman jackets covers sizes and layouts.
Work jackets and nylon shells
Nylon, polyester and coated shells do not take heat seal adhesive reliably, and some do not tolerate the heat needed to set it. Sew-on is the safe choice. On padded or quilted jackets, have the patch sewn by someone who can stitch through the outer layer without crushing the fill.
Tactical and softshell jackets
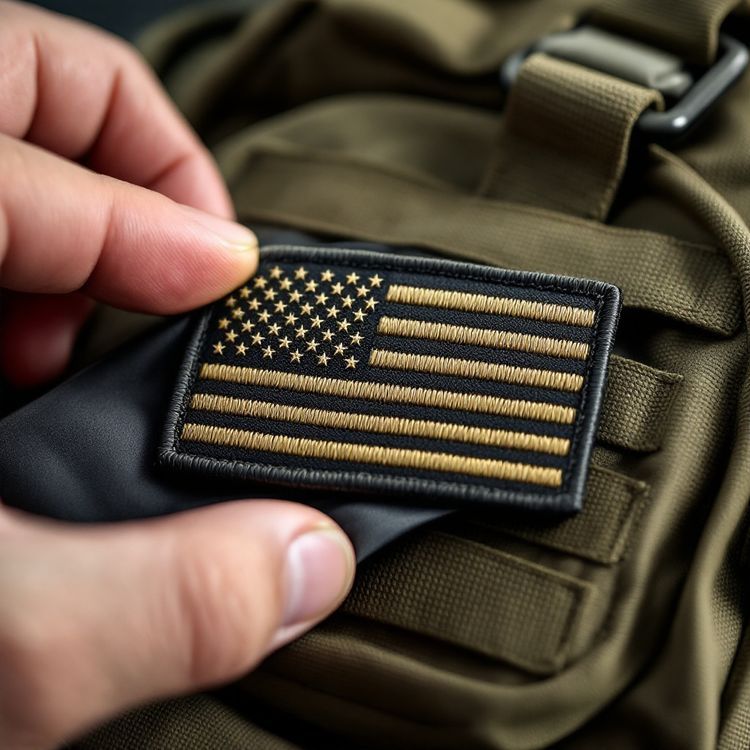
Many tactical jackets come with loop panels on the sleeves and chest. A hook-and-loop patch presses onto the panel and comes off again, so patches can change between roles or come off for washing. Match the patch to the panel size already on the jacket.
How to attach patches to a jacket
The backing decides how the patch goes on. We offer four: sew-on, iron-on, hook-and-loop and a rigid plastic backing. For jackets, the first three cover almost every case.
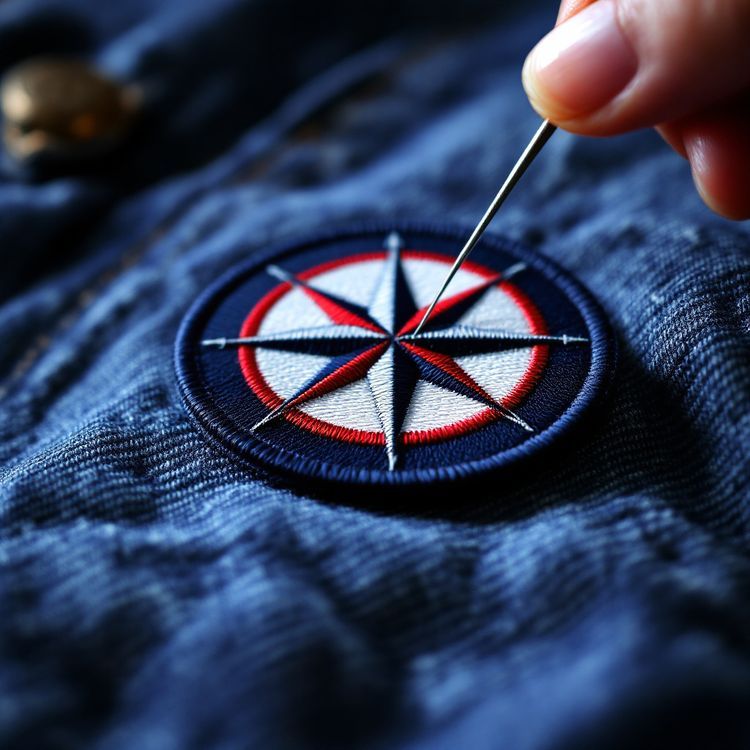
- Sew-on is the most permanent and suits any jacket, including leather and nylon. Stitch just inside the border all the way round. Our guide on how to sew on a patch walks through it.
- Iron-on is quick on cotton, denim and canvas. Press it in place first, then sew around the edge if the jacket will be washed often.
- Hook-and-loop needs a loop panel on the jacket. If there is none, the loop side has to be sewn on first.
If you are not sure what a jacket is made of, check the care label. A label that says not to iron is a clear sign to choose sew-on. Our full comparison of patch backing types covers each one by fabric and washing.
Planning a jacket layout with several patches
A jacket with several patches looks best when the pieces are planned together rather than added one at a time.
- Measure each flat area on the actual jacket, not a size chart.
- Print each design at full size, cut it out and pin it in place.
- Step back and check the balance from a few feet away.
- Keep the main patch the largest and let smaller ones support it.
- Use the same border colour across the set so the patches look related.
- Check that nothing sits on a seam, a zip or a pocket opening.
Choosing the construction for a jacket patch
Embroidered patches are the standard for most jackets, with raised, textured thread that reads from a distance and stands up to wear. Woven patches are thinner and flatter and hold small text, which suits a detailed logo on a light jacket. Chenille belongs on varsity jackets. Hand embroidered bullion, worked in metallic wire, is the choice for blazer crests. Sublimated patches carry photos and gradients that thread cannot reproduce.
Get patches made for your jackets
Upload your logo to the free Patch Studio, set the width and height, and see the patch on a black jacket in 3D before you decide. When you are ready, request a quote with the placement, size, construction, backing, quantity and in-hands date. Custom patch runs start from 100 pieces, confirmed on your quote, and nothing is made until you approve the proof in writing.