
To put patches on a vest, first check the material and whether it is lined, then lay out the back patch and front patches with the vest flat, hold them in place with clips or tape, and sew them on through the outer layer. Sewing works on every vest. Iron-on works only on cotton and denim vests. Hook-and-loop is the answer for tactical vests with a loop panel. Leather, fleece, nylon and hi-vis vests should never be ironed.
The six steps below apply to any vest. After them, we cover the differences between a leather club vest, a scout vest, a work vest and a fleece.
Step 1: Check the material and the lining
Look at the care label and inside the vest. You need to know two things:
- Can it take heat? Cotton, canvas and denim can. Leather, faux leather, nylon, polyester fleece and hi-vis fabric cannot.
- Is it lined, and can you reach the back of each panel? An unlined vest is the easiest thing in the world to sew a patch on. A lined vest means either sewing through the lining or opening a seam at the hem.
Step 2: Plan the layout
Vests have less space than jackets because there are no sleeves, so the back and front chest do all the work.
- Back: one center patch, often with a curved top rocker above it and a bottom rocker below it on club vests. Leave about 1 in (25 mm) of vest showing on each side of the largest patch.
- Front left chest: the usual spot for a logo, club emblem or rank, about 3 to 4 in (76 to 102 mm) wide.
- Front right chest: a name or role patch, often a rectangle about 3.5 to 4 in (89 to 102 mm) wide.
- Lower front panels: smaller patches, event patches and pins, added over time.
For club vests with rockers, our rockers and back patches guide covers the three-piece layout and how to size it.
Step 3: Measure the back before you order
Lay the vest flat and measure the back straight across, about 4 in (102 mm) below the collar and again at the narrowest point between the armholes. The narrowest measurement sets the maximum width of your back patch and rockers. On many adult vests the usable back is roughly 11 to 14 in (279 to 356 mm) wide, but small sizes and fitted cuts are much narrower. If you are ordering for a group with a range of sizes, size the back patch for the smallest vest, or order two sizes.
Step 4: Position and hold the patches
- Lay the vest flat, zipped or buttoned closed, so the front panels sit where they will when worn.
- Place the back patch first. Center it left to right using the back seam or a chalk line, and set it a little above the middle of the back so it sits between the shoulder blades.
- Place rockers with an even gap above and below the center patch, about 1/2 to 1 in (13 to 25 mm).
- Place the front patches level with each other, measuring down from the shoulder seam on each side.
- Hold everything with binder clips or painter's tape on leather, and with pins on fabric. Try the vest on and look in a mirror before you attach anything.
Step 5: Attach the patches
Sewing (any vest)
Use strong polyester thread matched to the patch border. Stitch from inside, coming up through the vest and going down over the edge of the patch border, about 1/8 in (3 mm) apart on fabric and about 1/4 in (6 mm) apart on leather. On a lined vest, either sew through the lining with care not to pucker it, or unpick a few inches of the hem lining and reach in. Our guide on how to sew on a patch shows the stitch.
Ironing (cotton and denim vests only)
Put a flat board inside the vest, press on the cotton setting with steam off through a pressing cloth for about 30 seconds, then press from the inside. Add a few stitches at the corners for a vest that is worn often.
Hook-and-loop (tactical vests)
Press hook-backed patches onto the loop panel. If you want to add a loop panel to a fabric vest, sew it on once. Our hook-and-loop patch guide covers sizes for name tapes and morale patches.
Step 6: Check and finish
- Put the vest on and check every patch is level and centered.
- Run a finger round each patch edge to find any gap in the stitching.
- Check the lining is not puckered and that you have not stitched a pocket shut.
- Secure knots inside with a dab of seam sealer or clear fabric glue.
- On a lined vest, re-sew the hem seam if you opened it.
How it differs by type of vest
| Vest type | Best attachment | Watch out for |
|---|---|---|
| Leather club vest | Hand sew with a leather needle, or a leather shop | Holes are permanent; space stitches widely |
| Denim vest | Sew, or iron-on plus stitched corners | Flat-felled seams on the back |
| Scout or youth vest | Sew, or iron-on where the fabric allows | Your organization's official placement guide |
| Fleece or puffer vest | Sew through the outer shell only | No heat; avoid stitching through insulation channels where you can |
| Hi-vis work vest | Sew, away from reflective striping | Covering reflective material may affect safety compliance |
| Tactical vest or plate carrier | Hook-and-loop | Patch size should fit the loop panel |
Leather club vests
Leather vests are often unlined and flatter than jackets, which makes them easier to sew. The method is the same as for a jacket; our guide to putting patches on a leather jacket goes into needles, thread and spacing.
Scout and youth organization vests
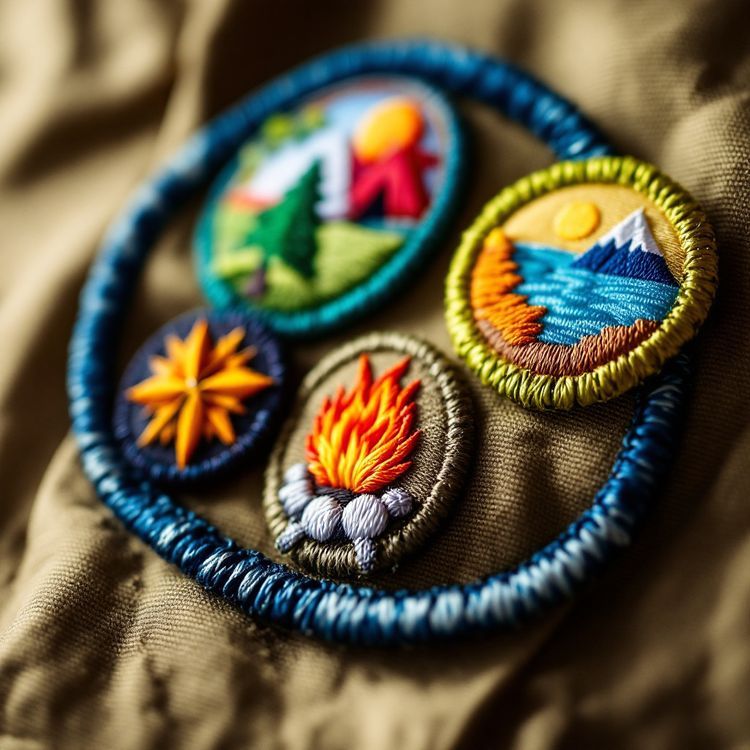
Scout, 4-H and similar vests often have official rules for where each badge goes. Follow your organization's current insignia or uniform guide for official badges, and use the open space it allows for troop, camp and event patches. Our scout and troop patch guide covers designing those.
Hi-vis safety vests
Do not cover the reflective stripes or large areas of the fluorescent background. If the vest is worn to meet a workplace safety standard, check with your safety officer before adding patches.
Ordering patches for a group's vests
For a club, troop or crew, tell us the vest type and the smallest back width when you request a quote. We will suggest construction, size and backing for each piece. Our custom patches page lists every option. Reorders for new members skip setup, so you can start small and add.