To put patches on a hoodie, pick a spot away from the pouch pocket opening and the hood seam, lay the hoodie flat without stretching it, then either press an iron-on patch with firm heat through a cloth or sew it on with small stitches through the outer layer only. Sewing is the most reliable on fleece, because the brushed inside and the stretch of the knit can work an adhesive loose over time. Many people do both: press first to fix the position, then add a line of stitches around the edge.
This guide covers where patches look right on a hoodie, how each method behaves on fleece and blends, and what to specify if you are ordering patches for a whole team or crew.
Why hoodies need a different approach
A hoodie is a knit, not a woven fabric like denim or canvas. Knit stretches in every direction, and most hoodies are a cotton and polyester fleece with a smooth face and a brushed, fluffy back. Three things follow from that.
- Stretch. If the fabric is pulled while you attach the patch, it relaxes afterwards and the area around the patch puckers or ripples.
- Loft. The brushed inner layer is soft and springy. Heat and pressure have to get through it to set an adhesive, and stitches pulled too tight sink into it and gather the fabric.
- Movement. Hoodies get pulled over heads, stuffed into bags and washed often. The edges of a patch on the chest or sleeve flex every time you move.
None of this stops a patch from looking good. It just means you work flat, use moderate tension and, for anything that will be worn hard, add stitches.
Where to place patches on a hoodie
The common placements are the left chest, the center chest, the upper sleeve and the back between the shoulder blades. A few practical points:
- Left chest: center the patch over the left side of the chest, with the top edge roughly level with the armpit seam or a little above it. About 3 in (76 mm) to 3.5 in (89 mm) wide suits most adult sizes.
- Center chest: keep the patch above the pouch pocket, with a clear gap below the hood opening or zipper. Larger designs of 4 in (102 mm) to 6 in (152 mm) work here.
- Sleeve: center on the outside of the upper arm, a little below the shoulder seam. Raglan sleeves have a diagonal seam, so measure from the neckline down instead.
- Back: a large design sits a few inches below the hood seam so the hood does not cover it when it is down.
- Avoid: the pouch pocket opening, side seams, cuffs and the waistband, which all flex or bunch.
On a zip hoodie, keep patches clear of the zipper tape so the zip runs freely. For more on sizing for each spot, our patch size guide gives starting points by placement.
Ironing a patch onto a hoodie
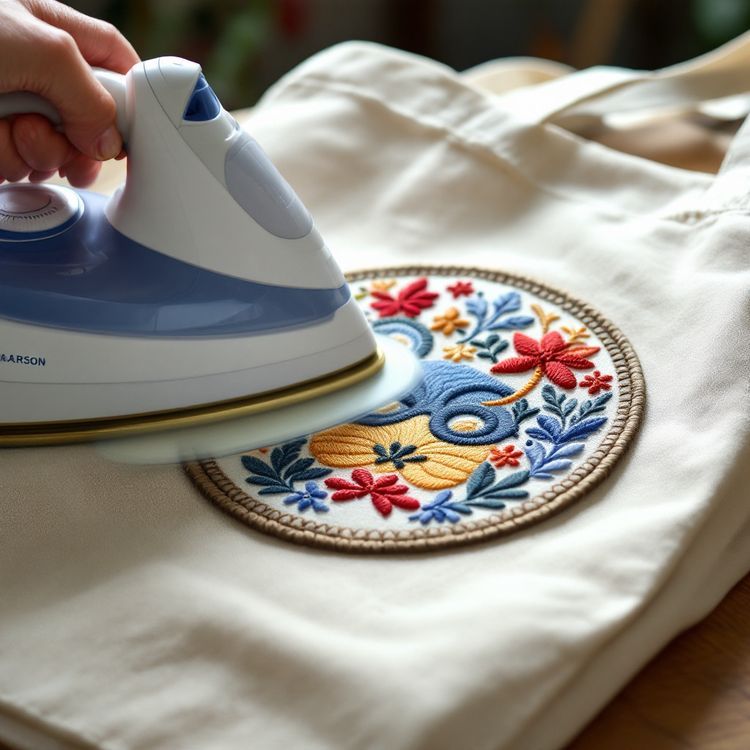
An iron-on (heat seal) patch has a layer of heat activated adhesive on the back. On a cotton or cotton blend hoodie it can hold well if you get enough heat through the fleece. As a general guide:
- Check the care label. Heavy polyester or performance fleece can scorch or go shiny at high heat, so test on an inside seam allowance first and lower the heat if needed.
- Lay the hoodie on a hard, heat safe surface, not a padded ironing board. Slip a thin board or a folded towel inside so you press through one layer only.
- Pre-press the area for a few seconds to remove moisture and wrinkles, then smooth it flat without pulling.
- Place the patch, cover it with a thin cotton cloth or parchment, and press down hard with a dry iron (no steam) for about 30 to 45 seconds. Do not slide the iron around.
- Turn the hoodie inside out and press the back of the area for another 20 to 30 seconds so heat reaches the adhesive from behind.
- Let it cool completely before you test the edges. The adhesive sets as it cools.
Follow any instructions that come with the patch, since adhesives vary. If an edge lifts, press that area again. Our guides on attaching iron-on patches and on why iron-on patches fall off go deeper on heat, time and fabric.
Sewing a patch onto a hoodie
Sewing is the method that lasts as long as the hoodie. It works on any fabric content and any patch backing, including an iron-on patch you want to secure.
By hand
Use polyester thread in a colour that matches the patch border and a sharp hand needle. Pin or press the patch in place, then work small stitches through the very edge of the patch and the outer fleece only, about 1/8 in (3 mm) apart. Keep the tension relaxed: snug enough to hold, loose enough that the fleece does not gather. On a merrowed border, slip the needle just inside the rolled edge so the stitches hide in it.
Reach inside through the hem or the neck so you do not sew the front to the back. On a pullover, a rolled up towel inside the body helps keep the layers apart.
By machine
A ballpoint or jersey needle slides between the knit loops instead of cutting them. A narrow zigzag or a straight stitch just inside the border both work. Lengthen the stitch slightly, lower the presser foot pressure if your machine allows it, and let the feed dogs move the fabric rather than pushing or pulling it. A piece of tear away stabilizer under the area keeps the knit from stretching as you sew.
Our step by step guide to sewing on a patch covers stitches and thread in more detail.
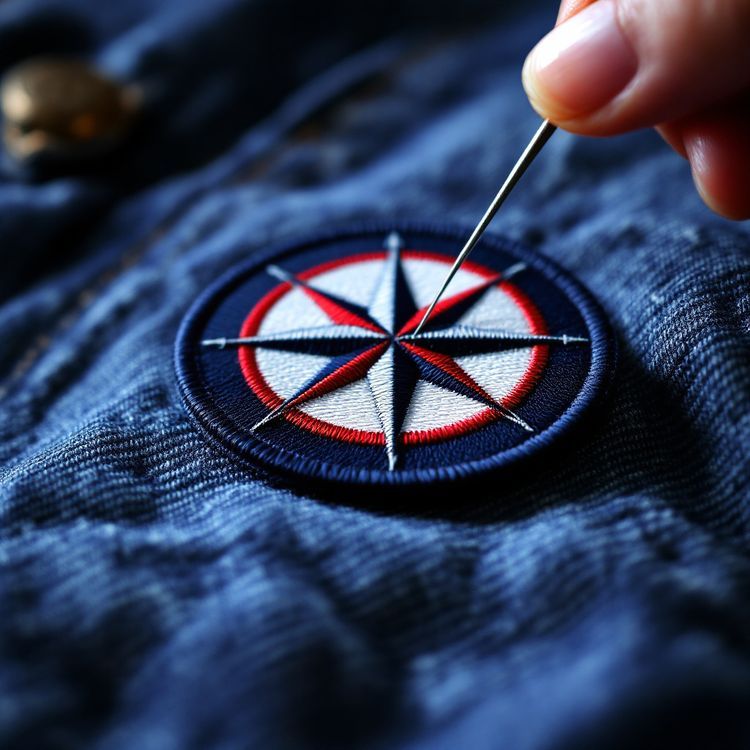
Which method suits your hoodie
| Situation | Best method | Why |
|---|---|---|
| Cotton or cotton blend hoodie, light wear | Iron-on | Quick and clean, holds well with enough heat |
| Hoodie washed often or worn hard | Iron-on plus stitches, or sew-on | Stitches stop edges lifting over many washes |
| Polyester or performance fleece | Sew-on | High heat can mark the fabric |
| Team or crew hoodies in bulk | Sew-on or heat seal applied by a decorator | Consistent placement and pressure on every piece |
| Patches you want to swap | Hook-and-loop | A sewn loop panel takes changeable patches |
Choosing patches for hoodies
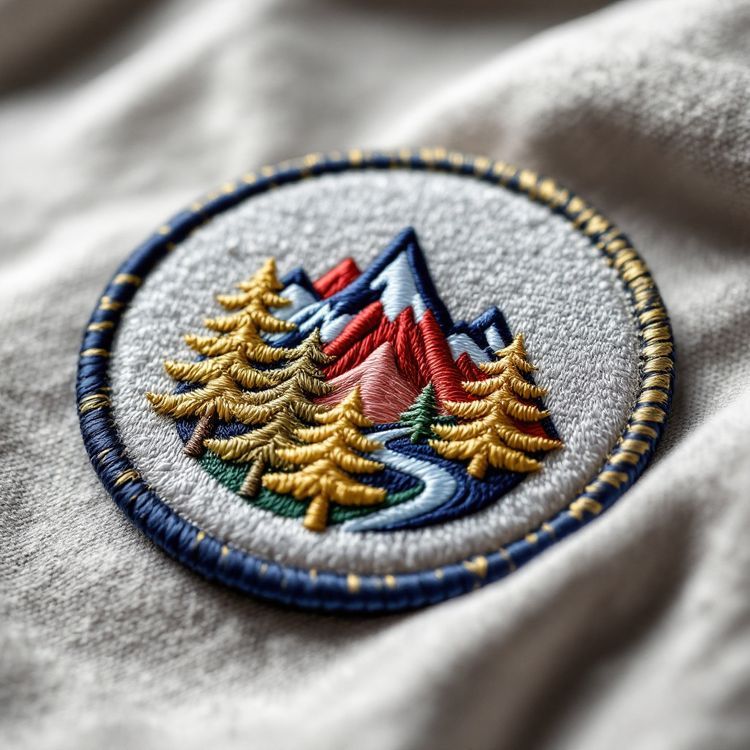
Most hoodie patches are embroidered, which suits the casual weight of fleece and gives a raised, textured look. A few things to think about when you plan a design:
- Coverage and stiffness. A fully stitched patch is stiffer. On a soft hoodie, a slightly lighter coverage or a woven patch can sit more naturally, especially on the sleeve.
- Edge. A merrowed border on a simple shape is easy to sew around. A heat cut edge follows a custom outline closely.
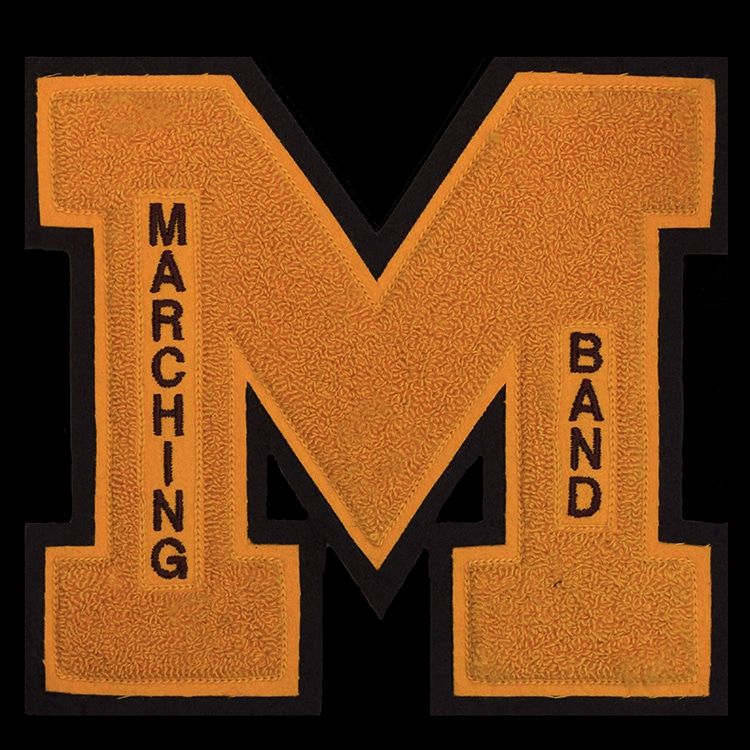
- Chenille. Chenille letters and mascots look at home on a heavyweight hoodie and are normally sewn on.
- Size. Think about the smallest sizes in your order. A 4 in (102 mm) chest patch can look oversized on a youth small.
If you are ordering for a team, club or staff, tell us the hoodie style, fabric content and placement when you request a quote. We can recommend backing and size, and you can preview the design first in the free Patch Studio. Quotes typically come back in 2 to 3 business days, and nothing is made until you approve the proof in writing.
Washing a hoodie with patches
Turn the hoodie inside out, wash in cold or warm water on a gentle cycle, and skip the hot dryer if you used iron-on only, because repeated high heat can soften the adhesive. Hang dry or tumble on low. If an edge starts to lift, press it again through a cloth or add a few stitches before it catches on something and pulls further.