Fraying patch repair starts with finding what is failing. A loose merrowed border can be tacked back down with matching thread. A fuzzy heat cut edge can be trimmed and sealed with a clear fabric fray sealant. Snagged satin stitches can be eased back into place or anchored from behind. A patch that is peeling rather than fraying needs its adhesive re-pressed, and ideally a line of stitches around the edge so it does not lift again. Fix it early: a single loose loop becomes a run of unravelled border after a few washes.
Below, each problem in turn, the tools for each, and when a patch is better replaced than repaired.
First, find what is failing
| What you see | Likely cause | Fix |
|---|---|---|
| Loose loop or gap in a raised border | Merrowed edge thread broken or snagged | Tack the border down by hand |
| Fuzzy, whiskery edge | Heat cut edge worn by abrasion | Trim and apply fray sealant |
| Long loose stitches on the face | Satin stitches snagged | Ease back, anchor from behind |
| Edge lifting, patch intact | Iron-on adhesive released | Re-press, then stitch |
| Whole patch peeling off | Adhesive failed or never bonded | Re-press fully, then sew on |
| Patch fine, garment torn around it | Fabric weak or patch too heavy | Reinforce garment, resew |
What you need
- Fine hand sewing needles and polyester thread matching the border colour.
- Small, sharp embroidery scissors.
- A clear fabric fray sealant, the liquid sold for stopping cut fabric edges unravelling.
- A pressing cloth or parchment and a dry iron.
- A blunt needle or a crochet hook for pulling snags to the back.
- A pin or toothpick for applying sealant precisely.
Fixing a loose merrowed border
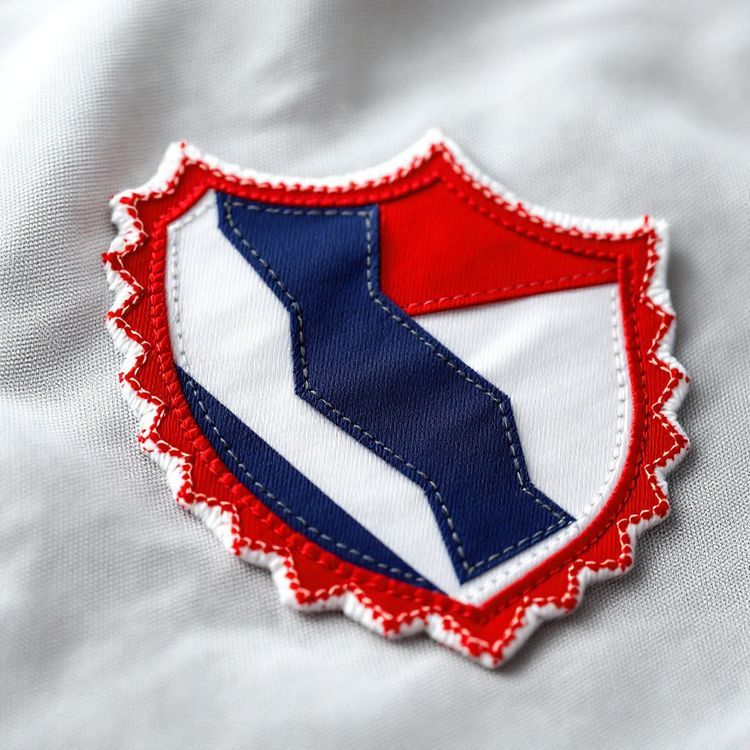
A merrowed border is the raised, rolled edge that wraps around simple patch shapes. It is one continuous overlock stitch, so if a thread breaks, the loops nearby can start to pull free.
- Do not pull the loose thread. Trim only the part sticking out past the border.
- Thread a needle with matching polyester thread and knot it.
- Starting a little way into the intact border on one side, bring the needle up through the patch just inside the edge.
- Wrap over the border and back through the patch with small, close whip stitches, laying them in the same direction as the original stitching.
- Carry on past the damaged area onto intact border on the other side, then knot on the back.
- Touch a tiny dot of fray sealant on both ends of the original broken thread, on the back if you can reach it.
Your repair stitches will not match the machine border perfectly, but in matching thread they disappear at arm's length. If the patch is sewn to a garment, you can usually catch the garment fabric in the same stitches, which secures the edge at the same time.
Fixing a fuzzy heat cut edge
A heat cut edge is sealed by heat right at the outline of the design, without a wrapped border. With heavy rubbing, for example on a backpack strap or a sleeve that brushes a desk, fibers can work loose and give the edge a whiskery look.
- Trim the loose fibers close to the edge with sharp scissors. Do not cut into the stitched design.
- Run a thin bead of clear fray sealant along the edge with a pin or the nozzle tip, keeping it on the edge itself.
- Let it dry fully before wearing or washing, following the product's directions.
Test the sealant on the back of the patch first, because some can darken light threads slightly. Avoid using a lighter or candle to re-melt the edge. It is easy to scorch the thread and the garment, and it rarely looks as clean as the factory finish.

Fixing snagged stitches on the face
Long satin stitches in lettering and borders can catch on velcro, jewelry or a dog's claw. If the thread is pulled but not broken, ease the slack back along the stitch with a blunt needle, working from both ends, until it lies flat again. If there is a loop you cannot work back, push it to the back of the patch with a crochet hook or a blunt needle and secure it there with a dot of fray sealant. If the thread has broken, add a few matching stitches by hand over the gap, following the direction of the original stitches.
Fixing a peeling iron-on patch
A patch that is lifting at the edges but otherwise sound has an adhesive problem, not a fraying problem. Clean any lint from under the edge, then re-press through a cloth with a dry iron on the fabric's highest safe setting for about 30 seconds, and again from inside the garment. Let it cool before testing. If it lifts again, the fabric or the washing routine is working against the adhesive, and sewing is the permanent fix. Our guides on why iron-on patches fall off and how to sew on a patch walk through both.
When the garment, not the patch, is failing
Sometimes the patch is fine and the fabric around it is giving way: a tear at one corner, a ring of stretched fabric, or holes along the stitch line. This is common on thin shirts carrying a heavy patch, and on old garments where the fabric has worn thin.
- Remove the patch carefully by cutting its stitches from the inside.
- Iron a piece of lightweight fusible interfacing, or sew a piece of thin fabric, on the inside behind the area, a little larger than the patch.
- Close any small tears with a few stitches through the new support layer.
- Sew the patch back on through both the garment and the support layer.
The support spreads the load and stops the patch tearing through again. On a new order, a lighter coverage or a woven patch puts less weight on thin fabric.
When to replace instead of repair
Repair makes sense for one patch or a small area of damage. Replacement makes more sense when:
- The border has unravelled along more than about a quarter of its length.
- Fill stitches in the design have worn through to the base fabric.
- The patch has faded or discoloured unevenly compared with the rest of a uniform roster.
- Many patches across a team or department are failing in the same way, which points to the placement, the backing or the washing routine.
If your patches came from us, we keep the digitizing on file, and reorders skip setup, so replacements can match the original. If the failure was the backing, tell us and we can suggest a different backing, such as sew-on instead of iron-on, for the next run. Send the details or a photo of the original to request a quote, or see our patch options.