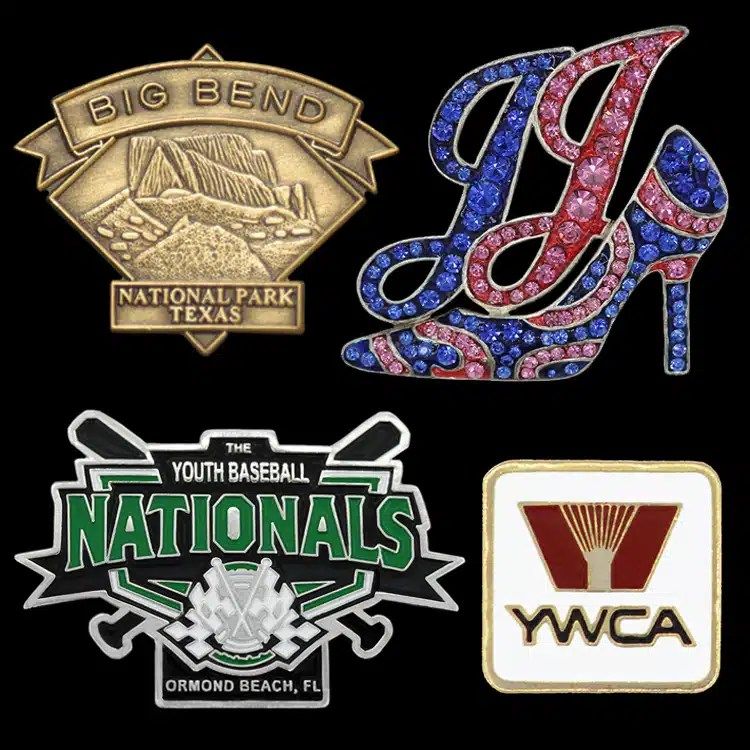
To design an enamel pin, start with a bold outline shape, draw every colour area as a closed shape bordered by a metal line, keep the colour count low, and make sure the smallest text and lines are big enough to strike at your pin size. Then pick a plating colour that contrasts with your enamel and send the design as vector artwork. A pin is not a shrunken illustration: it is a set of metal walls with colour poured between them, and designing it that way is what makes it look sharp.
Below we go through the process in order, from the first sketch to the file you send for a quote.
Start from how an enamel pin is made
Every enamel pin starts with a die cut from your artwork. The die strikes your design into a metal blank, leaving raised lines and recessed areas. The pin is cut to its outline, plated, and the recesses are filled with enamel colour. On a soft enamel pin the colour sits below the metal lines. On a hard enamel pin it is filled level with the metal and polished smooth.
That process sets the rules for the design:
- Each colour needs its own enclosed area, a cell, with a metal line around it.
- Colours cannot blend into each other, so there are no gradients in enamel.
- Raised metal lines and recessed cells have minimum sizes.
- The outline of the pin is cut, so very thin points or spikes are fragile.
If you are still choosing between soft and hard enamel, our soft vs hard enamel comparison explains how each one looks.
Step 1: choose the outline and size
Start with the silhouette. A strong, recognizable outline does a lot of the work on a small pin: a mascot head, a shield, a state shape, a badge or your logo's own form. Custom outlines are normal for pins, since every pin is cut to shape, but keep the shape compact. Thin protruding parts can bend and are hard to plate evenly.
Decide the size early, because every other limit depends on it. A 1 in (25 mm) pin is the common default. Our enamel pin size guide shows what fits at each size.
Step 2: draw the metal lines
Think of the metal lines as the drawing and the enamel as the colouring in. Every place two colours meet needs a line between them, and that line will be the plating colour.
- Keep metal lines at a consistent weight, as a general guide about 0.3 mm (0.012 in) or thicker.
- Close every shape. A gap in a line lets two enamel colours run together.
- Use the lines as part of the design: outlines around a mascot, a border ring, lettering in raised metal.
- Raised metal text with no enamel inside often reads better at small sizes than enamel text.
Step 3: limit and specify the colours
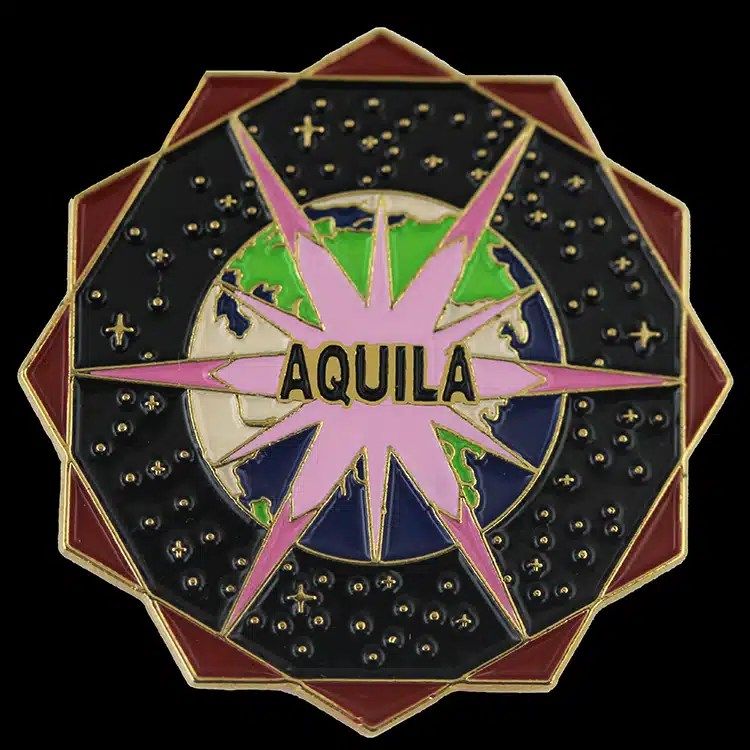
Enamel colours are solid, matched as closely as possible to the colour references you give, usually Pantone numbers. Fewer colours make a cleaner pin. As a rough guide, most good pins use somewhere between two and six enamel colours. Each extra colour is another fill step and another place for small areas to crowd.
Use contrast to separate shapes. Two dark colours side by side, such as navy next to black, can read as one at arm's length. Give the design one light or bright colour so the main shape stands out.
When enamel cannot carry the art
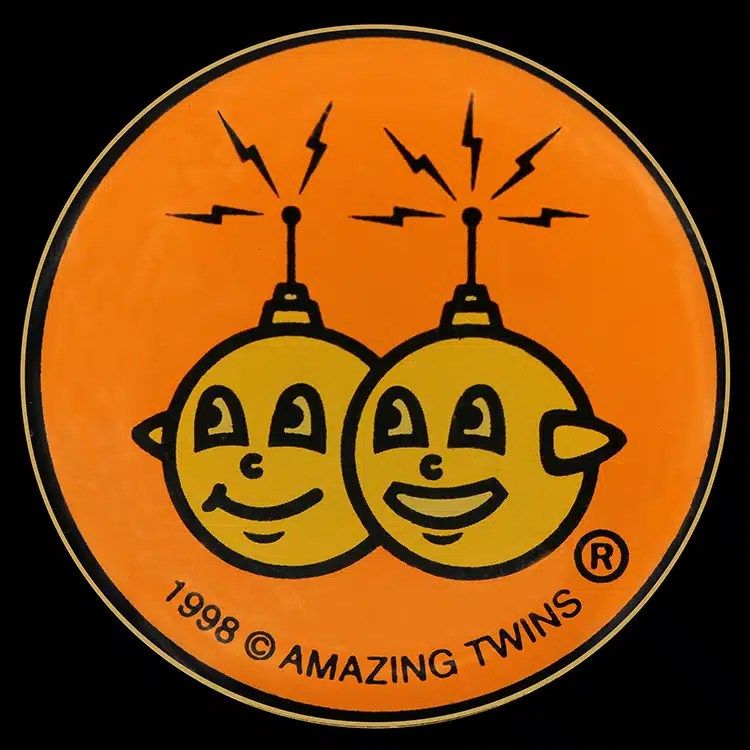
If the design depends on a gradient, a photograph or soft shading, enamel will flatten it. An offset printed pin prints full colour under a clear epoxy dome, and a silkscreened pin prints onto a flat metal face. Both keep detail that enamel cannot.
Step 4: check the text and small details
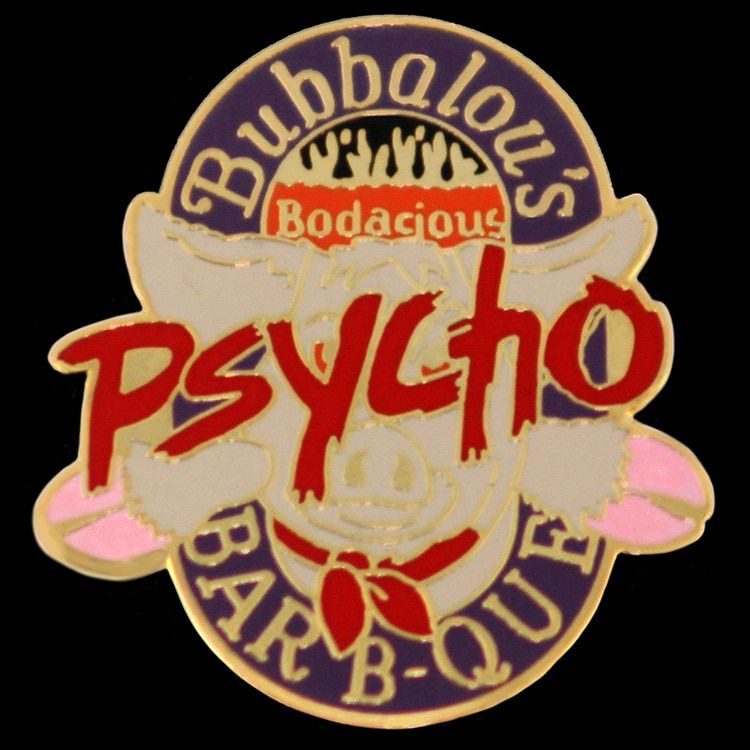
Text is where most pin designs fail. At 1 in, a line of lettering is very small.
- As a rule of thumb, keep letters about 1/16 in (1.5 mm) tall or larger on a struck pin, and larger for thin or script fonts.
- Choose a bold, simple font. Thin serifs and tight script fill in.
- Cut the text to the essentials: a name and a year, not a slogan and a web address.
- Remove details smaller than a cell can hold, such as small stars, fine hatching or thin highlights.
If fine lettering is essential, a photo etched pin holds much finer lines than a struck die. You can see examples of each construction on our custom lapel pins page.
Step 5: pick the plating, finish and back
The plating is the colour of every metal line and the outline. Gold, silver, nickel and copper are the usual options, and the finish can be polished, antiqued or sandblasted. Choose a plating that contrasts with your darkest enamel, so the lines still separate the colours. Gold suits warm palettes and award pins; silver and nickel suit cooler palettes.
The back is part of the design too. A butterfly clutch is standard, a rubber clutch is softer, a locking clutch is more secure, and a magnet suits garments that should not be pierced. Large pins usually take two posts. Our guide to lapel pin backs explains each.
Step 6: prepare the artwork file
Vector artwork in AI, EPS or PDF gives the cleanest die and the truest colour match. If you can, send:
- The design in outlines, with fonts converted to shapes.
- The metal lines drawn as their own shapes, not just strokes on top of colour.
- A list of enamel colours with Pantone references.
- The intended size and plating.
If you only have a sketch, a PNG or a photo of an existing pin, that is enough to start, and we will confirm what is achievable on your quote. Our guide to vector vs raster artwork explains why vector files matter for a die.
From design to proof
Once you request a quote, we price the pin at the factory and return a quote within 2 to 3 business days. The proof usually follows 1 to 3 business days after artwork, and it shows the pin at its real size with the metal lines, enamel colours and plating marked. Check every line of text and every colour on it. Nothing is made until you approve the proof in writing, and production runs about 3 to 4 weeks after that approval, typical and confirmed on your quote.