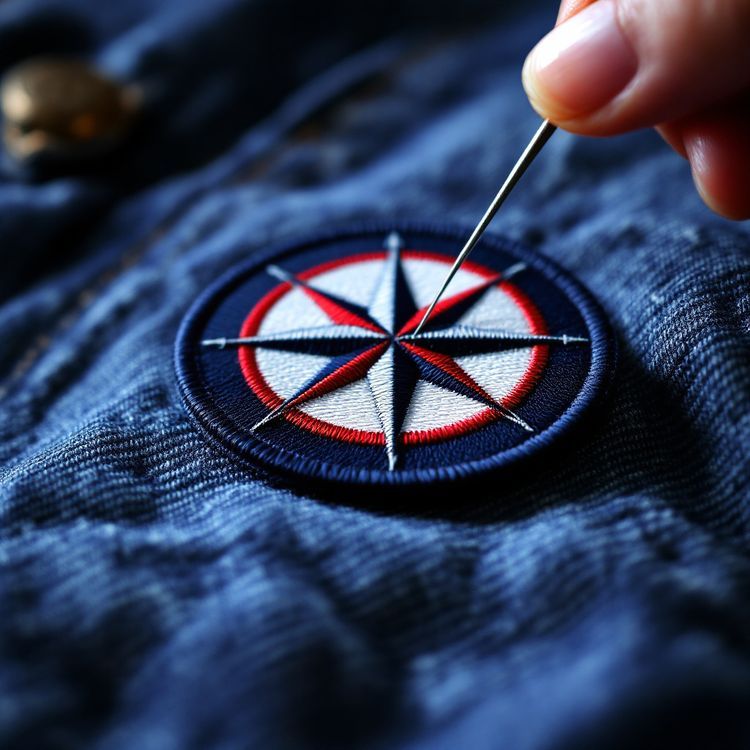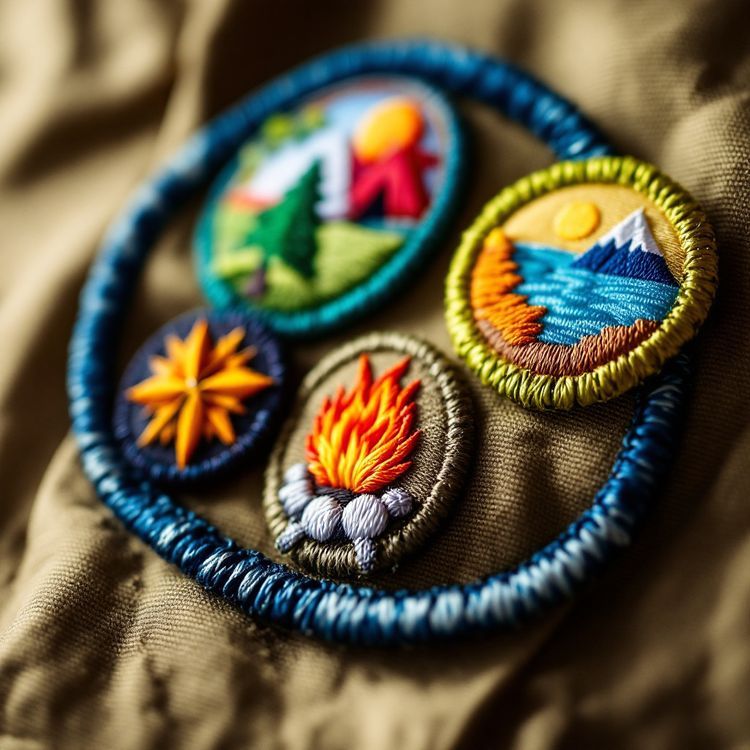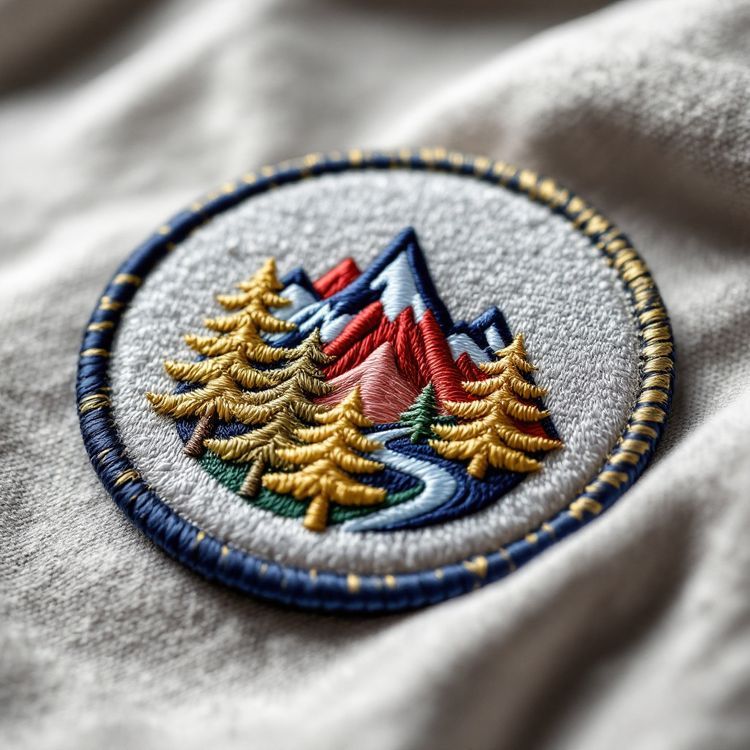
Hiking patches are usually round or die cut embroidered patches about 3 to 3.5 in (76 to 89 mm) showing a trail, a peak or a club emblem, with the name and often the elevation or mileage. They are made for hiking clubs, peak and trail challenges, trail volunteer programs, outfitters and gift shops. Because most packs are nylon, order them sew-on or with hook-and-loop backing: iron-on adhesive does not hold on slick synthetics.
This guide covers the main kinds of hiking patches, how to design a mountain scene that stitches cleanly, sizes and backings for outdoor gear, and the trademark questions to check when a patch names a well-known trail or park.
Kinds of hiking patches
Club patches
Hiking clubs use a patch as their membership badge: the club name, an emblem (a peak, a boot, a trail blaze) and sometimes the founding year. Members wear it on packs, hats and fleece jackets. Clubs often add mileage or year tabs that members earn over time.
Peak and challenge patches
Peak lists and trail challenges, such as climbing every summit over a set elevation in a region, are traditionally rewarded with a patch. If your organization runs a challenge, a patch is the classic finisher award, with the challenge name, the number of peaks or miles and a scene. A second patch for completing it in winter or a second round keeps hikers coming back.
Trail and volunteer patches
Trail organizations and parks friends groups use patches to thank volunteers for trail work days, adopt-a-trail programs or hours of service. A simple design with the trail name and VOLUNTEER or TRAIL CREW reads well and is worn with pride.
Retail and souvenir patches
Outfitters, trailhead shops and lodges sell patches as souvenirs. These benefit from a strong local landmark and the name of the place in bold lettering.
Designing a mountain or trail scene that stitches well
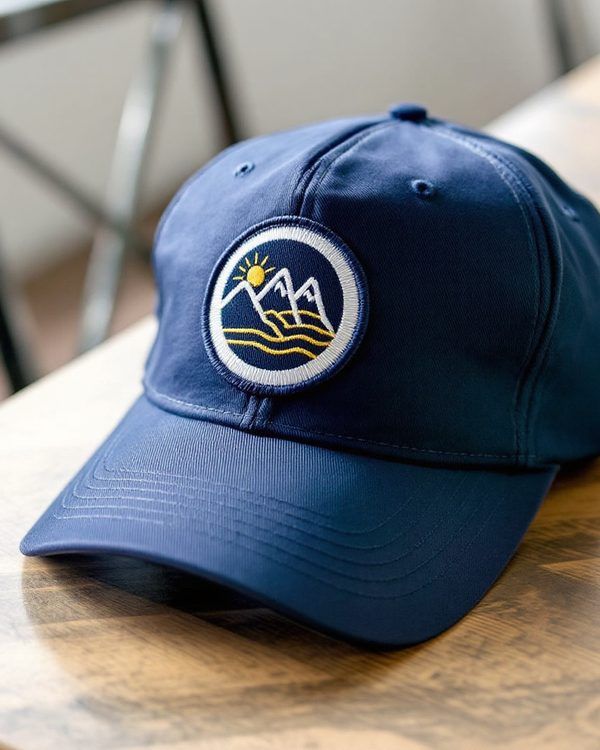
Mountain scenes are the most common hiking patch, and they are also where detail gets lost. A photo-real ridge line with 30 shades of blue cannot be stitched. A bold, layered scene can.
- Build the scene in layers: sky, distant peaks, near peaks, trees, foreground. Three to five layers in distinct colours read best.
- Use solid colour blocks rather than gradients. A sunset becomes three or four bands of thread.
- Keep trees as simple pine silhouettes, not individual branches.
- Put the name on a banner or a ring, with letters about 1/4 in (6 mm) or taller at the finished size.
- Add elevation or mileage as a short line, for example the peak name and its height in feet.
An embroidered patch gives the classic outdoor look and holds up to brush and abrasion. For small detail, such as a trail map line, a woven patch holds finer lines. If the design depends on a real photo or a soft sky gradient, a sublimated patch prints it in full colour, without thread texture.
Our guide to designing a patch goes deeper on simplifying a scene.
Sizes and shapes for outdoor gear
| Placement | Typical size | Common shape | Suggested backing |
|---|---|---|---|
| Backpack lid or front | About 3 to 4 in | Round or die cut | Sew-on or hook-and-loop |
| Hat or cap front | About 2 to 2.5 in | Round or rectangle | Sew-on |
| Fleece or shell jacket | About 3 to 3.5 in | Round or shield | Sew-on |
| Mileage or year tab | About 1 x 3 in | Rectangle or arc | Sew-on |
| Souvenir patch | About 3 to 3.5 in | Die cut landmark | Iron-on or sew-on |
Round patches with a merrowed border are the traditional choice and easy to sew on. Die cut shapes, cut to the outline of a peak or a boot, use a heat cut edge and stand out on a pack. Our patch size guide explains how to measure.
Backings that stay on packs and jackets
Most hiking gear is nylon or polyester, often with a water-resistant coating. Iron-on adhesive needs a fabric it can bond to, typically cotton or a cotton blend, and the heat needed can melt or mark nylon. For packs and shells, choose:
- Sew-on: the most secure. Stitch around the border with polyester thread through the pack fabric, avoiding seams and waterproof liners where you can.
- Hook-and-loop: many packs already have a loop panel, so a hook-backed patch goes on and off in seconds. Good for club patches worn on different packs.
For a cotton souvenir tee or a canvas tote, iron-on is fine. Our guides on sewing on a patch and hook-and-loop patches cover each method.
Trail names, park emblems and trademarks
Some well-known trails, parks and organizations protect their names and logos as trademarks. The National Park Service arrowhead, for example, is an official emblem whose use is restricted, and several long-distance trail organizations manage their own trail logos. A patch with a peak name and a scene you drew yourself is usually fine, since place names and mountains themselves are not owned. Copying an official logo is not, unless the owner gives permission. If your patch is for an official program, ask the organization for its artwork and approval.
We make patches to your artwork, and the customer is responsible for having the right to use any marks on it.
Hiking stick medallions and bag tags
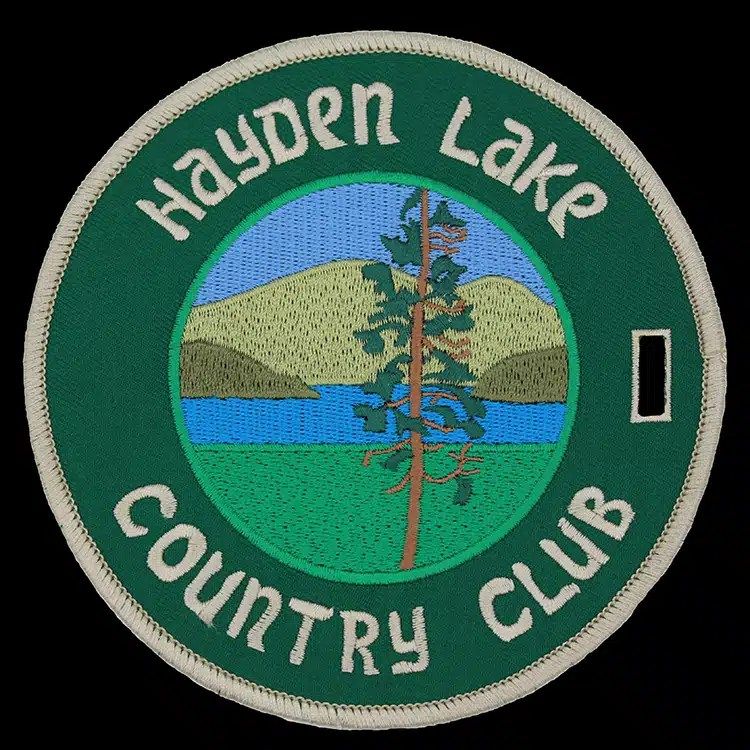
Hiking stick medallions are small metal shields that hikers nail or attach to a walking stick, one for each trail or park. They are a long tradition alongside patches. We quote them on request through our other products range. Embroidered bag tags with the club emblem also suit hiking clubs, especially for group trips where packs end up in a pile.
Ordering for a club, challenge or shop
Custom minimums start from 100 pieces and vary by product. Clubs and challenge programs often order a few seasons of stock at once, and shops order per design. Send artwork as AI, EPS or PDF if you have it. A sketch, a PNG or a photo of an old patch is enough to start. A quote typically comes back in 2 to 3 business days, the proof about 1 to 3 business days after artwork, and production about 3 to 4 weeks after your written approval, all confirmed on your quote.
When you are ready, request a quote with your design, sizes, quantities and backing.