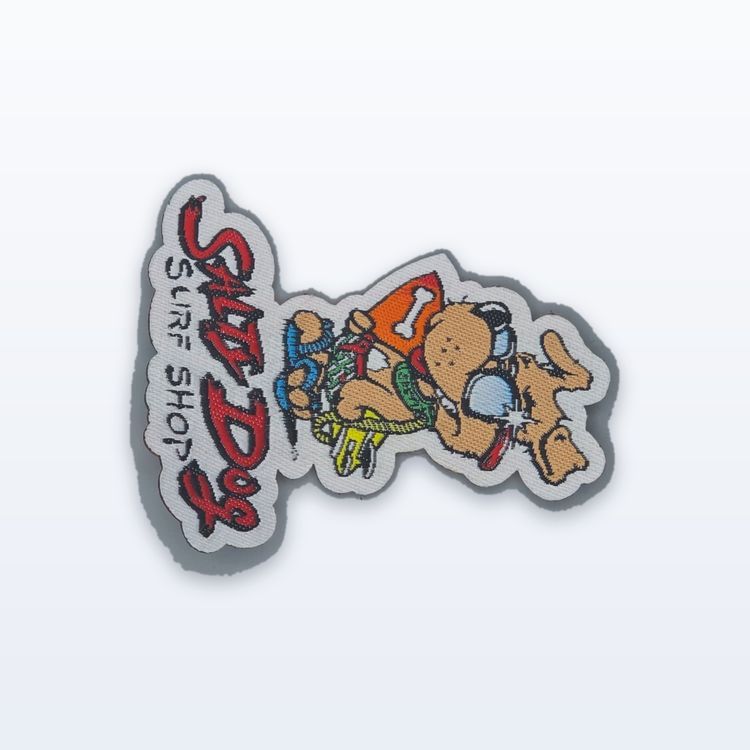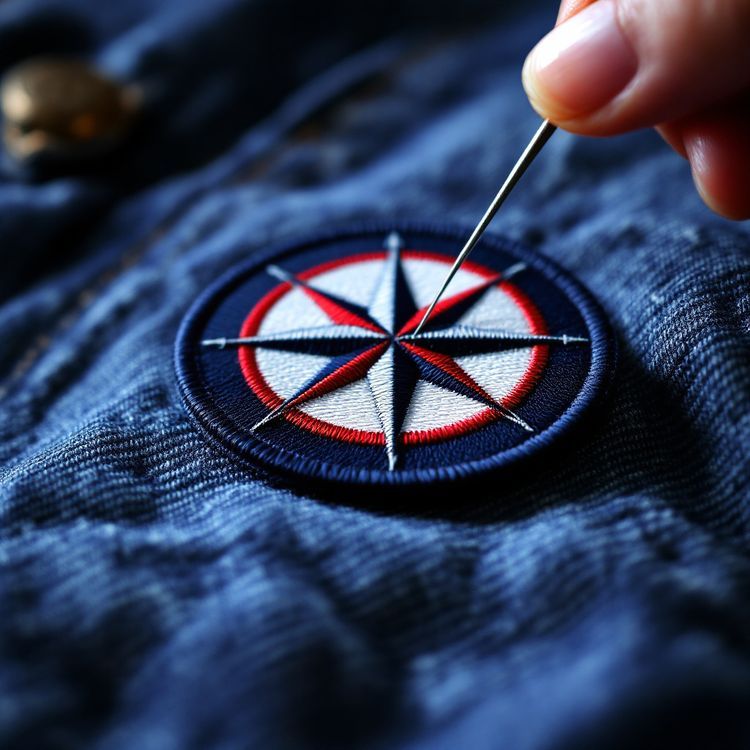
The denim jacket patch layouts that work all follow the jacket's own structure: one large patch centered on the back panel below the yoke, smaller patches on or above the chest pockets, and accents on the upper sleeves. Pick one anchor patch, make everything else clearly smaller, keep patches off seams and pocket openings, and choose colours that stand out against your wash. From there you can build anything from a single clean back piece to a fully covered battle jacket.
Below are six layouts with sizes and patch counts, the jacket anatomy that makes them work, and how to lay out and attach the patches before you commit.
Know the parts of a denim jacket
A classic trucker-style denim jacket is built from panels, and those panels are your layout grid.
- Back yoke: the band across the shoulders, above a horizontal seam. Good for a curved or straight name patch.
- Back panel: the large center area below the yoke, usually between two vertical seams. This is the main canvas. Measure between the seams before ordering a back patch; on many adult jackets it is roughly 9 to 12 in (229 to 305 mm) wide, but it varies a lot by size and cut.
- Side back panels: narrower strips beside the center panel, suited to tall, narrow patches.
- Chest pockets and flaps: the two front pockets with buttoned flaps. Patches go on the pocket body or just above the flap.
- Sleeves: the upper arm just below the shoulder seam is the traditional patch spot. The forearm and cuff take small accents.
- Collar: too small and folded for most patches, but a natural home for enamel pins.
Six layouts that work
1. The single back piece
One large patch centered on the back panel, nothing else. It is the cleanest layout and the one most often used for club, band and brand jackets. Size it to leave about 1 in (25 mm) of denim on each side of the panel. Center it slightly above the middle of the panel, not dead center, so it sits between the shoulder blades.
2. Back piece with a top name
Add a name or wordmark on the yoke above the back piece. A curved patch echoes the shoulders; a straight bar suits a block wordmark. Keep the name patch narrower than the back piece. The rockers and back patches guide covers the three-piece version used by clubs, which follows similar spacing.
3. Chest pair
Two small patches, one on each chest pocket, about 2.5 to 3.5 in (64 to 89 mm) wide. This works well for workwear and uniforms: a logo on one side and a name on the other. See our guide to custom name patches for lettering sizes.
4. Sleeve accent
One patch on the left upper sleeve, about 1 in (25 mm) below the shoulder seam, 3 to 3.5 in (76 to 89 mm) wide. Combine it with a chest pair for a tidy uniform-style jacket, or with a back piece for a fuller look.
5. The back collage
One anchor patch on the back panel with three to six smaller patches arranged around it. The anchor should be at least twice the size of any other patch, so the eye has somewhere to land. Odd numbers of supporting patches tend to look more natural than even pairs.
6. The battle jacket
Full coverage, a tradition from punk and metal fans, usually built on a jacket or vest with the sleeves on or off. Patches sit edge to edge, often overlapping slightly, and are sewn rather than ironed. Even here, a large center back piece holds the layout together.
Layouts at a glance
| Layout | Patches | Typical sizes | Suits |
|---|---|---|---|
| Single back piece | 1 | 8 to 11 in (203 to 279 mm) wide | Clubs, bands, brand jackets |
| Back piece with top name | 2 | Back piece plus a name about 8 to 10 in (203 to 254 mm) wide | Clubs, crews, teams |
| Chest pair | 2 | 2.5 to 3.5 in (64 to 89 mm) | Workwear, staff jackets |
| Sleeve accent | 1 to 2 | 3 to 3.5 in (76 to 89 mm) | Uniform style, teams |
| Back collage | 4 to 7 | One anchor plus 2 to 4 in (51 to 102 mm) supporting patches | Personal collections, travel |
| Battle jacket | 15 or more | Mixed | Music fans, collectors |
Match patch colours to the denim wash
The wash of the jacket is the background colour of every patch border, so it changes what reads well.
- Light or stonewashed denim: dark borders (navy, black, deep red) give a crisp outline. Pale yellow and light blue can disappear.
- Mid-blue denim: almost anything works; white, gold, red and black all contrast well.
- Dark indigo or black denim: light borders and bright fills stand out; navy and black patches need a light border or they fade into the jacket.
Our guide to designing a patch covers colour count and contrast within the patch itself.

Lay it out before you attach anything
- Lay the jacket flat, buttoned, with the back up.
- Place all patches and move them until the anchor and spacing feel right. Leave at least 1/2 in (13 mm) between patches unless you want the battle jacket look.
- Keep patches off seams, rivets and buttonholes. Sewing across a flat-felled seam is hard, and an iron-on will not bond over a ridge.
- Do not cover a pocket opening you want to use, and keep chest patches below the flap button.
- Pin everything, put the jacket on, and check it in a mirror and in a photo. Patches that look level on a table can tilt on shoulders.
Attaching patches to denim
Denim is cotton, so iron-on patches bond well, and sewing is straightforward on flat panels. For a jacket that will be worn hard, sew. For a quick result, iron on and stitch the corners. Large back pieces should always be sewn, because a big patch flexes across the back as you move. Our guides on sewing on a patch and jacket patch placement go into the methods and the placements for other jacket types.
To make your own set, our custom patches come in six constructions, including embroidered, woven and chenille, with sew-on or iron-on backing. Try a design on a jacket in the free Patch Studio, then request a quote.