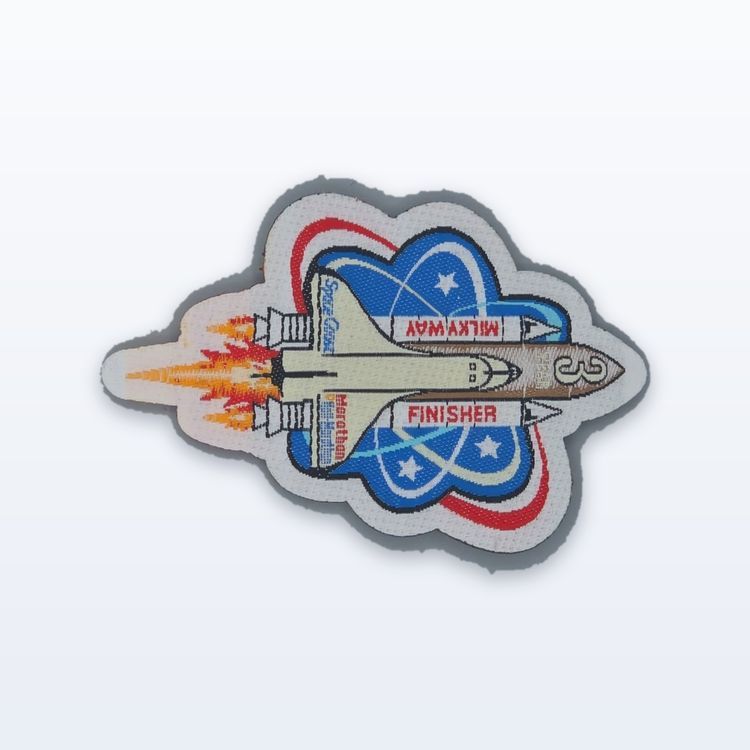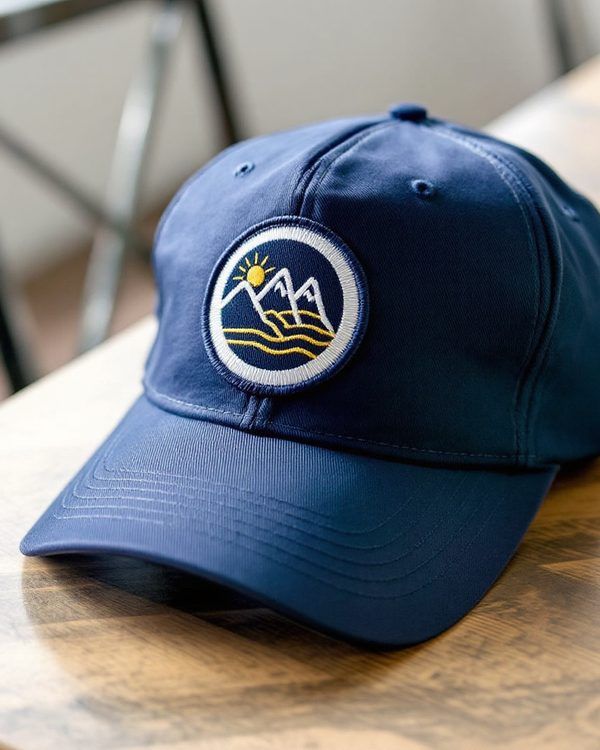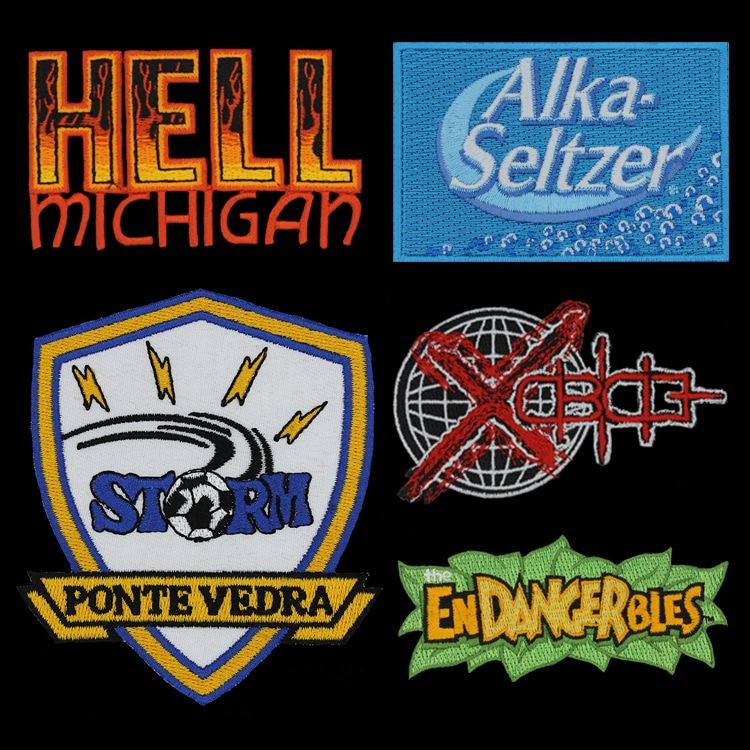
Custom shape patches can follow almost any outline: a circle, oval, rectangle or shield, or a die cut shape that traces your logo, mascot or object. The shape you choose decides the edge. Simple geometric shapes usually take a merrowed border, the raised wrapped edge, while custom outlines with points and inside corners take a heat cut edge that follows the artwork exactly.
Below we cover the standard shapes and what each suits, how die cut patches are made, the limits of a custom outline, and how to describe the shape you want on a quote request.
The standard shapes and what they suit
Standard shapes are popular for a reason. They frame a design cleanly, sit well on a garment, and work with either edge.
Circles and ovals
A circle is the most forgiving patch shape. It suits round logos, seals, badges with text around a ring, and cap fronts. An oval gives more width for a name or wordmark while keeping soft edges, and it is a common choice for name patches on work shirts.
Rectangles and squares
Rectangles suit wordmarks, flags, name tapes and anything read left to right. Squares and rectangles with rounded corners look softer and take a merrowed border more neatly than sharp corners do.
Shields and crests
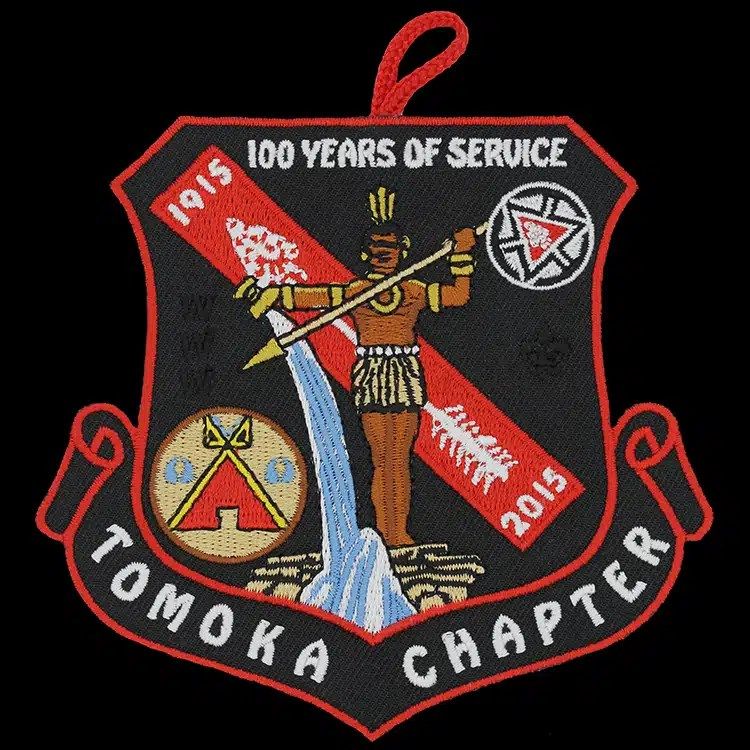
The shield is the traditional shape for police, fire, school and club emblems. It gives a strong top edge for a title or banner and a point at the bottom that draws the eye down. Shield variations (flat top, arched top, notched shoulders) are all common.
Die cut and custom outlines
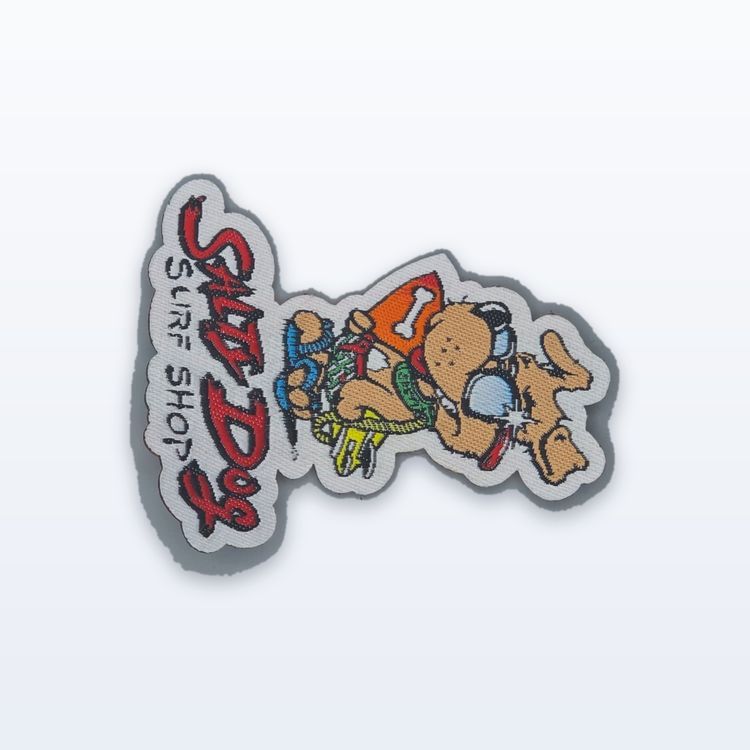
A die cut patch, sometimes called a custom shape patch, follows the outline of the design instead of sitting inside a frame. The patch might be a dog, a truck, a state outline, a guitar or the exact silhouette of your logo. Because there is no background shape, the design itself becomes the patch.
Custom outlines are almost always finished with a heat cut edge. The fabric is cut and sealed right along the border stitching, so the edge can follow points, curves and inside corners that a merrowed border cannot wrap around.
Die cut shapes stand out on bags, jackets and merch because they do not look like a badge. They are popular for mascots, event patches and brand merch, and they suit both embroidered and woven patches.
How the shape decides the edge
The edge is the part that most often limits a shape, so it helps to decide them together.
| Shape | Merrowed edge | Heat cut edge |
|---|---|---|
| Circle or oval | Yes, the classic choice | Yes |
| Rectangle or square | Yes, best with rounded corners | Yes |
| Shield | Yes on most shield outlines | Yes |
| Star or sharp points | Usually not | Yes |
| Die cut logo or character | No | Yes |
| Shapes with inside corners | No | Yes |
A merrowed edge is sewn by a machine that wraps thread around the outside of the patch as it travels. It needs gentle curves and outward corners to wrap cleanly. Sharp inside corners and narrow points are where it fails. Our guide to merrowed vs heat cut borders covers the difference in more depth.
The limits of a custom outline
Almost any outline can be cut, but some details do not survive at patch size. These are the ones to watch.
- Thin spurs: antennae, tails, sword tips and thin letters sticking out from the shape tend to curl or tear. They are usually thickened or joined to the main body.
- Gaps and holes: negative space inside the outline, such as the gap between an arm and a body, is normally filled with a background colour rather than cut out.
- Tiny points: the tips of a star or a crown need some width to hold a sealed edge, so very fine points get slightly rounded.
- Separate pieces: a patch must be one connected shape. Floating letters beside a logo need a shared background or border to join them.
A simple way to plan a die cut shape is to draw a smooth line a little outside your design, as if you were cutting it out with scissors. That line is close to what the finished edge will be.
Choosing the right shape for your patch
Start with where the patch will be worn and what it needs to say.
- Uniforms: shields, circles and rectangles read as official and line up neatly with other insignia. Most departments stick with a traditional shape for that reason.
- Caps: circles, ovals and wide rectangles fit the curved front panel. A die cut shape works too if it is fairly compact. Our hat patch guide covers sizes for cap fronts.
- Merch and events: die cut shapes stand out and feel collectible. An object, character or landmark often makes a better patch than a logo in a circle.
- Name and text patches: ovals and rectangles give the most usable width for lettering.
Shape also affects how the size is measured. Patches are sized by their widest and tallest points, so a die cut shape with a long tail can measure larger than it looks. Keep this in mind when you give a size on your quote request.
Shapes for sets and series
If you are ordering more than one design, such as a set of rank patches, a series of annual event patches or a collection for a troop, a shared shape ties them together. Keeping the same outline and size across the set makes the patches look like a family, and it makes them easier to display or line up on a sash, a vest or a board.
A common approach is to keep the outer shape fixed and change only the artwork and colours inside it. For an annual event, you might keep a shield or circle every year and change the date and the central image. Collectors tend to like a consistent shape, because each new patch slots in next to the last one.
If you want variety, mix two shapes deliberately: a circle for the main emblem and a rectangle or rocker for the year or location. Planning the shapes as a system from the start is easier than trying to match a new shape to an old patch later.
Mock it up and request a quote
You can try different shapes in the free Patch Studio, set the width and height, and see the patch on a jacket or cap before you commit. For a die cut shape, send your artwork and tell us you want the patch cut to the outline. We will draw the cut line on the proof so you can see exactly where the edge falls.
When you ask for a quote, include the shape, the size at its widest and tallest points, the construction, the border, the backing and the quantity. Quotes come back in 2 to 3 business days, and proofs usually follow 1 to 3 business days after we receive artwork. Nothing is made until you approve the proof in writing.