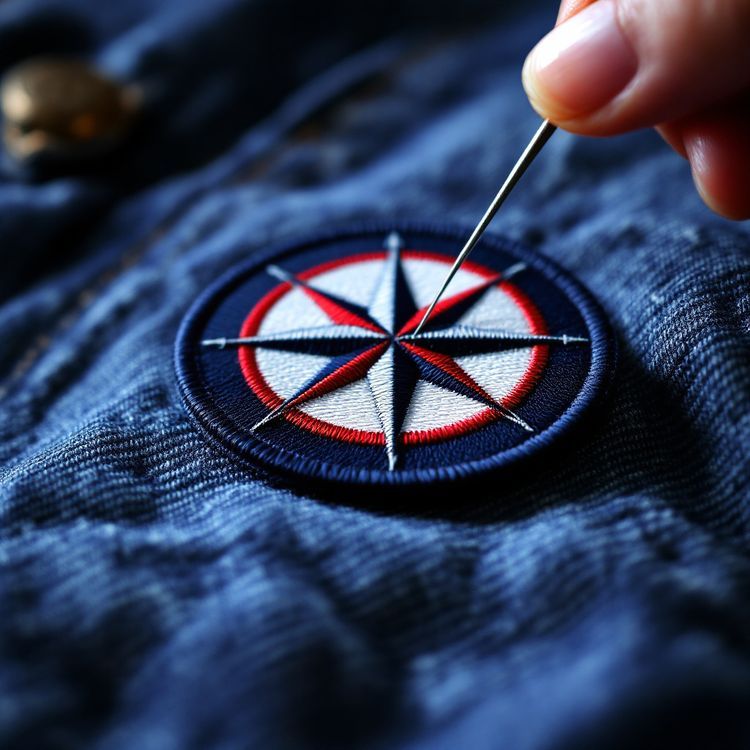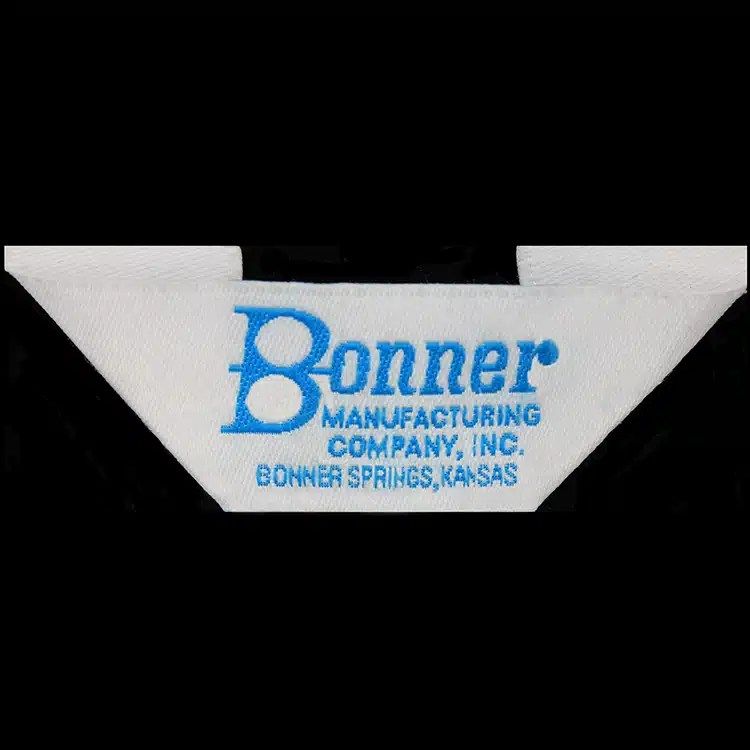
To sew a label into clothing, pin it in place, usually centered at the back neck, then stitch it with a short straight stitch close to the edge in thread that matches the label. How you stitch depends on the label cut: a straight cut label is sewn on all four sides, an end fold label is stitched across its folded ends, and Manhattan and mitre cut labels have their ends caught inside a seam. Sewing a label in while you construct the garment gives the cleanest result; adding one to a finished piece works too, with a little unpicking.
This guide covers placement, tools, and step by step instructions for each common cut, by hand and by machine.
Where to place a clothing label
Placement depends on the garment and on what the label is for:
- Back neck, centered: the standard spot for a brand label on shirts, tees, hoodies, dresses and jackets. Place it just below the neck seam or binding.
- Inside side seam: common on trousers, skirts and garments without a back neck, and often used for care and content labels.
- Waistband: on trousers and skirts, inside the back waistband.
- Hem or sleeve: a small label on an outer hem or cuff works as a visible brand mark.
- Bags, blankets and accessories: sewn into a seam where it shows, or flat inside a pocket.
Keep placement consistent across a range. If you sew the label on the outside as a design detail, make sure the stitching is neat enough to be seen.
What you need
- Your labels, plus a few spares for practice.
- Polyester all purpose thread in a colour that matches the label background.
- A fine needle: a hand sewing sharp, or a machine needle sized for the garment fabric.
- Pins or a washable glue stick to hold the label still.
- Small sharp scissors and a seam ripper.
- An iron, for pressing folds flat before you stitch.
How to sew each label cut
Woven labels come in a few standard cuts, and each is made to be attached a particular way. Our custom woven labels page shows the four named cuts.
| Cut | How it is attached | Heat seal option |
|---|---|---|
| Straight cut | Stitched flat on all four sides | Yes |
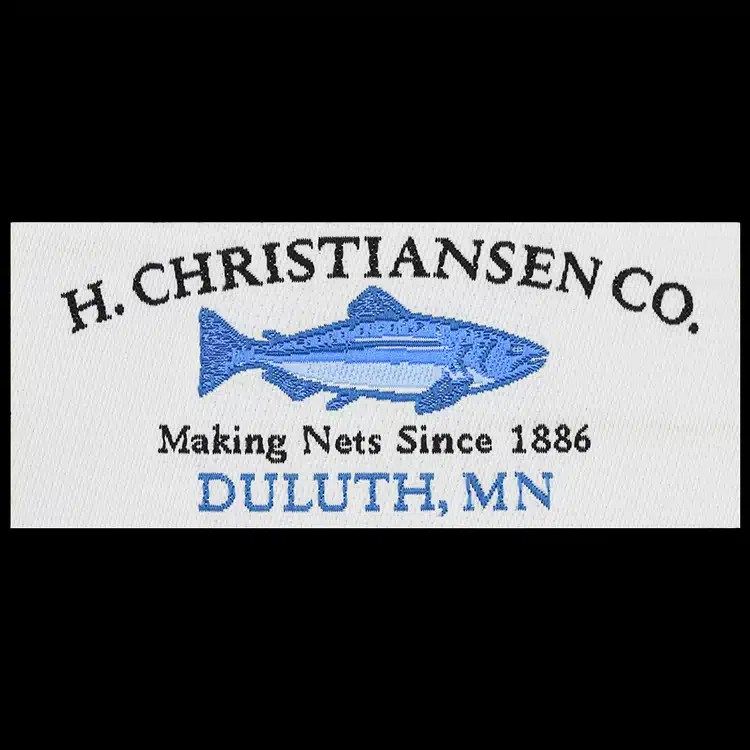
| End fold | Ends folded under, stitched across each end | Yes |
| Manhattan cut | Folded in the middle, both ends sewn into a seam | No, sew-in only |
| Mitre cut | Ends folded under and up into a tab sewn into the seam | No, sew-in only |
Straight cut labels
- Center the label and pin or glue it in place.
- Starting at one corner, stitch around all four sides close to the edge.
- Pivot at each corner with the needle down so the corners stay square.
- Overlap the first few stitches, then knot or backstitch and trim the threads.
By hand, use small slip stitches or a running stitch through the label edge and the fabric, keeping the stitches small on the outside of the garment.
End fold labels
- Press the folded ends flat with an iron if they have lifted.
- Position the label with the folded ends tucked under.
- Stitch straight across each folded end. Stitching along the long sides too is optional and keeps the label flatter.
Because the raw ends are folded under, an end fold label has softer edges against the skin than a straight cut.
Manhattan cut labels
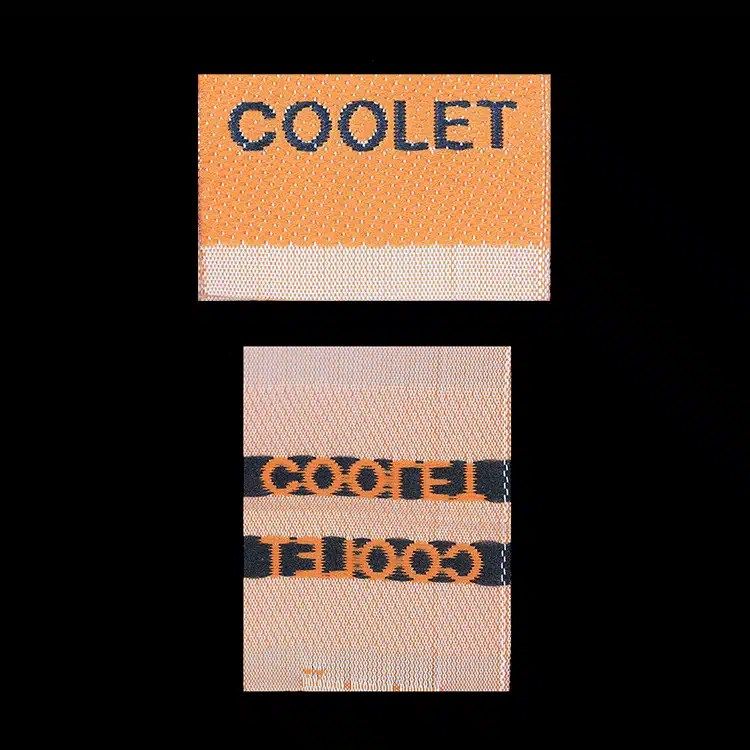
A Manhattan cut label is folded in the middle, and both ends go into a seam, so it hangs as a loop with a design on both sides.
- Fold the label so the ends line up.
- While constructing the garment, slip the raw ends between the two layers of the seam, such as the neck seam, with the fold pointing into the garment.
- Sew the seam as normal, catching both ends of the label.
Mitre cut labels
A mitre cut label has its ends folded under and up, creating a tab. Place the tab ends into the seam, often a side seam or a hem, and sew the seam as normal so the label stands out from it. Mitre cuts are also used as small hanging loops.
Adding a label to a finished garment
For a straight cut or end fold label, just stitch it flat by hand or machine. For a Manhattan or mitre cut label that belongs in a seam:
- Use a seam ripper to open a short section of the seam, a little wider than the label.
- Slip the label ends into the opening.
- Stitch the seam closed again along the original stitch line, backstitching at each end.
On knit tops with a bound neck, stitching through the binding can stretch it. Sew slowly, do not pull the fabric, and consider placing the label just below the binding instead.
Heat seal instead of sewing
Straight cut and end fold labels can be ordered with a heat seal backing, which you press on with an iron or heat press instead of sewing. It is faster for large runs and avoids stitches showing on the outside. Follow the pressing instructions supplied with the labels, test on a spare garment first, and check that the fabric can take the heat. A few corner stitches give extra hold on garments that are washed often. Manhattan and mitre cuts are sew-in only, because the fold is what holds them in the seam.
Brand labels vs care labels
A woven brand label carries your name or logo. Garments sold in the US generally also need permanent labeling with fiber content, country of origin and the identity of the business responsible, under the Textile Fiber Products Identification Act, and care instructions under the FTC Care Labeling Rule. These rules have exemptions and specific placement requirements, so check the FTC's guide, Threading Your Way Through the Labeling Requirements Under the Textile and Wool Acts, before you sell. Many brands sew a woven brand label at the neck and a separate printed care label in the side seam. Our guide to woven vs printed labels explains why.
For more on ordering brand labels, read our woven clothing labels guide for brands, then request a quote with your size, quantity, colours, cut and artwork. Woven labels start from 100 pieces, with no setup or digitizing fees, and nothing runs until you approve the proof.