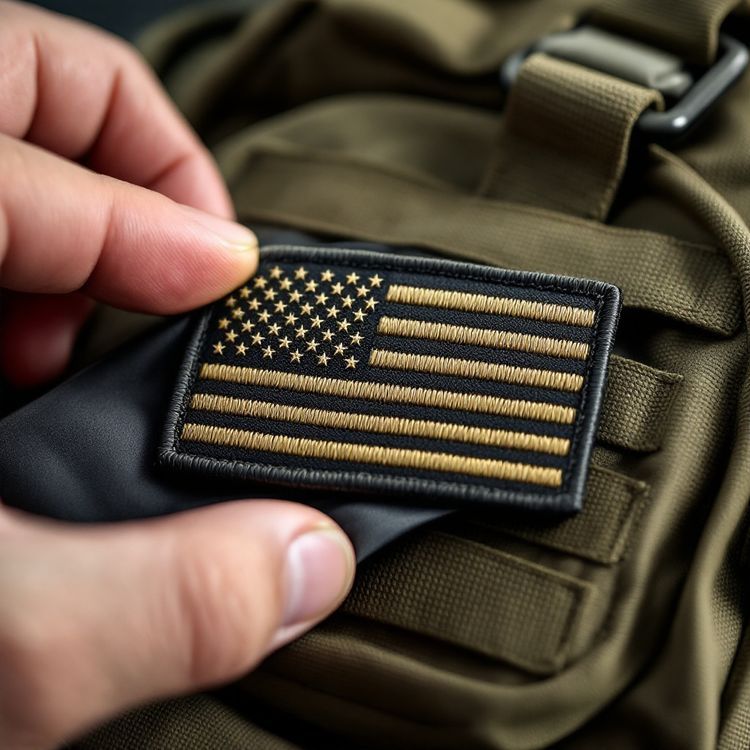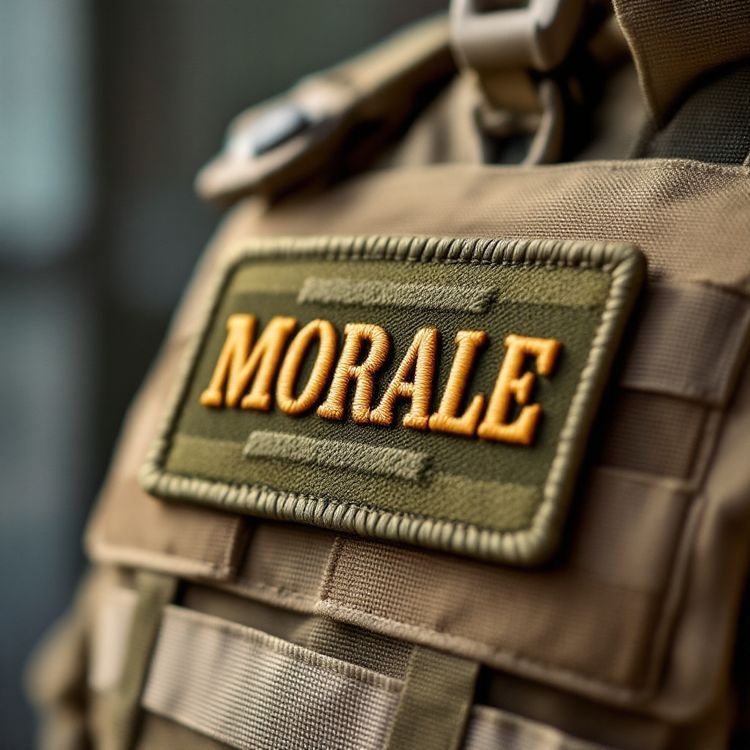
You can attach a patch without sewing in five main ways: iron it on with a household iron, press it on with a heat press, use a hook-and-loop backing on gear that already has a loop panel, bond it with a permanent fabric glue, or hold it with a pin. For cotton, denim and canvas that get washed, a heat-sealed iron-on backing is the strongest no-sew option. For tactical gear, hook-and-loop is the cleanest. Glue and pins are best for short-term or delicate jobs.
Each method has limits, mostly set by the fabric underneath. Below we go through how each one works, where it holds and where it fails, so you can pick the right backing before you order.
Iron-on with a household iron
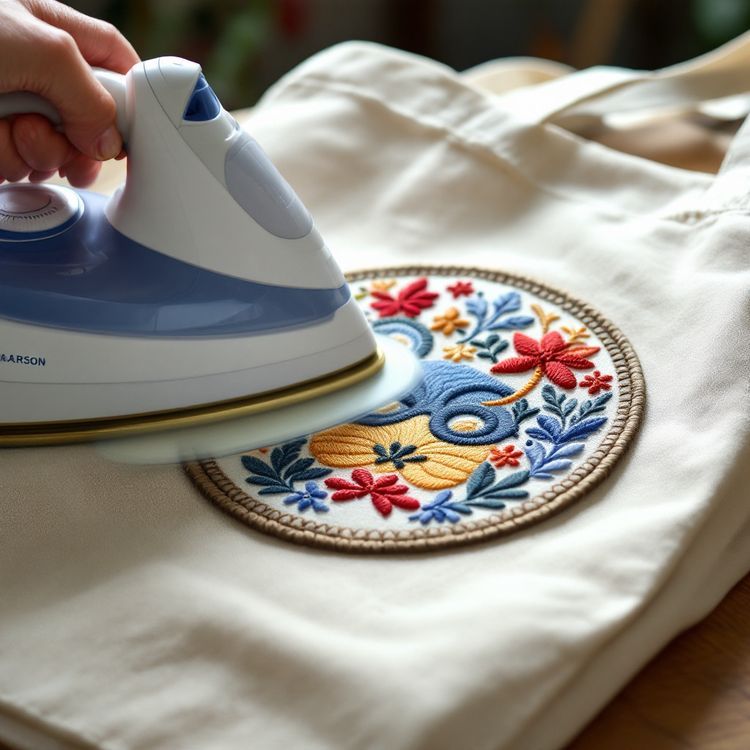
An iron-on patch, also called heat seal, has a layer of heat-activated adhesive on the back. Heat softens the adhesive, pressure pushes it into the weave of the garment, and as it cools it locks the patch in place. It is the most common no-sew method because it needs nothing more than an iron and a pressing cloth.
- Wash and dry the garment first, without fabric softener, so the adhesive bonds to fibers rather than a coating.
- Set the iron to the cotton setting with steam off, and empty the water if you can.
- Place the patch, cover it with a thin cotton cloth, and press down firmly without sliding the iron. As a rule of thumb, hold for about 30 seconds.
- Turn the garment inside out and press the back of the area for another 20 to 30 seconds.
- Let it cool completely before you touch the edges, then check that no corner lifts.
Our full guide to attaching iron-on patches goes into timing, pressure and the mistakes that make edges peel.
Heat press for a stronger, even bond
A heat press does the same job as an iron, with two advantages: the temperature is steady and the pressure is even across the whole patch. That makes it the better tool when you are applying a full box of patches to team shirts, uniforms or merch, because every piece gets the same bond.
Settings depend on the adhesive and the garment, so follow the instructions that come with your patches. As a general guide, iron-on patch adhesives are usually pressed somewhere around 300 to 330°F (150 to 165°C) for 15 to 30 seconds at medium to firm pressure. Do a test press on a spare garment before you run the batch, then pull at the edges once it has cooled.
Hook-and-loop on gear that has a loop panel
Hook-and-loop (often called by the brand name Velcro) is a true no-sew method only when the item already has a loop field: plate carriers, tactical backpacks, range bags, many work jackets and some caps. The patch carries the hook side, and you press it onto the loop panel. It comes off and goes back on as often as you like, which is why it suits morale patches, name tapes, flag patches and role IDs that change between jobs.
On a garment without a loop field, someone has to sew the loop side on once. After that, patches swap freely. Our guide to custom Velcro patches covers sizes, the hook and loop pairing and how it holds up.
Permanent fabric glue
Fabric glue is the fallback when a patch has no adhesive backing and heat is not an option. A flexible, permanent fabric adhesive spread thinly over the back of the patch, pressed in place and left to cure for the time on the label, will hold on bags, hats and jackets that are not washed often.
- Use a glue that stays flexible when dry, so the patch bends with the fabric instead of cracking off.
- Spread it right to the edges, but not so thick that it squeezes out and stains.
- Weigh the patch down while it cures, and wait the full cure time before you wear or wash it.
Glue is less predictable than a factory heat seal backing, and results vary by brand and fabric, so read the glue maker's instructions for washing and fabric types. It is a home fix rather than a backing we supply.
Pins and other temporary options
If you want to try a placement, wear a patch for one event, or move it between garments, a pin is the easiest answer. A small safety pin at the back of each top corner, or a pair of patch pins, holds a light patch without marking the fabric much. It is also the gentlest choice for fabrics you do not want to heat or glue.
Across our catalog, some items can be made with a pin back or a magnet instead of a fabric backing, and those suit name badges and items worn on blazers. If you need a patch or badge that moves between garments, mention it when you request a quote and we will tell you which attachment fits that product.
Which no-sew method suits which fabric
The fabric decides more than the patch does. Heat needs a fabric that can take it, adhesives need a weave they can grip, and hook-and-loop needs a loop panel.
| Method | Best on | Avoid on | How long it holds |
|---|---|---|---|
| Iron-on (household iron) | Cotton, denim, canvas, twill, poly-cotton blends | Nylon, leather, vinyl, rain shells, stretchy knits | Many washes if pressed well; edges can lift over time |
| Heat press | Same fabrics as iron-on, in batches | Same as iron-on | Longer than a household iron because pressure is even |
| Hook-and-loop | Tactical gear, packs and jackets with a loop field | Garments with no loop panel | Indefinitely; swap as often as needed |
| Fabric glue | Bags, hats and jackets washed rarely | Items washed often or worn tight against skin | Varies by glue and fabric |
| Pins | Any fabric, short-term | Kids' clothing and active wear | Temporary |
Nylon and polyester are the usual trouble spots for heat. Many synthetics scorch or melt below the temperature an iron-on adhesive needs. If your patch is going on a puffer, a windbreaker or a performance shirt, test the heat on a hidden seam first, or choose a sewn or hook-and-loop backing instead.
Ordering the right backing for a no-sew job
If you know nobody will be sewing these patches, choose the backing on the quote, not after the patches arrive. Our custom patches come with sew-on, iron-on (heat seal), hook-and-loop or rigid plastic backings. For a no-sew job the choice is usually iron-on for garments and hook-and-loop for gear.
- Tell us the fabric the patch is going on, for example cotton polo, nylon pack, or fleece.
- Say who is applying them: one person at home, a print shop with a heat press, or each wearer.
- For hook-and-loop, say whether the gear already has a loop field or you need the loop side too.
- Mention if the item will be washed every week, so we can suggest an edge and backing that hold up.
- Ask for a heat cut edge on detailed shapes, or a merrowed edge on simple shapes, and keep the outline free of thin points that can lift.
Our guide to patch backing types compares each option side by side if you are still deciding. When you are ready, send your artwork, size, quantity and backing on the quote form. We send a quote within about 2 to 3 business days, and nothing runs until you approve the proof in writing.