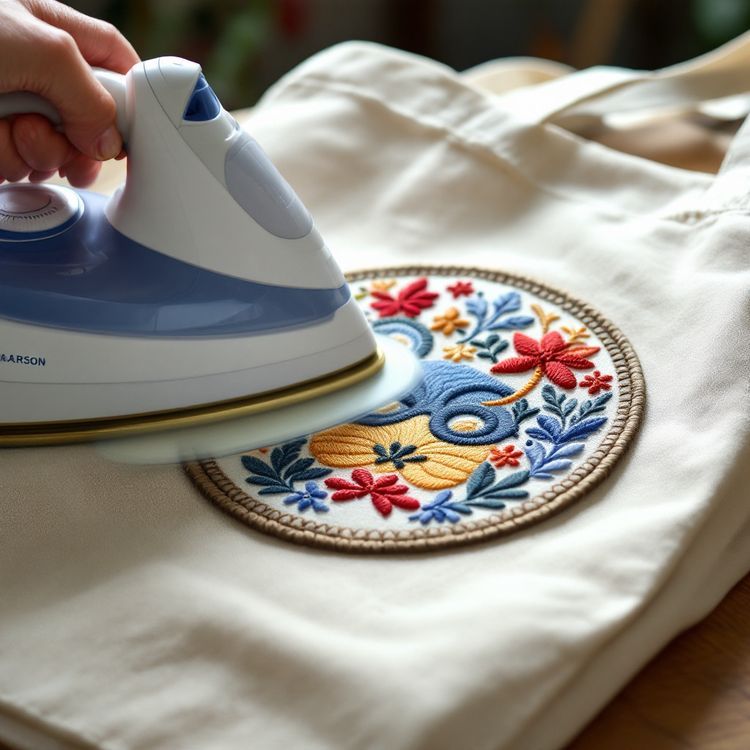
To apply a rhinestone heat transfer, pre-press the garment to remove moisture, peel the backing off the transfer, place it sticky side down, cover it with a pressing sheet, and press with firm pressure at about 320 to 350°F (160 to 175°C) for about 15 to 20 seconds. Let it cool, peel the clear tape away slowly, then press again from the inside of the garment. Always follow the instructions supplied with your transfers first, since the right settings depend on the stones, the glue and your fabric.
The steps below assume a heat press, which gives the most reliable bond. There is a section on using a household iron further down, and one on caring for the garment afterward.
What you need
- The rhinestone transfer, still on its backing.
- A heat press, or a household iron with no steam holes over the design area if possible.
- A pressing sheet: a Teflon sheet or parchment paper.
- A firm, flat, heat safe surface if you are using an iron (not an ironing board, which flexes).
- A ruler or tape measure to center the design.
- A spare garment or fabric scrap for a test press.
Check the fabric label before you start. Cotton, polyester and cotton blends take transfers well. Heat sensitive or coated fabrics, such as some nylons and water resistant finishes, can scorch or stop the glue bonding. Our rhinestone transfer buying guide covers which fabrics suit stones.
Step by step with a heat press
1. Set the press
Set the temperature and time from the transfer instructions. As a general guide, many hot fix rhinestone transfers use about 320 to 350°F (160 to 175°C) for 15 to 20 seconds with medium to firm pressure. Let the press reach temperature fully before you begin.
2. Pre-press the garment
Press the bare garment for about 5 seconds. This removes moisture and wrinkles so the transfer sits flat and the glue can reach the fibers.
3. Position the transfer
Peel the white backing from the transfer, leaving the stones on the clear sticky tape. Place it sticky side down on the garment. For a chest design on an adult shirt, the top of the design usually sits about 3 in to 4 in (76 to 102 mm) below the collar seam; center it using the placket or the shoulder seams as a reference. Press the tape down with your fingers so it does not slide.

4. Cover and press
Lay the pressing sheet over the transfer and close the press for the full time. Firm, even pressure matters as much as heat: it pushes the melted glue into the weave.
5. Cool, then peel
Let the transfer cool until it is warm rather than hot, usually a minute or two. Peel the clear tape back slowly at a low angle. If a stone lifts with the tape, lay the tape back down and press again for a few seconds before peeling.
6. Press from the back
Turn the garment inside out and press the back of the design area for about 10 to 15 seconds. This sets the glue from behind and strengthens the bond.
Settings at a glance
| Step | Heat press as a general guide | Household iron as a general guide |
|---|---|---|
| Temperature | About 320 to 350°F | Cotton setting, no steam |
| Pre-press | About 5 seconds | Iron the area flat and dry |
| Main press | About 15 to 20 seconds, firm pressure | About 30 to 45 seconds per section, heavy pressure, no sliding |
| Peel | Warm, slowly, at a low angle | Warm, slowly, re-press any lifted stones |
| Back press | About 10 to 15 seconds inside out | About 20 to 30 seconds inside out |
These are starting points, not rules. The instructions with your transfers come first, and a test press on scrap fabric tells you more than any table.
Using a household iron
An iron can apply a rhinestone transfer, but it takes more care, because it is harder to get even heat and enough pressure. Turn steam off and empty the water. Work on a hard table covered with a towel or a pressing pad, not an ironing board. Hold the iron down firmly on one section at a time without sliding it, since sliding can shift stones. Overlap the sections so every part of the design gets the full time.
For a large design or a batch of shirts, a heat press is worth borrowing or renting. Many print shops will also press transfers for you.
If stones fall off or do not stick
Most problems come from too little heat, pressure or time, or from peeling too early.
- Stones stay on the tape when you peel: lay the tape back, press again for 5 to 10 seconds, let it cool a little longer, then peel.
- Stones come off after washing: the glue did not fully reach the fibers. Re-press from the front with a pressing sheet and from the back.
- Fabric is shiny or scorched: the heat is too high for that fabric. Lower the temperature and use a pressing sheet.
- Design shifted: the garment moved or the iron slid. Pre-press flat, tape the transfer down, and lift the iron between sections.
A missing stone or two can be replaced with a single hot fix stone pressed with the tip of an iron or a hot fix applicator tool.

Washing and care
Wait at least 24 hours after pressing before the first wash, so the glue has fully set. Then turn the garment inside out, wash in cold water on a gentle cycle, and skip bleach and fabric softener. Hang it to dry or tumble on low. Never iron directly over the stones; press from the inside if needed. The same habits that keep iron-on patches attached help here, and our guide to attaching iron-on patches covers why heat, pressure and cooling matter.
If you are decorating a whole team or event order, set up a simple station before you start: the press, a stack of pre-measured garments, the transfers laid out by size, and a ruler or placement guide for the chest position. Work through the garments in the same order every time and keep the press closed between shirts so the temperature stays steady. Check every fifth shirt after cooling to make sure the stones are holding.
Ordering custom transfers
If you need transfers made to your own design, see our StudStone heat transfers and send your artwork for a quote. Tell us the size, stone colours, garment fabric and quantity. A quote usually comes back within 2 to 3 business days, and nothing is made until you approve the proof in writing.