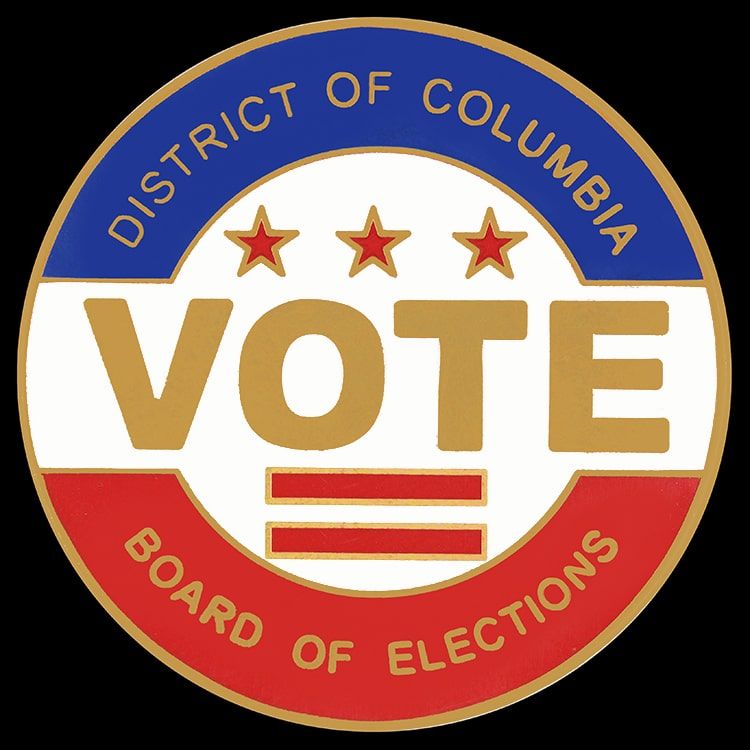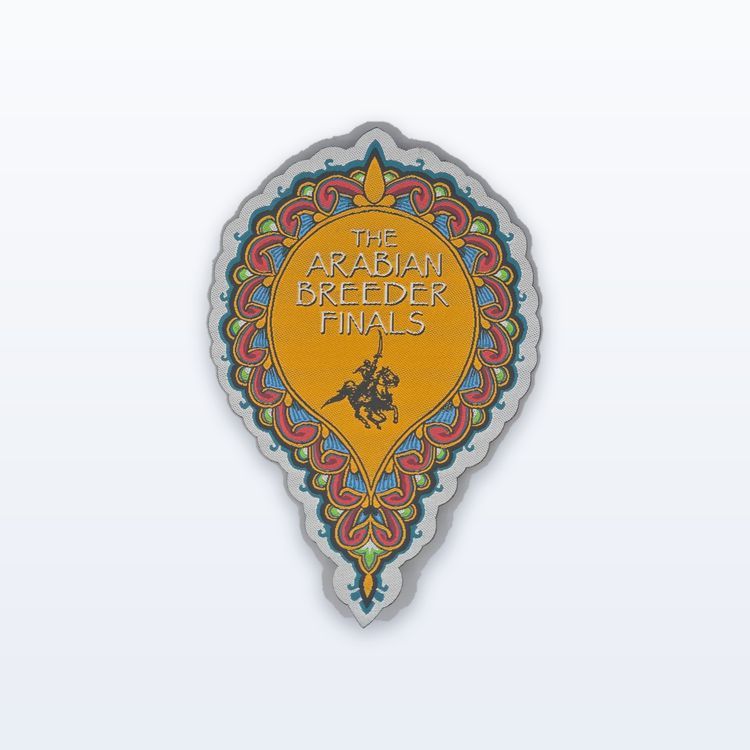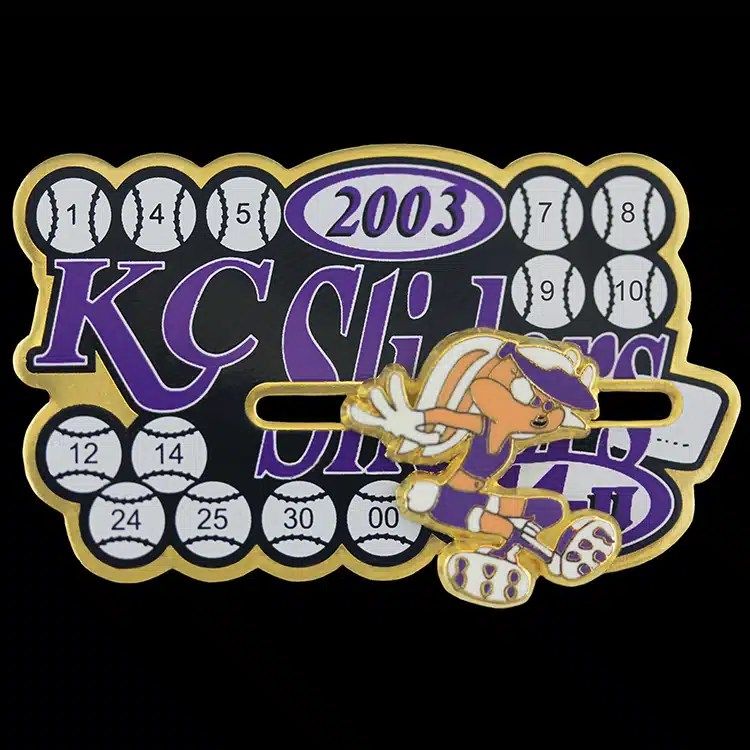
Event pins are custom lapel pins made for a conference, convention, summit or anniversary, handed to attendees at check-in or used to mark speakers, volunteers and sponsors. Most event pins are soft enamel, about 1 in (25 mm) across, with the event name, year and logo, and many planners add a few role pins in different colours. Order roughly two months before the event, and count attendees plus a margin for walk-ins and staff.
A pin is one of the few event items people keep after the badge goes in the bin. This guide covers the pins events commonly use, how to design them for a crowd, which backs work on event clothing, and how to plan quantities and timing.
The pins events use
Event pins usually fall into a few roles. Picking the roles first keeps the design brief clear.
| Pin | Purpose | Typical approach |
|---|---|---|
| Attendee pin | Keepsake for everyone at check-in | Event logo and year, about 1 in |
| Role pins | Mark speakers, volunteers, staff, VIPs | Same design, different colour or a word banner |
| Sponsor pin | Thank sponsors, sometimes co-branded | Event mark with a sponsor tier |
| Milestone pin | Anniversary or 10th annual event | Large numeral, premium finish |
| Collectible series | Encourage booth visits or session attendance | A set of small pins that form a group |
Role pins are useful in large venues. A volunteer pin in a bright colour helps attendees find help without reading every badge. Using one base design in several colours keeps the setup simple and makes the set look coordinated.
Designing pins that work for a crowd
An event pin is seen from conversation distance and photographed often, so it should read quickly. Keep the event name short or use the logo mark alone, keep the year bold, and avoid long taglines. At about 1 in (25 mm), small text gets lost; as a general guide, keep lettering to a few words.
- Use the event logo in its simplest form, with solid colours.
- Make the year large if the event is annual; attendees collect by year.
- Choose a shape that matches the theme: the host city skyline, a landmark, the logo outline.
- Keep one consistent outline for role pins and change only the colour or the banner word.
- Check sponsor logo rules before you add a sponsor mark to a pin.
Soft enamel pins suit bright event colours and are the most common choice for attendee pins. Hard enamel or a die struck metal pin suits a formal anniversary or a gift for speakers. Our lapel pin buying guide explains each pin type, and the die struck vs enamel comparison helps with milestone pins.
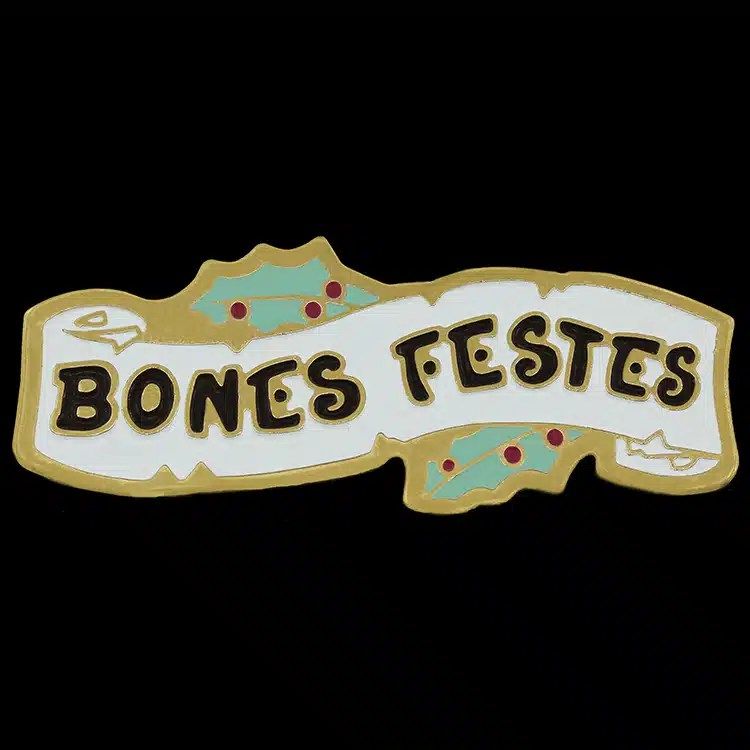
For a recurring event, decide early whether the pin changes each year or stays the same. A fixed design with only the year updated is quicker to approve and builds a recognizable series, while a new design each year gives returning attendees something fresh to collect. Either works; the important thing is to pick one approach and stick with it so the set looks intentional.
Pin backs and attachments for event clothing
Attendees wear everything from suits to fleece vests to dresses, and not everyone wants a hole in their clothes. Choose the attachment with the audience in mind:
- Butterfly or rubber clutch: the standard, fine for most attendees and the easiest to hand out.
- Locking clutch: holds pins on bags and lanyards through a busy day and suits collectible series.
- Magnet back: no hole in the garment, good for formal events, though thin fabric is better than thick knit.
Many attendees pin event pins straight onto their lanyard, so check that your lanyard width suits the pin; our guide to lapel pin backs covers each back in more detail.
Pairing pins with lanyards and badges
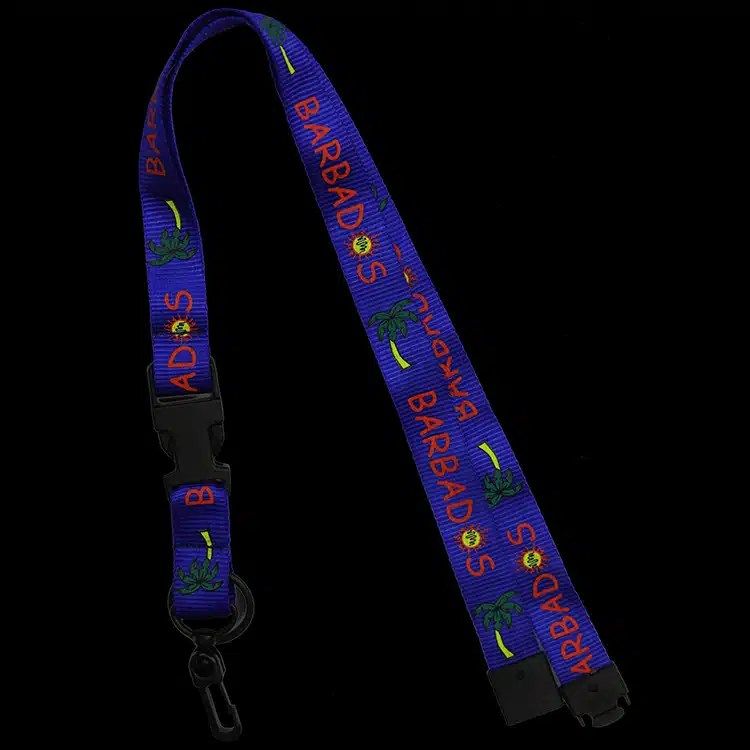
If you are already ordering custom lanyards for the event, design the pin and lanyard together. Matching colours make a set, and ordering both on one quote keeps the artwork approvals in one place. A lanyard with a printed event pattern and a pin with the event mark make a simple, coordinated attendee kit.
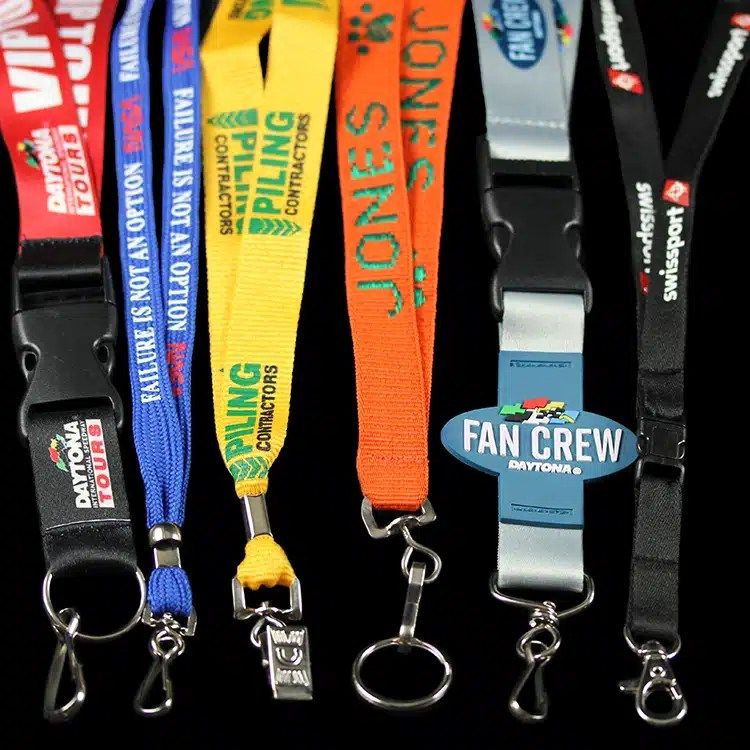
Some events use lanyard colours by role and pins by year, so returning attendees build a set while staff stay easy to spot. Our post on lanyards for conferences and trade shows covers the lanyard side.
Handing out pins on the day
The best pin design still disappoints if it ends up in a box behind the registration desk. Plan the hand-out as part of the attendee flow. The simplest option is to put each pin in the registration packet or on the lanyard, so every attendee gets one without asking. For role pins, give them to team leads ahead of time with a list of who gets which colour.
For multi-day events, some planners hold back a second pin for day two or for the closing session, which gives attendees a reason to stay to the end. Others give a special pin to first-time attendees or to anyone who completes a survey. Whatever the plan, count the pins in each box before the doors open, and keep a small reserve at the help desk for lost or broken pins.
After the event, leftover pins are useful for mailing to speakers who could not attend in person, for sales meetings, or as a thank-you in follow-up packages to sponsors.
Collectible pins and engagement ideas
Pins can do more than mark attendance. A few ideas events use to get people moving:
- Booth trail: each sponsor booth hands out one pin from a set; complete the set for a prize.
- Session pins: attendees earn a pin for each track or workshop they complete.
- Annual series: a new pin each year in the same shape, so returning attendees collect them.
- First-timer pins: a distinct pin that helps veterans spot and welcome new attendees.
Each pin in a set is a separate design with its own setup, so a set of five costs more to start than one design in five colours. If budget is tight, use one shape with colour changes.
Quantities and timeline
Custom minimums start from 100 pieces and vary by product, confirmed on the quote. Count registered attendees, add speakers, staff, volunteers and sponsors, then add a margin for walk-ins and for mailing to people who could not attend. Leftover pins from an undated design can be used at future events.
Typical timing, all confirmed on your quote: the quote comes back in 2 to 3 business days, the proof usually 1 to 3 business days after artwork, and production runs about 3 to 4 weeks after you approve the proof in writing. Rush around 10 business days is sometimes possible when the factory can hold it. Ship to your office or straight to the venue by UPS, and allow a margin for the venue's receiving dock.
Send your event logo, the date and a head count to request a quote.