Custom fire department patches work best when they are designed for the sleeve they will sit on: a clear department name, a strong central emblem such as the Maltese cross, a shoulder size that matches the uniform, and a backing chosen for how the garment is worn and washed. Get those four decisions right and the patch reads cleanly from across an apparatus bay and stays put through years of laundering.
Below we cover design elements, sizing, construction, backings and ordering enough for the whole roster.
Common design elements on fire patches
Most fire department shoulder patches are built from a small set of familiar parts. You do not need all of them, and a patch with fewer elements usually reads better at sleeve size.
- Maltese cross. The most widely used shape in the fire service. It can be the outline of the whole patch or a central emblem inside a round or shield shape.
- Department name. Usually around the top or in a banner. This is the element people need to read first, so give it the most room.
- Station, engine or company numbers. Often placed in the centre of the cross or in a lower banner. Numbers stitch very cleanly, even fairly small.
- Founding year. Commonly shown as "Est." plus the year in a small rocker or banner.
- Tools and apparatus. Crossed axes, pike poles, ladders, hydrants and helmets are common supporting images. Keep them simple, since fine tool detail is the first thing to blur in thread.
- Star of life. Some departments that provide EMS add it. Include it only where it suits your service and your department's policy.
Before you finalise a layout, check your department's uniform policy. Many departments specify colours, placement and which emblems may appear on which garments.
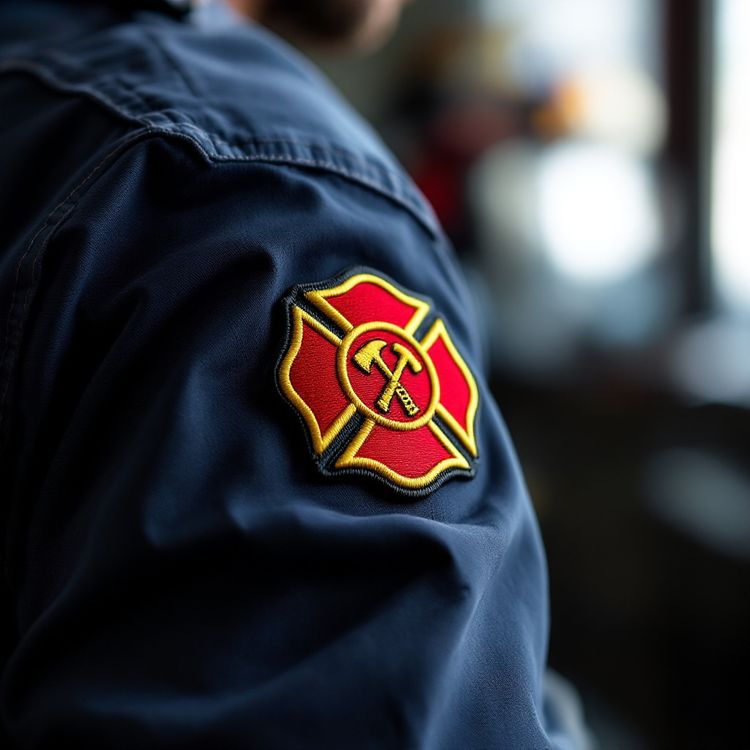
Shoulder patch size and placement
A shoulder or upper sleeve patch typically runs 3 to 4.5 in across. In the trade, patch size is usually quoted as the width plus the height divided by two, so a 4 in by 3.5 in patch is quoted as 3.75 in. A Maltese cross is close to square, so its quoted size is close to its actual width.
The easiest way to choose is to measure an existing patch on a current uniform, or lay a paper cut-out on the sleeve and look at it in a mirror. If you are adding a second patch, such as a left chest patch or a cap patch, those are smaller: about 3 to 3.5 in for the chest and about 2 to 2.5 in tall for a cap front. Our patch size guide covers every placement in more detail.
Size also decides how much text fits. As a general guide, embroidered lettering needs a cap height of about 1/4 in to stay legible. If the department name has to curve around a 3.5 in cross along with a city and state, you may need a larger patch or a shorter name line.
Construction and border choices
Embroidered or woven
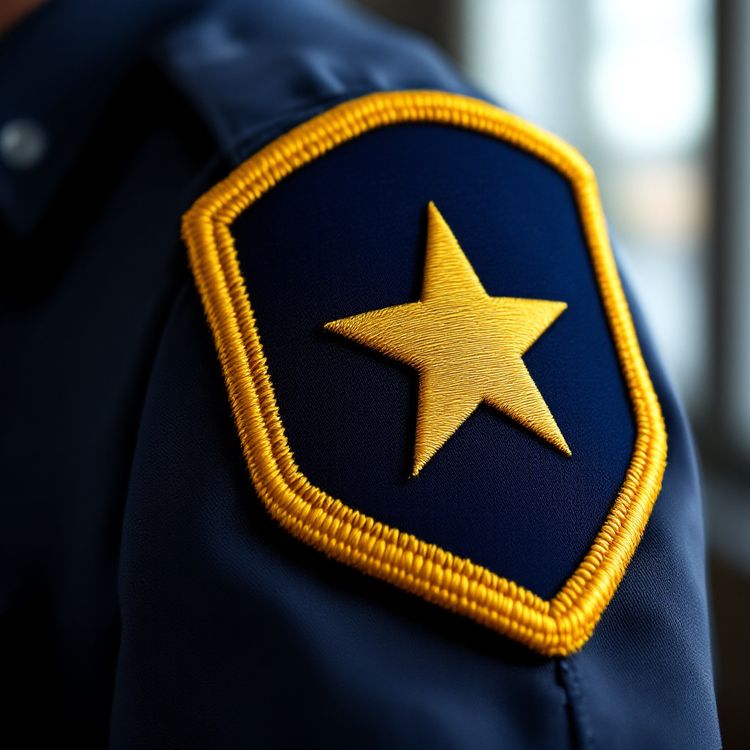
Embroidered patches are the traditional choice for fire departments. The raised thread has depth, holds bold reds and golds well, and looks right on a uniform sleeve. They suit cross outlines, numbers and simple tools.
If your department uses a detailed seal, such as a city seal with small text around the ring, a woven patch can hold finer lines and smaller lettering than embroidery. Some departments use embroidery for the main shoulder patch and woven for a detailed seal on a dress uniform. The proof will show how your artwork translates in either.
Merrowed or heat cut edge
A merrowed border is the raised wrapped stitch around the edge. It is classic on round, oval and shield patches. A Maltese cross has deep inside corners, which a merrow machine cannot follow cleanly, so cross-shaped patches are usually finished with a heat cut edge or with a stitched outline border built into the embroidery itself. If you want a merrowed edge, put the cross inside a round or shield shape.
| Decision | Common choice | When to choose the other option |
|---|---|---|
| Construction | Embroidered for shoulder patches | Woven for detailed seals and small text |
| Outline | Maltese cross, shield or round | Custom shape for station or anniversary designs |
| Edge | Merrowed on round and shield shapes | Heat cut on cross shapes and detailed outlines |
| Backing | Sew-on for uniform shirts | Hook-and-loop for job shirts, jackets and bags |
| Size | 3 to 4.5 in on the sleeve | Larger if the name and city must both fit |
Backings for uniforms, job shirts and gear
For class A and class B uniform shirts that are worn and washed often, sew-on is the dependable choice. It is the most permanent option and a local uniform shop or tailor can attach it.
Hook-and-loop backing works well on job shirts, station jackets, bags and gear where a patch needs to move between garments or come off for washing. Remember that the loop panel has to be sewn to the garment first. Iron-on adhesive is less reliable on the polyester blends common in uniform shirts and on garments washed hot, so if you choose it, sew around the edge as well.
For turnout coats and other protective gear, ask the gear manufacturer and your department before sewing anything on. Our guide to patch backing types explains each option in more depth.
Matching colours and remaking an old patch
Many departments need a run that matches patches already on the crew's sleeves, or a remake of an old design whose files are long gone.
A clear photo of the existing patch, taken square on in good light, is enough to start a quote. We redraw it for thread and the proof shows the result. If you can, send a physical sample as well, or tell us the thread colours you see. Thread is matched to the closest available colour, and the proof is your chance to compare it against the patch in your hand.
To keep reorders consistent, the digitizing stays on file after your first order. A reorder of the same patch skips the setup and comes out the same.
Ordering for the whole roster
Count patches per person, not per department. If each member wears a patch on both sleeves of two uniform shirts and one jacket, that is several patches each. Then add spares for new hires, replacements and the occasional damaged shirt.
Custom runs start from 100 pieces for most products. A larger run generally lowers the cost per patch because the setup is spread over more pieces, so it can make sense to ask for prices at 100, 200 and 500 on the same quote and decide from there.
- Artwork, a file or a clear photo of the current patch
- Size in inches and where it goes on the uniform
- Embroidered or woven, plus thread colours or a sample to match
- Edge finish and backing
- Quantity, including spares, or two or three quantities to compare
- In-hands date, such as a promotion ceremony or a new uniform issue
Memorial, anniversary and station patches
Beyond the shoulder patch, departments often order special runs: an anniversary patch for a milestone year, a memorial patch for a fallen member, a station patch with its own mascot, or a patch for a fundraiser or community event. These designs can be more expressive, with custom outlines and more colour, because they are not bound by the daily uniform.
Work back from the date. Allow 2 to 3 business days for the quote, a few days for the proof, and typically about 3 to 4 weeks of production after approval. A rush of around 10 business days is sometimes possible when the factory can hold it, but it is never guaranteed, so start early for any ceremony.
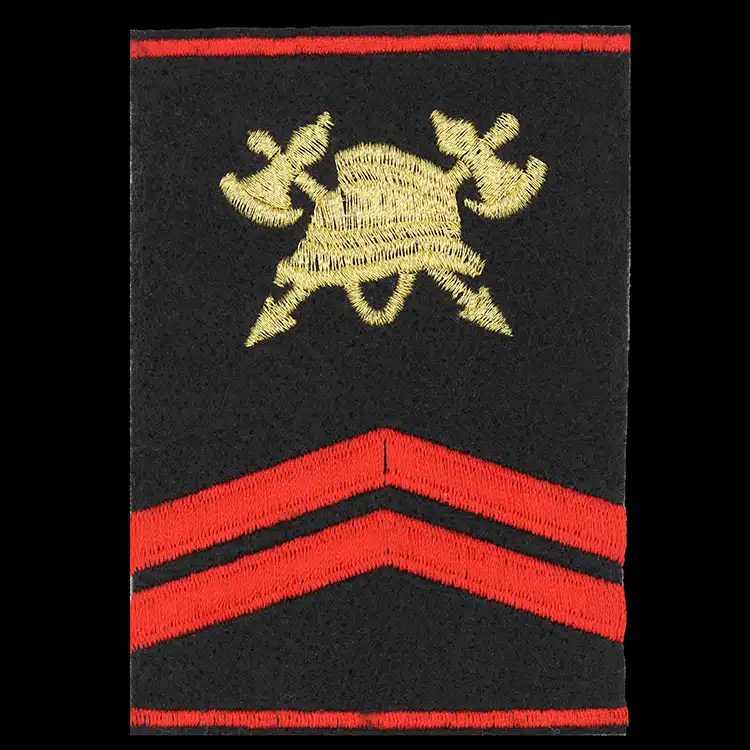
Departments often pair patches with epaulet covers, badges or challenge coins made to the same artwork. Police departments face similar decisions, covered in our police and sheriff patch guide.
Getting your department's quote
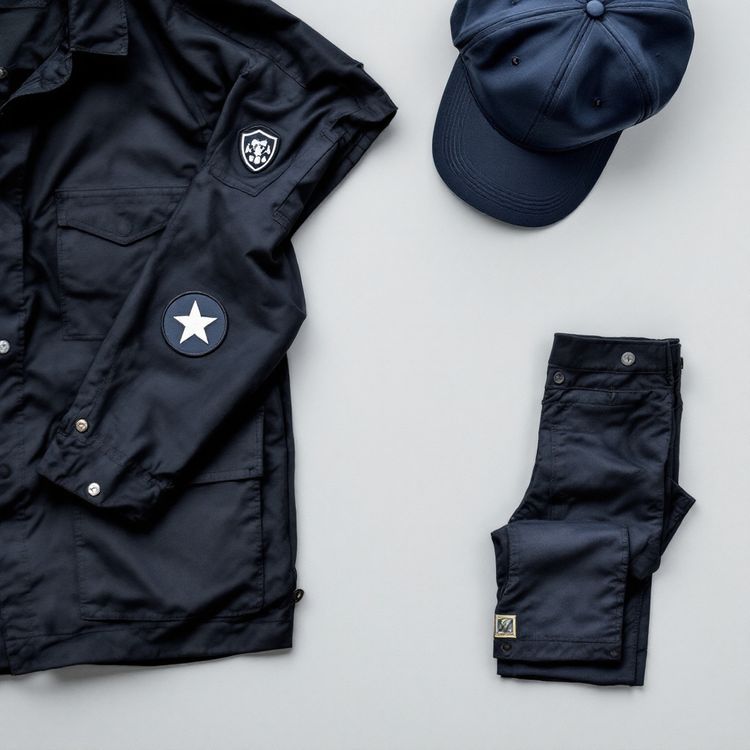
If you want to see a design before you send it, upload your emblem to the free Patch Studio, set the shape, size, border and backing, and preview it on a jacket. It is a rendering, not a guarantee, and we review detail and size when we quote.
Then send your artwork, size, quantities and in-hands date through our fire department patch request or the quote form. We price the job with 2 or 3 factories that make that construction and send back one quote within 2 to 3 business days. Nothing is made until you approve the proof in writing.